All rotors on a Chrysler Pacifica have a minimum thickness figure stamped on the hub. This figure can also be found in maintenance manuals specific to the Pacifica. When considering the minimum thickness, the amount that will be removed in machining must be subtracted from the present thickness as defined by the micrometer. If the bottom line is better than the minimum thickness limits, the rotor can be machined and put back into service with no adverse effects. A rotor that is machined or is thinner to begin with has a greater chance of warping due to its reduced ability to dissipate heat, causing much more rapid expansion.
Raise and support the vehicle on jack stands. Remove the wheels. Place the drip pan under the caliper. Open the bleeder valve on the top of the caliper.
Insert the screwdriver into the access hole in the caliper and pry the inside pad toward the engine, which will push the caliper piston back into its bore. Close the bleeder screw and tighten.
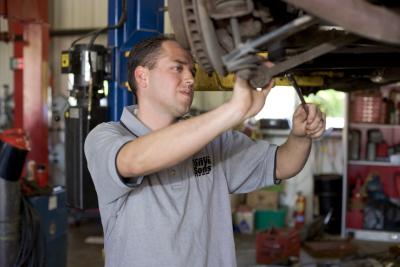
Remove the two caliper retaining bolts using a socket. Lift the caliper off the rotor and hang the caliper up by a suitable piece of wire or hanger. The idea is to keep the caliper from hanging from its hose, which will damage the interior of the hose. If this happens, the brakes may not release.
Remove the rotor by simply pulling it off. If it is stuck, hit the hub with the hammer a couple of good "whacks" and it will come off.
Replace all parts in reverse order of removal. Check the master cylinder when finished and add brake fluid as necessary. Pump the brakes 10 times before attempting to move the vehicle. This will adjust the brakes properly.