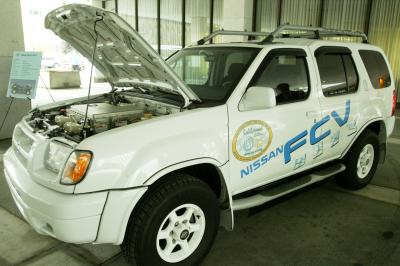
The front turn lamp in your Nissan Xterra will eventually burn out because of the amount of heat generated in the thin coil of wire in the turn lamp. Not only is it unsafe to drive with a burnt-out turn lamp, doing so will attract attention from law enforcement, giving police an excuse to pull you over. To avoid these potential situations, replace the lamp as soon as possible so that you can rest assured that your vehicle is safe to drive.
Open the hood and prop it up. The front turn lamps are located in the headlight assemblies at the right and left sides at the front of the engine bay.
Remove the two-wire electrical connector attached to the rear of the turn lamp that you want to replace. It has a plastic connector with a tab that can be pressed down with your fingers and then pulled outwards.
Locate the rubber protector cap at the rear of the headlight housing. It is black and approximately 5 inches in diameter. Remove it by simply pulling it off the headlight housing. The rubber cap insulates the lamp and ensures that dust does not enter the housing. Removing it will provide you with ample access to the lamp; you do not need to remove the housing or assembly.
Locate the metal clip that holds the turn lamp in place. Push downward to release the lamp and remove it.
Insert your new turn lamp into the headlight, pushing the metal clip down to secure the lamp in place. Be sure not to touch the lamp because the oils on your fingers can damage it and shorten its lifespan.
Put the rubber cap back onto the headlight housing.
Plug the two-wire electrical connector back into the turn lamp
Test your new turn lamp for proper operation.