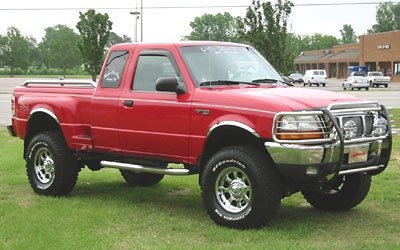
The 1999 Ford Ranger with the four-wheel-drive option employs a front solid axle to provide engine power to the front wheels. This system, while sturdier than constant velocity joint setups, can wear down and fail. Repair or replacement can take the average backyard mechanic anywhere from 30 minutes to several hours.
Jack up the Ranger and place the frame onto jack stands by centering each stand to balance the weight of the truck.
Remove the front wheels with a lug wrench by turning each lug nut counterclockwise. Set the wheels and tires aside.
Check for leaks from the transfer case, front differential and each hub assembly by wiping the area with a clean cloth. Any leaks are the result of weak or worn seals or gaskets around vacuum connections on the transfer case. The 1999 Ranger came with automatic locking hubs; these require a small amount of lubricant that can seep out. Repair of these leaks will depend greatly on their location, but removal of the transfer case, differential or individual hubs may be required to replace seals.
Check for loose or broken front drive or suspension parts by wiggling each component lightly. If a sound was present when in operation, check the hardware in the area the sound was heard. A grinding or crunching sound could be caused by damaged wheel bearings, which are a part of the automatic hub on each side. Whining or moaning sounds can be indicative of leaking hubs or low lubricant level in the differential. Popping or clicking sounds could be damaged gears inside the differential or transfer case or may be a vacuum switch issue.
Remove the suspension components first by disassembling the brakes, pressing the ball joints out, loosening and sliding the tie rods out and unbolting the anti-sway bar, if applicable. Front torsion bars can be left in place. This will give greater access to the front drive parts.
Remove the front differential by unbolting the axle nuts on each hub (removing the hubs), then uncoupling the drive shaft from the transfer case so that the differential can be relieved of the bolts that hold it in place. Once free of the transfer case, the differential can be worked out with a floor jack until it is free of the truck.
Repair issues with the vacuum switch or fluid levels without removing the transfer case. Repair any issues with the drive shaft or differential before replacement.