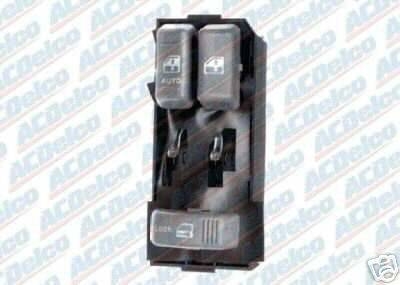
Chevrolet power window switches can fail due to a number of issues and may need replacement. Most of the switch modules used since the late 1960s can be replaced without removing the door panel; the average backyard mechanic can replace one module in about five minutes.
Disconnect the car's battery at the positive terminal. Typically, Chevrolets use a side-mount battery that takes a 10mm socket and can be loosened by turning it counter-clockwise.
Remove the old module. On most Chevrolet vehicles, the switches are held in place with a small metal or plastic panel mounted to the main door panel. With a screwdriver, pry the bottom or side of the plastic panel until it can be popped off of the hooks that hold it in place. It will still be connected to the wiring harness, so caution must be taken not to pull these wires out too far. Disconnect the module from this harness at the white adapter, about 2 inches down from the switch module.
Install the new power switch module. The old module is held to the smaller panel with pop rivets or hooks; these can be disengaged with a screwdriver. Once free, the module will fall out from the back. Insert the new module and press it firmly to secure it to the rivets or hooks. Plug the adapter to the car's wiring harness at the power window switch hole. Align the smaller panel to the main door panel, then press firmly to mate the plastic hooks that hold the module's panel to the door panel.
Reconnect the battery and test the switches. They should operate all window functions if installed correctly.