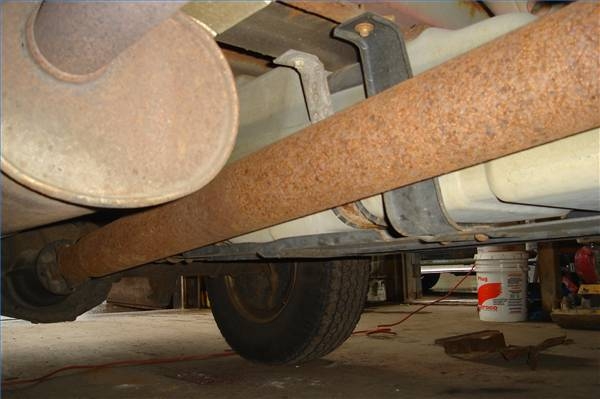
A driveshaft is a necessary component of any rear wheel drive vehicle. This is the assembly that transmits the engine's power from the transmission to the differential. Depending on the make and model of the vehicle this shaft may be a one-piece tube, or consist of two or more segments. One piece driveshaft assemblies are made up of four or five pieces: a splined slip yolk which fits on the transmission output shaft, the front universal joint, the tube and the rear universal joint. The fifth piece, when there is one, is a flange to bolt to the differential yolk. Multi-segmented driveshafts have all of these components, and are essentially two or more one-piece driveshafts coupled together. Each shaft segment also has a carrier bearing, from which the driveshaft sections hang under the vehicle. These driveshafts are found in trucks.
Ensure that the tires are blocked to prevent the vehicle from rolling while you are working under it. Shift the transmission into "Neutral."
Lube the outside of the slip yolk of the driveshaft and align with the output shaft of the transmission. Push the tube straight into the transmission until it stops.

Lift the rear of the driveshaft to the differential yolk. Turn the driveshaft as necessary to align the end caps of the universal joint to fit into the yolk. On driveshafts with a rear flange, align the bolt holes.

Install the universal joint retainers. These will be straps and bolts, U-bolts or bolts for the flange. The exact method will depend on the make and model of your vehicle. If the driveshaft is the type that does not utilize a flanged mounting, make certain that the universal joint is centered in the yolk.
Shift the transmission into the "Park" position if equipped with an automatic transmission, or first gear if a standard. Tighten the retaining bolts or nuts securely.