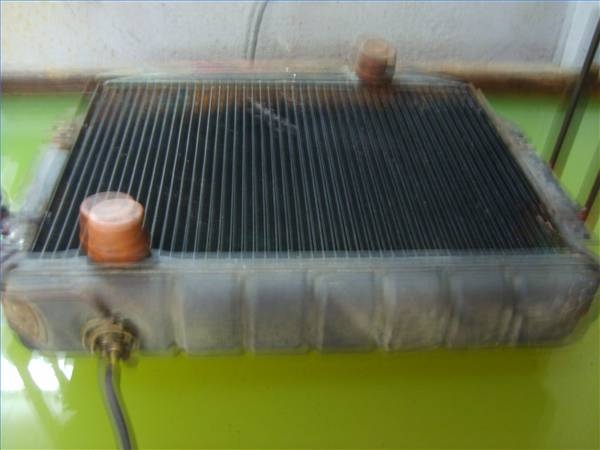
If a stone flew up from the roadway and struck your radiator causing it to leak coolant you could, if properly equipped, fix it yourself. This assumes that the overall condition of the copper/brass radiator is good and that the damage is not so extensive that in repairing it you would reduce the flow in the radiator so much that the car would overheat. Note, these instructions do not apply to aluminum radiators and require the radiator to removed from the car
Remove external debris from the radiator preferably by using a pressure washer. It is not necessary to use a detergent.The idea here is to get rid of road crud, leaves and cigarette wrappers that accumulate on the core. This will keep the test tank clean so you can clearly see the leak.
Close off any openings in the radiator except one into which you will send air. The openings would include the inlet and outlet necks, heater stub and openings left by removed sensors. The size plug or cap should correspond to the neck size. Using an improper plug size could result in serious physical harm, since you are going to pressurize the radiator. A loose cap or plug can easily damage an eye.

Locate an opening and secure an open stemmed plug that allows air pressure to fill the radiator. Submerge the radiator in the test tank and turn on the test air (regulated to no more than 15 psi) and take note of any bubbles indicating leaks.
Clean the radiator tube prior to soldering so that the solder will adhere to the core. You need some abrasive action. Either use a small wire brush or a hand held sand blaster to clean the core. If the metal falls away as you clean, forget it,the core is rotten should be replaced. If it's ok clean the tube until it's free of any paint or dirt.

Apply a thin coat of solder to the tube. Using a small brush apply liquid flux to the damaged tube and apply heat and solder at the same time. If the solder flows smoothly without any gaps you have cleaned it properly and success is at hand. If it doesn't repeat step three.
Apply more solder to the tinned area. Mounds of solder are not needed just enough to bring the height of the tube to the level of the surrounding unaffected tubes. You can now re-submerge the radiator and test your repair.