Motorcycle gas tanks are very similar to automobile gas tanks, but easier to access. Repairing a gas tank needs to be done carefully, because of the dangers associated with such a flammable liquid. After repairs, finishing the job perfectly will require minor cosmetic work as well.
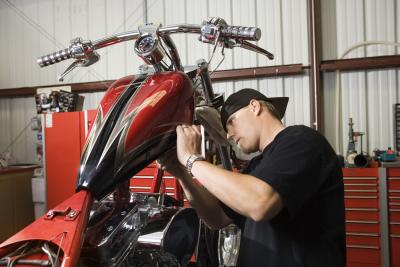
Remove the gas tank. You will have to remove the valves and make sure the tank is completely empty. Be sure that the cap does not have cracks in it. Look all around the tank to see if you can locate damage.
Fill the tank with water. Watch for water dripping to locate any leaks that may exist. You can also check for leaks by filling the tank with pressurized air. Replace the cap and check for any air that may be escaping.
Sand the hole or crack around the leak. Sand the area around the leaks with a power sander using high-grit sandpaper. When smooth, apply Bondo or fiberglass sealant. Let the sealant dry completely and then sand until smooth.
Clean any dents or scratches in your gas tank. Sand them down until almost completely smooth. Clean with soap and water. Use enough sealant, or Bondo, to fill in the crack or dent. Use a plastic scraper to smooth it out, leaving a little sealant over the edges of the crack or dent. Let dry completely and test for leaks.
Sand the sealant with a power sander. You will want to sand down until you have the shape and smoothness you want. You may want to hand-sand it with a fine-grit sandpaper.
Spray paint primer onto any area that has sealant on it. Allow primer to dry and paint several coats. Again, paint several coats and dry thoroughly between coats.
Replace the gas tank. Be sure all valves are in place. All sealant, primer and paint should dry before placing gas in the tank.