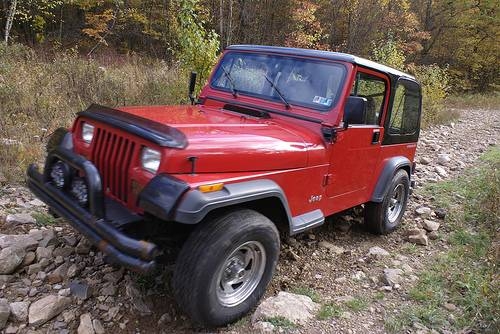
A universal joint, or U-joint, connects a driveshaft to the axle and transmission or transfer case. On four-wheel-drive vehicles such as the Jeep Wrangler, the front driveshaft has two universal joints. One connects it to the transfer case and another connects it to the pinion yoke on the front axle. The universal joint must articulate in four directions, because the angle of the driveshaft changes in relation to both the transfer case and the pinion yoke as the front suspension compresses.
Disconnect the ground cable from the negative battery terminal.
Lift the vehicle according to the instructions in the owner's manual and support with jack stands placed underneath the frame or axles.
Use paint or a center punch to mark the relative position of the front driveshaft with the yokes on the transfer case and front axle. You will be removing the front driveshaft and must reinstall it in the same relative position.
Remove the two U-bolts that connect the front driveshaft to the transfer case.
Separate the driveshaft from the transfer case.
Remove the four bolts and two U-joint retaining straps that connect the front of the driveshaft to the pinion yoke.
Remove the front drive shaft.
Remove the snap ring retainers from the outside faces of the bearing caps using needle-nosed pliers.
Spray the bearing caps with a penetrating oil, such as WD-40, and allow a few minutes for the oil to soak in.
Press the U-joints from the driveshaft yokes. Find one socket with an internal diameter large enough to allow the bearing cap to fit inside it and another socket with an external diameter slightly smaller than the bearing cap.
Position the larger socket in a bench vise and place the driveshaft yoke against it. Position the smaller socket against the other side of the vise.
Close the bench vise. As you do so it will drive the bearing cap out into the larger socket.
Remove the driveshaft from the vise.
Use locking pliers to remove the bearing cap from the U-joint.
Reverse the position of the sockets and use the bench vise to drive the universal joint in the opposite direction.
Use locking pliers to remove the bearing cap from the driveshaft yoke.
Remove the U-joint from the driveshaft yoke.
Repeat this process to remove the U-joint from the other end of the driveshaft.
Center the universal joint in the driveshaft yoke.
Install the grease seals and needle bearings.
Use a soft mallet to tap the bearing caps onto the universal joint, just far enough to hold the U-joint in position.
Place the driveshaft yoke in a bench vise and position a socket with an exterior diameter slightly smaller than the bearing cap against the bearing cap.
Close the vise, pressing the bearing caps inward just far enough to install the retaining rings.
Install the snap retaining rings using needle-nosed pliers.
Grease the U-joint using an automotive grease gun.
Repeat this procedure for the universal joint at the other end of the driveshaft.
Use the marks you made earlier to install the front driveshaft in the same relative position it was removed from.
Install the four bolts and two retaining straps that connect the driveshaft to the front axle. Use new fasteners and torque to 14 foot-pounds.
Install the two U-bolts that connect the front driveshaft to the transfer case. Use new U-bolts and torque to 14 foot-pounds.
Lower the vehicle.
Reconnect the ground cable to the negative battery terminal.