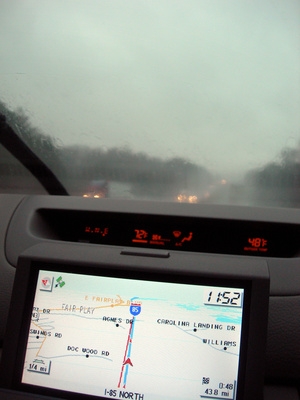
Installing an in-dash GPS system requires the old car stereo (head-unit) to be removed to make room for the new GPS head-unit. Before purchasing the unit make sure the vehicle can accommodate it. Most in-dash units are either DIN (2 by 7 inches) or Double-Din (4 by 7 inches.) The in-dash GPS unit will also be the new CD, radio and car stereo head-unit. Many in dash-GPS units have a flip-up screen.
Disconnect the car's battery. This will prevent a short from damaging the equipment.
Remove the old stereo. Remove the dash trim panel that surrounds the stereo. Locate the edges of where the dash ends and the radio begins. There will be a small gap there; insert a flathead screwdriver into that gap. Gently pry the dash panel back, do this every inch or so around the panel until the dash panel is loose. Once it is loose, remove it by hand. This will expose the existing radio.
Unscrew the existing radio from the vehicle.
Pull the radio out of the car. Disconnect any wires that are attached to it. Each radio will have one or two wire clips attached to it. Disconnect these clips. Pull out the antenna from the radio. Store the old radio safely.
Clip the wire harness into the new in-dash GPS unit and the existing wire clips of the car. This avoids having to hardwiring the unit (which can be complicated). Wire harnesses are available at most mobile electronic retailers and are not expensive. Connect the wire harness to the in-dash GPS unit and connect the other end to the car's wire clips. Insert the antenna cable into the antenna port on the in-dash GPS unit (this port should be clearly marked.)
Insert the in-dash GPS unit into the vehicle, where the old radio was. Screw the GPS unit into place. Reattach the dash trim panel by popping it back into place on the dash. Connect the battery and turn on the car to test the unit.