The Pontiac Firebird, manufactured from 1967 to 2002, was redesigned four times. While GM included a stereo system in every generation of Pontiac Firebird, the factory stereo opening has never been manufactured large enough to accommodate a 4-inch tall double-DIN stereo without modification. These stereos, with features such as GPS navigation and DVD playback, have increased in popularity and, despite the small factory radio opening, can be installed in a Firebird.
Locate and disconnect the black negative ("-") battery cable using a crescent wrench. Keep the negative battery cable away from the battery during the installation of the double-DIN stereo.
Remove the plastic bezel surrounding the factory stereo by gently prying it away from the dash.
Remove the four bolts securing the factory stereo in place using a socket wrench and socket.
Locate the wires coming from the rear of the factory stereo and unplug the stereo from the plastic factory connector. The factory stereo should now be free of the vehicle.
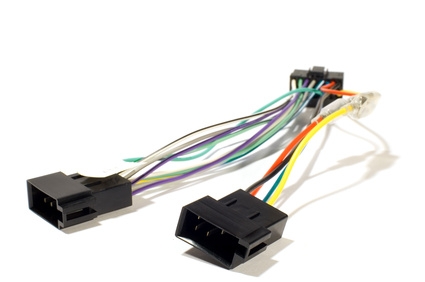
Connect the colored wires from the double-DIN stereo to the matching colored wires of an aftermarket wiring harness manufactured to fit the factory connector in a Pontiac Firebird. Twist the bare ends of the wires together and wrap them in electrical tape. Connect any additional stereo wires following the stereo manufacturer's instructions.
Install a double-DIN mounting kit into the stereo opening following the directions included with the kit.
Secure the double-DIN stereo in the mounting kit following the stereo manufacturer's directions and install the backstrap to support the rear of the stereo. This step varies slightly depending upon the stereo manufacturer.
Install a custom Firebird double-DIN bezel surrounding the stereo (if you have one) by firmly pushing into place.
Reattach the negative battery cable.