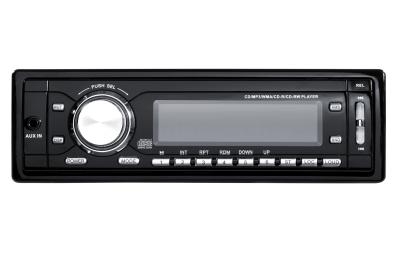
The Toyota RAV4 comes with a standard stereo system with available factory options. RAV4 owners who want to upgrade their stereo systems with aftermarket head units have a variety of units from which to choose. Once you have selected the stereo that will replace your factory unit, purchase the necessary adapters and installation sleeve. You can have the new unit installed by a professional, or to save time and money you can install the stereo yourself.
Pull the hood release lever under the RAV4's driver's side dashboard then lift the hood. Loosen the bolt that secures the negative battery cable to the battery terminal with a wrench. Lift the cable from the battery and set it aside.
Pry the two horizontal panels from the sides of the stereo assembly with a trim panel tool. Set the panels aside.
Remove the two screws on either side of the stereo bracket with a #3 Phillips head screwdriver.
Pull the stereo assembly from the vehicle's stereo dock and disconnect the stereo wiring and antenna cable from the back of the stock radio.
Remove both screws from either side of the RAV4's stereo bracket. Slide the factory radio out of the upper tray of the bracket. Insert the aftermarket stereo's installation cage into the upper bracket tray. Replace the two screws into the side of the bracket to lock the cage into place.
Slide the new stereo deck into the cage until it locks into place within the stereo assembly.
Plug the two plastic stereo wiring connectors into the corresponding leads of the wiring harness adapter. The adapter will be labeled to show where the correct connections are to be made. Plug the wiring harness adapter into the stereo wiring outlets on the back of the new stereo deck. Insert the antenna cable lead into the FM/AM antenna input on the backside of the new stereo, commonly on the lower right corner of the stereo's rear panel.
Slide the stereo assembly into the dashboard stereo mounting dock. Replace the screws on either side of the unit. Place the trim panels on the side of the stereo and press firmly against them until they snap back into place on the dash.
Reattach the battery cable clamp onto the battery terminal post. Tighten the negative battery cable's clamp onto the post with the wrench then close the RAV4's hood.