Kenwood manufactures a wide variety of car audio equipment for an even wider array of vehicles. Installing a new Kenwood deck requires the proper adapters to connect the vehicle's stereo wiring to the inputs on the rear panel of the aftermarket unit. Consult your vehicle's repair manual for procedures on removing your factory stereo head unit and any details about mounting a new unit. You can trust the installation of your new Kenwood car audio deck to a professional, or you can do it yourself and save money.
Lift the hood of the vehicle and disconnect the negative battery cable. Move to the inside of the vehicle.
Remove the factory stereo. Consult the vehicle's repair manual for instructions.
Plug the stereo wiring in the vehicle's stereo dock into the lead connectors of a wiring harness adapter.
Slide the installation sleeve included with the Kenwood stereo into the stereo mounting dock. Push the sleeve into the opening until the front of the cage is level with the opening of the vehicle's stereo mounting dock.
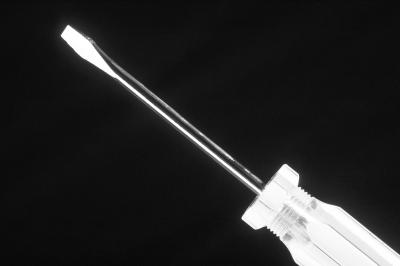
Fold the metal tabs at the opening of the sleeve downward with a flat screwdriver. The tabs secure the installation sleeve in place and ready the dock to receive the stereo.
Pull the wiring harness adapter leads and antenna cable from the back of the stereo dock. Plug the connectors into the outlets on the back of the Kenwood unit. The wiring harness leads plug into the right side of the stereo's rear panel while the antenna cable connects to the outlet on the lower left corner.
Slide the Kenwood audio deck into the installation sleeve until it locks into place.
Replace any dashboard paneling. Return to the vehicle's battery.
Place the negative battery clamp onto the negative battery terminal. Tighten the clamp to the post and close the hood.