The stock stereo in a 1999 Chevrolet Tahoe was an AM/FM stereo with a tape deck, and some had an additional CD player mounted below the climate controls. Although that worked pretty well in 1999, most people today want iPod connections and maybe an in-dash DVD player. You can get these items and more in an aftermarket stereo, but the first thing you have to do is remove the stock stereo.
Set the parking brake. Put your key in the ignition and turn it to the "on" position. Put your foot on the brake and shift the Tahoe's transmission into the lowest position. Tilt the steering column down to its lowest position.
Pull the bezel around the gauge cluster and the stereo off of the dashboard using your hands. Tilt the bezel towards you and disconnect the wiring to the headlight switch and any switches connected to the bezel in the middle by the stereo. If you have a hard time getting out the harnesses, use the small blade flathead screwdriver to push in the clips. Pull the bezel away from the dashboard, then shift the transmission back into park and turn the key off.
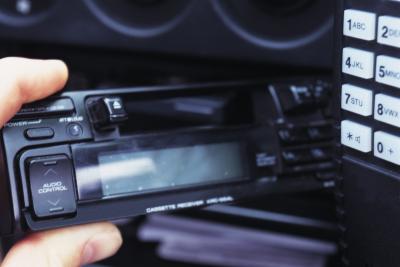
Hold down the two levers on the sides of the factory stereo with your hands. Pull the stereo out and remove the wiring at the backside with your hands. Use the small blade flathead screwdriver to disconnect the wiring on the back if it's too difficult to push with your hands.