The 1994 Ford Explorer was part of the first generation of Ford Explorers. The vehicle was a part of an emergence of sport utility vehicles as primary vehicles for many consumers. The 1991-1994 Ford Explorer came equipped with an AM/FM stereo cassette deck. The Eddie Bauer Edition was available with upgraded stereo systems including a single disc CD player. Ford Explorer owners can replace their factory stereos with a variety of aftermarket options including in-dash CD changers and satellite radio receivers.
Remove the negative battery cable from the negative battery terminal. The negative battery cable (or grounding cable) connects the negative lead post of the Ford battery with the frame or chassis of the vehicle. Use the 10 mm wrench to loosen the bolt that holds the cable clamp onto the lead post.
Connect the stereo wiring in the Ford Explorer to a wiring harness adapter. The wiring harness adapter will be labeled to illustrate where the proper connections are to be made (some wiring harness adapters will list the wiring diagrams in their operation manual).
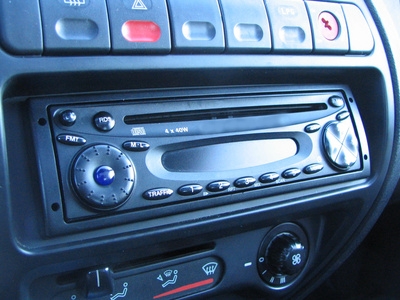
Slide the installation sleeve from the Ford aftermarket stereo installation kit into the empty stereo mounting dock. The sleeve provides a uniform platform for installation of varied aftermarket stereo decks.
Connect the wiring harness adapter leads and antenna cable (from the stereo mounting dock of the Ford Explorer) to the back of the aftermarket stereo. The wiring harness adapter leads and antenna cable will plug into the corresponding outlets on the rear panel of the stereo.
Slide the new stereo into the stereo installation sleeve (inside the stereo mounting dock).
Place the grounding cable clamp over the negative lead post of the Ford battery. Tighten the clamp to the lead post with the 10 mm wrench.