Adding driving lights to a vehicle can improve nighttime vision and make the car more attractive. Several hundred styles and colors are available and use standardized mounting hardware to fit virtually any automobile. Installing fog or driving lights involves minimal wiring and can be done by the average driver in about an hour.
Decide on a mounting position for the lights by holding a loose light up to the area to see how it would fasten and look. Many cars have pre-built holes to accommodate lights in their front air dams, complete with mounting brackets, which were an option for the model but not ordered. Mounting the driving lights behind the grille can protect the glass from debris, but they may not shine as brightly. Some local laws restrict this mounting position, so check before placing them behind the grille.

Fasten the mounting brackets to the selected location by drilling small screw holes or driving screws into the front bumper in a clockwise direction. The optional driving light holes should have mounting plates on the upper lip. The driving light brackets are designed to allow adjustment of the light beam's direction after installation.
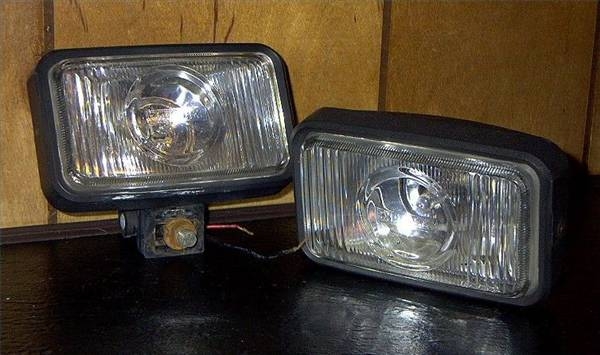
Connect the driving lights to the brackets with the bolts and nuts provided. It is not necessary to tighten these bolts all the way.
Wire the lights to function with a single switch in a convenient location. Connect the light's positive wire leads together, then splice them into a long wire that leads to the switch's output terminal. The splice will have three wires: one to each light and one to the switch. The light's negative leads (or grounds) should be connected together and grounded to the car's frame. Most times, there are bolts and screws in the engine compartment that are grounded to the car, but if none can be found then the battery's negative terminal will do. Wire the switch's input terminal to a hot fuse in the fuse panel by pressing the naked wire into one side of the fuse's metal blade connector. Wrap all splices with a liberal amount of electrical tape; be sure the fuse connection is on one pole only, not both sides of the fuse.
Check the light's operation by turning the switch on and off. If the fuse selected is "ignition on," then turn on the car's ignition and check for operation.
Aim the beams by turning the lights on and tightening the light's bracket bolt while the beam is focused in the desired direction. Turning on the car's headlights for a reference can help aim the beams.