LED washer lights are all-in-one units that entirely replace your existing nozzles with a unit that has a built-in light. While they still function the same as regular washer nozzles, they add a custom look to your vehicle. These lights are typically wired to turn on and off with the headlights. Most kits will come with everything you need for installation, including 12V wiring, splices and nylon zip ties.
Open and support the hood. Remove the under hood cover by gently wiggling the plastic clips that hold it in place until they pop out. Take care not to damage the clips as they come out. Pull the cover out of the engine bay, exposing the underside of the washer nozzles.
Remove the plastic hose from the nozzles. Simply pull on the tube until it slides off. If the tube is too tight to remove by hand, use a pair of pliers to help grip it, but be careful not to damage the tube.
Use a wrench to remove the lock nut from the underside of the nozzle. Remove the nozzle from the top of the hood. Some cars may have a plastic clip holding the nozzle in place instead of a lock nut. In this case, use a standard screwdriver to depress the clip then pull the nozzle out.
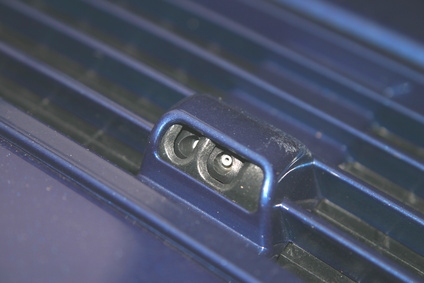
Install the replacement LED washer nozzle through the hole in the hood by reversing the process used to remove the old one. Feed the wiring through the hole before inserting the nozzle. Ensure the nozzles are pointed directly at the windshield, then tighten the nut with a wrench. Slip the plastic hose back over the bottom of the nozzle.
Run the wires for the washer nozzles along the engine bay towards one of the headlights. Locate the green and white wires that plug into the headlight bulb at the back of the headlight. Place a splice connector around the green headlight wire and insert the red wire connected to the washer lights. Clamp down on the splice connector firmly with a pair of pliers. The metal inside the connector will eat through the insulation and connect the two wires together without disconnecting the headlight. Repeat to connect the white headlight wire to the black nozzle wire.
Turn on the headlights and spray the washer fluid to test the nozzles. If they are misaligned, insert a small pin into the tip of the nozzle and gently adjust the spray direction. The LEDs should turn on and off with the lights. Use nylon zip ties to secure the new wiring away from any hot engine components.