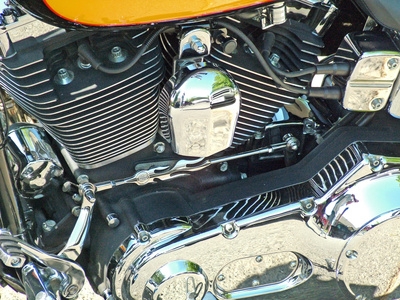
Like most parts and accessories on your Harley-Davidson, the floorboards -- or footboards -- can be customized and personalized to the individual rider's taste. Ask a Harley dealer or a motorcycle mechanic and pay handsomely for the labor, or you can install a floorboard kit yourself and save money. The floorboard kits come with parts necessary to swap out your floorboards and easy-to-follow instructions.
Remove the old floorboards. There are two hinge bolts and lock nuts holding the old footboards in place. Using your wrench or socket -- whichever is easier -- unscrew the bolts and throw them away along with the lock nuts. Do not remove the brackets that are attached to the frame.
Inspect the brackets. Look for any cracks or signs of oxidation that would weaken the metal. Some surface rust may exist, but a good cleaning should take care of that. If you have oil handy, a good spraying may prevent some further oxidation. If the brackets are excessively worn or damaged, purchase new ones and install them. If they pass inspection, you are ready to install the floorboard.
Properly identify the right and left floorboard. Line the mounting holes up on the floorboards to the holes in the bracket. Install the shoulder bolts and the locknuts from your kit. Your floorboard is now connected. Repeat the process on the other side.
Test your new floorboards. You should be able to move them up and down at the hinge on the shoulder bolt. They should move fairly easily but still be snug enough to stay in place.