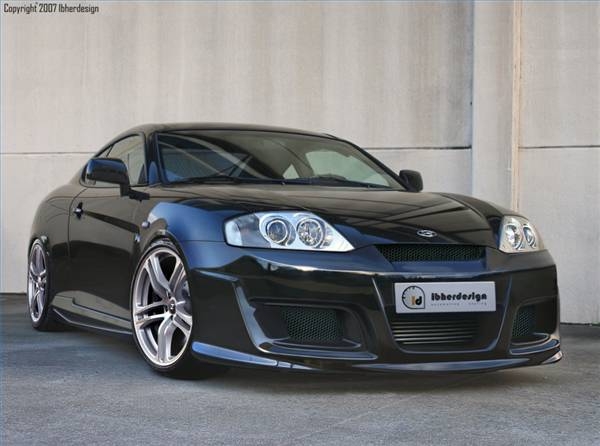
Body kits are a popular way to spice up the look of a car without spending a lot of money in the process. These inexpensive plastic or fiberglass panels either attach to or replace your existing bumpers and trim for a one-off, custom look. The downside to these kits is that you are often left with either large panel gaps that look out of place, or a body kit that is not molded well to the existing lines of the car (meaning that the panels don't line up very well).
One inexpensive solution to this problem is to "mold" the kit to the car. This is generally done using fiberglass, and the finished product permanently mates the body kit to the car. Any panel gaps are filled in with fiberglass; when it is done properly, the body kit will look like it is part of the car's design. While this provides a much more completed look, be advised of the negative effect it will likely have on the car's resell value, since it cannot easily be reversed.
These steps assume you have already installed the body kit on the car, and take off from that point.
Mix the fiberglass resin. When the two parts of the epoxy are mixed together, you will be limited to a relatively short amount of time to work before the resin solidifies. For this reason, only mix a small amount at a time, to avoid having to rush; fiberglass requires time and patience to produce quality results. Since the fumes can be toxic to your health, work in a very well-ventilated area, and use a breathing mask and goggles if the manufacturer suggests doing so.
Cut a long strip of thin fiberglass sheet to run lengthwise across one of the panel gaps. Avoid using fiberglass matting for this process, since it is far too thick to provide a cosmetically pleasing surface. The strip should only be about 4 to 6 inches wide, to help cut down on the amount of sanding you will have to do. Next, soak this strip in resin. Wearing gloves, apply the sheet to the panel gap and smooth it into place with a roller.
Work your way around the perimeter of the car, following the same process to cover all of the panel gaps. When you reach an edge, such as the wheel wells, cut the fiberglass strip even with where the body panels stop. You can sand this down to a more perfect edge later. When you reach the doors, open them if needed to avoid accidentally glassing them shut. As before, work any bubbles out of the glass with a roller, and press it as deep into the panel gap as possible to ensure it is filled all the way.
Allow the first layer to dry, then lay another strip of fiberglass in the same area you did before. Cut this strip 1 to 2 inches narrower than the last one, to provide a more tapered finished surface. Lay this final strip directly over the gap itself, and work it into place with the roller as deeply as possible. The objective here is to entirely fill in the gap with fiberglass. Two layers should be enough to accomplish this, but if needed, continue on to as many layers as are required to fill it in. Allow the glass to dry completely overnight before moving on to the next step.
Using an electric sander, smooth out the surface of the fiberglass. The dried product will be very strong, so you will have to start with a rough-grit sandpaper and work your way down to progressively finer grits as you go. Continue working the fiberglass until there is a smooth transition from the top to the bottom. Sanding fiberglass produces splinters that can easily become lodged in your skin and can even cause lung damage if inhaled. Never do any sanding, filing or cutting of fiberglass without wearing a breathing respirator and clothes that offer full-body coverage (including gloves).
Smooth out the surface with a coat of fiberglass-reinforced body filler. Regular body filler will have a tendency to crack, since the body kit may sway under the stress of driving. The fiberglass-reinforced filler contains actual fiberglass, which helps make it stronger. Once the filler is dry, sand it just as you did the fiberglass itself. The car is now ready for primer and paint. Ideally, a body shop should match the color of paint on the car and spray the kit for you, to ensure a perfect match that looks like it came straight from the factory.