One-wire alternators are just one of those little advancements that have helped to make modern cars relatively cheap to manufacture, at least considering their complexity. One-wire alternators are self-contained units that don't require an external voltage regulator, and can, as such, charge the battery directly without going through an intercessor. Conversion is as simple as retrofits get, which is part of the reason that it's so popular amongst enthusiasts and everyday drivers alike.
Follow the wires coming out of your original alternator to the voltage regulator; you should find it on the firewall or on the wheel well. A one-wire alternator uses an internal voltage regulator, so you no longer need your stock one. Unplug the wiring harness, unbolt the regulator and cut any harness wire or wires leading to the alternator. Use a zip-tie to secure the harness in an out-of-the-way place.
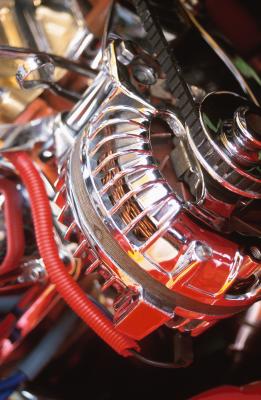
Remove the stock alternator and replace it with your one-wire retrofit unit. There's nothing special involved here; just loosen the slide bolt, pivot the alternator down, remove the belt and remove the pivot bolt. Keep the belt or belts nearby, because installation is just the reverse order of removal.
Strip 1/4 inch of insulation from either end of a 3-foot long, 4-gauge wire. Crimp an eyelet connector with at least a 3/8-inch hole onto each end of the wire. Install one eyelet onto the alternator output post and install the retaining nut. Remove one of your vertical battery terminal bolts -- the ones that secure the wire clamp to the terminal -- from the positive battery terminal.
Slide the eyelet in between the wire clamp and the terminal base so that its hole aligns with the bolt hole in the terminal and reinstall the bolt. At this point you should have the alternator output connected solidly to the positive battery terminal post; and that's all there is to it.