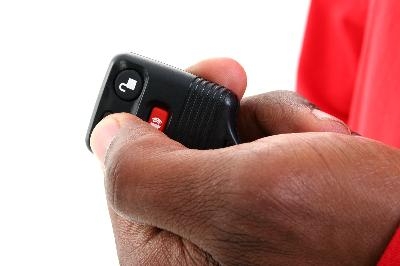
The Hyundai Elantra is a South Korean compact car that has been in production in the United States since the 1991 model year. Elantras manufactured between 2000 and 2006 are considered the third generation of the Hyundai Elantra. The 2001 Hyundai Elantra allows you to program keyless entry remotes to lock and unlock your vehicle. The keyless entry remote programming process for the Hyundai Elantra is extensive, requiring you to remove the vehicle's dash fascia. Still, the entire programming process can be completed in an hour or two.
Remove the ash tray and use a Philips screwdriver to remove the two screws behind it. Locate and remove the two screws above the vehicle's gauge cluster. Go around the edges of the dash fascia with a flathead screwdriver to release the plastic tabs that hold it in place. With the edges free, reach behind the dash fascia to disconnect the harness connectors. Lower the steering column as far as it will go and gently remove the dash fascia; set the dash fascia aside until the keyless entry remote programming process is complete.
Remove the climate control cluster and wiring harness by removing the four screws that hold these components in place. Set the removed components and screws aside.
Use a flashlight to illuminate the exposed dashboard components. Look for the small ETACS unit; note that the unit is marked with a small sticker that is labeled "Off" and "Set." Remove the sticker to access the recessed setting switch.
Flip the recessed setting switch to the "Set" position using an optical-sized flathead screwdriver. Press the "Lock" or "Unlock" button on the keyless entry remote to sync it to your 2001 Hyundai Elantra. Flip the recessed setting switch back to the "Off" position after the keyless entry remote has been programmed.
Replace the climate control cluster and wiring harness, reinsert the removed screws and tighten them. Align the plastic tabs on the edges of the dash fascia with the edges of the exposed dash components. Apply gentle pressure on the fascia to begin engaging the plastic tabs to lock the dash fascia in place. Replace and tighten the removed ash tray and gauge cluster screws; replace the ash tray.