Your car looks great. It's an older model and it runs like a dream. But the shift boot cover, just looks tired. It's probably vinyl and the sunlight, the heat and the freezing temperatures in the winter have left it cracked and dry looking. Well, you don't have to be ashamed of your shift boot cover anymore. With some new fabric, a little time and a sewing machine, your shift boot cover can be a beautiful addition to your favorite car.
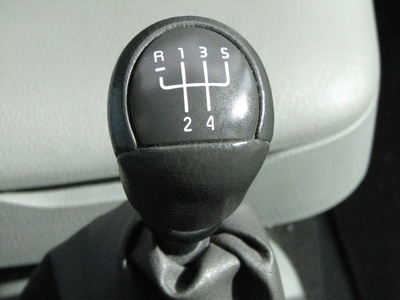
Pull down the old shift boot cover so that the underside of the shift knob is visible.
Detach the shift knob from the shift stick. Remove the clamp below the knob that held the shift boot cover in place. Set the knob aside. Set the clamp aside as it will be used again with the new shift boot cover..
Remove the manufactured shift boot cover from the unit. Remove the staples that hold the shift boot cover in place with a screw driver or pliers. Pull the old shift boot cover off.
Turn the old shift boot cover inside out. Remove the seams that hold the shift boot cover together. Utilize a sewing tool called a "stitch ripper" or carefully cut the seams apart with scissors.
Lay the fabric on a flat surface. Place the pieces of the old shift boot cover on the fabric and trace around the edges with a pencil or marker. If the old shift boot cover's seams were cut instead of ripped out, add 1 inch around each side of each part for seam allowance. Use a ruler to measure seam allowance.
Cut the pieces of fabric for the new shift boot cover as marked.
Pin the pieces of the new shift boot cover together, right-side to right-side with straight pins.
Sew the pieces together on a sewing machine leaving one side open. Remove straight pins.
Create a casing at the top of the new shift boot cover by turning 2 inches of fabric to the wrong-side of the new shift boot cover. Pin the fabric with straight pins. Sew the casing and remove the straight pins.
Sew the last seam closed but do not sew the openings to the casing closed. Turn the new shift boot cover to the right-side.
Run a leather shoe string through the casing. Leave the loose ends of the leather shoe string hanging from both ends of the casing.
Slip the top of the new shift boot cover onto the stick shift and put the black clamp back on the know to hold the new shift boot cover in place.
Attach the bottom of the boot to the square plastic base with a hot glue gun.
Place the knob back on the shift stick. Tie the leather string at the top of the new shift boot cover and trim the excess leather string with scissors.