Car computers, or "carputers" as they are often referred to, are essentially complete computers integrated into the interior of a vehicle. These multimedia systems put a multi-gigabyte collection of music at the driver's fingertips, as well as an assortment of tools such as GPS satellite navigation for trips and wireless Internet access that can be used when the vehicle is stopped. A regular car computer system will consist of two main components. The screen that is located in or on the dash provides the user with an interface to the computer. This is usually a touchscreen LCD. The other component is the actual computer itself, which is usually located in the trunk.
Place the computer in the trunk of the vehicle. Any desktop PC will work for this purpose. To prevent the computer from sliding when the vehicle is moving, secure it to a fixed part of the car. One popular method for immobilizing the system is to connect it to the trunk's tie-down connectors using zip ties, wire, or a thin section of rope. One connection is enough to keep it from moving around if you locate the computer in a corner of the trunk.
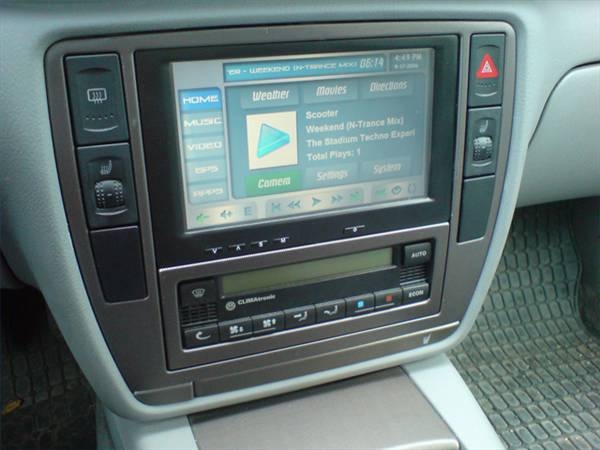
Mount the touchscreen LCD in a place that will be easy to use but won't obstruct your vision while driving. If your screen fits the "double DIN" form factor, you can simply mount it where the stereo normally goes. Otherwise, it can be attached to the dash anywhere that is convenient. Use double-sided industrial strength adhesive tape or Velcro patches to hold the screen in place and keep it from moving.
Run the video cable from the screen to the computer. You will likely need to purchase an extension cable to reach from one end of the car to the other. Using a pair of pliers, gently pull ends of the carpet out from under the interior trim. You can now tuck the wiring under the carpet to conceal it from sight.
While the carpet is still loose, now is the perfect time to run the power cord to the computer. Using a standard car stereo wiring kit, connect a positive line from the battery, through the firewall (using an existing wiring hole), along the side of the car under the carpet, and into the trunk. Tuck the carpet back into place under the trim. This positive power feed can then be connected to a DC-to-AC inverter to power the computer's existing power supply, or a replacement DC-to-DC computer power supply that eliminates the need for an inverter.
Connect the negative power connector of the inverter or DC power supply to a ground point on the car, preferably keeping the negative wire no longer than 1 to 2 feet in length. The most commonly used ground is the rear seat belt connector. Simply unbolt the seat belt from the car, file the metal to achieve a clean contact surface, and wrap the stripped end of the negative power wire around the bolt before replacing the nut.
Test the system. The computer can now be used just like any other PC would be. Use the system disk that came with the LCD to install the software that will allow the touchscreen to work. For sound output, hook an FM transmitter (these can be found for as little as $20 at any car audio store) to the audio output of the computer. This will allow you to tune your car stereo to a preset frequency (check the transmitter's manual) to hear sound from the car computer.