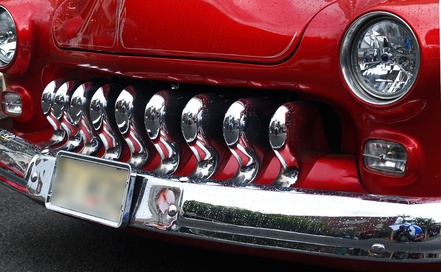
Before polyurethane paint became standard for auto bodywork, many cars had coats of acrylic enamel. This means that many older cars that need paint touchups need new coats of this enamel, as mixing different kinds of paint on one car is unwise. Although acrylic enamel is ultimately not as durable as polyurethane paint, it can be protected with a clear coat finish added on over the top. This finish adds a professional looking sheen and seals up the new paint job.
Mask off any part of the car on which you do not wish to apply the finish, including windows, mirrors and a wide swath around the car if you are simply doing a touchup job. Plaster the car with newspaper, holding it down with masking tape. If you are touching up the original paint job, include a buffer zone of about three times the size of the patch of paint before you start to mask. The clear coat will be over a much larger area than the added paint.
Add a coat of grease remover over the exposed surface of your vehicle to remove any dirt and dust that may have settled since you painted it. Wipe it clean with a cloth.
Attach your spray gun's hose to the air compressor and don your protective gear. Fill the spray gun's canister with the clear coat.
Spray the clear coat over your paint job. If you did a touch up job, spray the clear coat over a much larger area, all the way to the masking. Give the vehicle three coats of the clear coat.
Allow the clear coat to cure for a week.