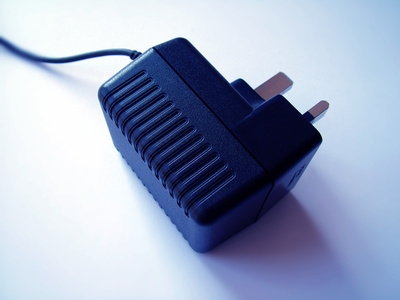
A battery is the foundation of a car's electrical system. It serves as the power source for starting the vehicle, and as a grounding point for the electrical system. Keeping your battery in good working order is a must. Periodic charging should be part of routine maintenance. You can make your own trickle charger using a direct current, or DC, adapter and electrical components.
Cut the tip off the end of the adapter, noting the positive wire. Pull the adapter wires apart to create a separation of about six inches between the wire ends. Remove a half-inch of insulating material from the tips of each wire.
Place one of the ring terminals over the positive wire. Crimp the terminal to the wire.
Write the word "positive" or draw a "+" sign on one of the battery connector clamps. Loosen and remove the top screw on this battery clamp. Place the ring terminal over the screw shaft, and replace the screw into the clamp screw hole. Tighten the screw so it holds the ring terminal firmly against the clamp.

Place the second ring terminal over the negative wire, and crimp the terminal to the wire.
Loosen and remove the screw on the second battery connector clamp. Place the ring terminal over the screw shaft, and replace the screw into the screw hole. Tighten the screw so it holds the ring terminal firmly against the clamp.
Attach the positive charger clamp to the positive battery terminal. Attach the negative charger clamp to the negative battery terminal. Plug in the battery charger and allow the battery to charge for approximately four hours.