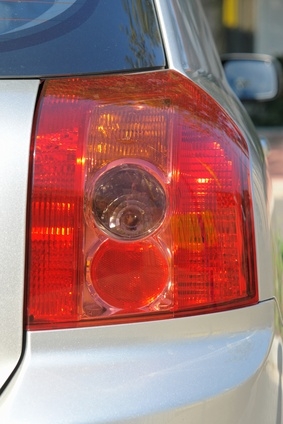
Your Honda Accord tail lights should be checked every six months to a year to make sure that they are working normally. A burned-out brake light is hazardous to other motorists and illegal. Because there are so many aftermarket manufacturers for brake light bulbs, you will need to take the old bulb into an auto-parts store and use the part number on the base of the bulb as a reference for buying the new brake light.
Open the trunk of your Honda Accord and pull up on the cargo area carpet with your hands. You need to pull up on the edge of the carpet which is located towards the front of the trunk near the bumper. You will also need to remove the jack. To do this, open the jack compartment door, remove the jack, then remove the bolts that hold the jack compartment to the trunk in front of the taillights using a socket wrench.
Press in with your fingers on the release tab on the connector that supplies power to each of the Accord's taillights. The connector may not come off very easily if it's been a while since you last changed the taillights. Wiggle the connector back and forth while pulling down on the connector to unplug it.
Grab the back of the taillight with your fingers and rotate it counterclockwise. Then, pull it straight out of the back of the taillight assembly.
Align the tabs on the new taillight with the notches cut into the assembly, insert the taillight, and rotate the light clockwise to lock it into the housing. Verify that the taillight is secure in the housing.
Reconnect the electrical connector to the taillight. Make sure the connector locks into place and is secure.
Fold the carpet back down and close the trunk.