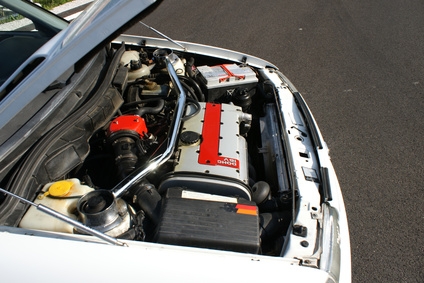
The starter in a Chevrolet S-10 is one of the most vital components of the electrical system. The car's battery sends electricity to the the starter to engage the flywheel. The flywheel then turns the crankshaft, setting the engine in motion. Once the starter becomes damaged, it is no longer able to start the truck. Most automotive parts stores can test the starter to ensure it works properly. Once you are positive that the starter is no longer functional, you can begin the starter replacement procedure.
Open the hood of the S-10 to access the battery. The battery is on the driver's side of the engine compartment. Disconnect the battery by isolating the cables from the terminals, using a socket wrench.
Locate the starter underneath the engine of the truck. The starter is placed on the passenger's side of the truck, between the engine and the transmission.
Unbolt the positive wires from the stud by unscrewing the nut with a socket wrench. Pull the wires off the stud. Place the nut on the stud to ensure that it does not get lost. Wrap masking tape around the positive wires to mark them.
Unbolt the negative wires from the stud by loosening the nut off the stud with a socket wrench. Place the nut back on the stud.
Unbolt the starter from the frame, using a socket wrench. There will be two bolts to unscrew. One will be on the top and the other will be at the bottom. Pull the starter down by pulling away from the frame and flywheel.
Place the starter in the box of the new starter. You will need the old starter for the core return.
Hold the new starter up to the frame and position to the bolt holes. Insert the top and bottom bolts to secure the starter in place.
Tighten the bolts with the socket wrench. Ensure both bolts are tight and holding the starter in place.
Unscrew the nut for the positive cables. Insert the wiring onto the stud. Tighten the stud to secure the nut.
Attach the negative cable by unbolting the stud for the negative wire. Place the negative terminal on the stud and tighten the nut down.
Re-connect the battery cables by tightening the positive cables to the proper terminal. Attach the negative cable to the negative terminal. Tighten the cables with a socket wrench.
Start the truck to ensure the starter is installed correctly. If installed correctly, the truck will start with no hesitation.