Standard vehicle radios seem to have the most basic of options, and the radio in the 1997 Toyota 4Runner was no exception. Luckily, car manufacturers have made radios easy to remove so you can upgrade it using an after-market product. While removing the radio on the '97 4Runner requires the removal of several dash panels, it can actually be done in a short amount of time with just a few screws.
Open the hood. Disconnect the negative battery terminal from the battery to shut off the power to the vehicle.
Open up the center console compartment (where your right arm rests when you are driving). Place your hand inside the compartment and unsnap this panel (the parking break trim panel) from the vehicle interior. This will give you access to the gear shift panel.
Pull up on the gear shifter panel and remove it by releasing the clips that hold it in place. This will open up the interior of the dashboard console.
Grab each of the climate control knobs and gently pull off the center panel. Place the pick hook in between the climate control panel and the dash board and remove the panel by pulling it from the rear.
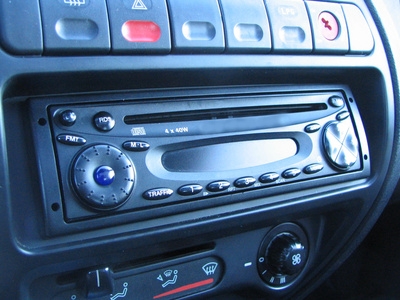
Unscrew the screws behind the climate control panel and remove the ratio trim bezel by releasing the clips that hold it in place.
Unscrew the four screws that keep the radio in place using the screwdriver. Gently pull the radio toward you. Unhook any wires attaching the radio to the car.