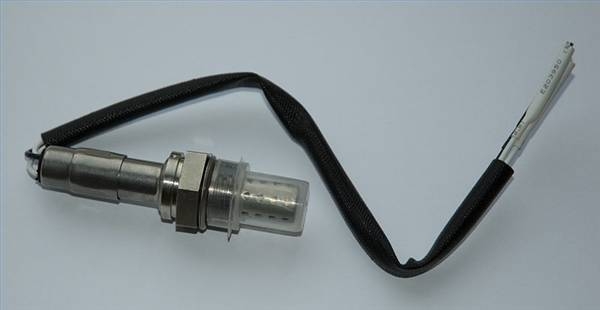
Oxygen sensors are an important part of the emission system of your Ford truck. And like any other component in your Ford vehicle, an oxygen sensor comes to the end of its service life after prolong use; voltage signals turn weak or simply flatline. Exhaust byproducts finally take their toll and a replacement is necessary. Whether you need to change the front or rear-heated sensor on your truck, just follow these simple steps to install the new unit in place in a matter of minutes.
Park your truck in a safe and level place. Open the hood and disconnect the black, negative cable from the battery. Place the transmission in neutral and release the parking brake.
Raise the front of the truck using a floor jack and support it safely on jack stands. Place the transmission in park (automatic) or gear (manual). Apply the parking brake and block the rear wheels.
Locate the front or rear heated oxygen sensor--whichever you need to replace--under the truck. It will be easier if you follow the front exhaust pipe coming out of the exhaust manifold. The front sensor is threaded into the exhaust pipe just before it connects to the catalytic converter; the rear sensor is threaded into the back pipe right after the catalytic converter. Heated oxygen sensors come with three wires. If yours is a different type, it will have one or two wires. The component is similar to a spark plug.
Unplug the oxygen sensor's electrical connector.
Remove the sensor using a sensor socket and ratchet.
Install the new unit by hand first to avoid damage to the threads. Then use a torque wrench and sensor socket for final adjustments. Torque the sensor to 36 ft.-lbs. (46 Nm).
Plug the oxygen sensor electrical connector. Lower the vehicle and connect the black, negative cable to the battery.