The Nivomat shock system on Volvos is unique in that it is a self-leveling monotube installed on the rear of a Volvo only. What allows them to give your Volvo its smooth ride is the way they automatically adjust to any amount of weight you place on your Volvo. As specialized as Nivomat shocks are, the process of replacing them is relatively easy.
Park your Volvo on a level surface and place a chock block in front of one of the rear tires to prevent the car from rolling when the rear end is jacked up.
Pry off the hubcap on the driver's side tire. Loosed the lug nuts with the lug wrench. Jack the car up until you can place the jack stands under the car to take the weight and still have the tire off the ground. Remove the lug nuts and then the tire itself.
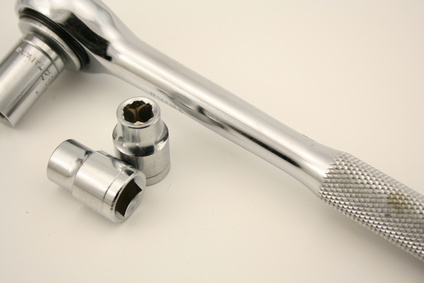
Remove the nut holding the bottom of the Nivomat shock onto the supporting bolt using a socket wrench. Push the Nivomat shock towards the inside of the wheel well until it comes off the supporting bolt. Wait five minutes for the Nivomat shock to fully extend before continuing.
Open the trunk and pull back any carpeting, or remove the clips holding the plastic cover over the top of the wheel well and pull the plastic cover off. You will see the top of the Nivomat shock protruding through the body of the car. Remove the top nut with a socket wrench, then remove the rubber bushings and the two metal washers that sandwich them together from the top bolt of the shock. Make a mental note of how many bushings were installed. Grab the bottom of the shock and pull it out of the wheel well.
Unpack the new Nivomat shock (do not cut the plastic cord that is holding the shock closed). Open the small package of nuts and rubber bushings, and count out the same number of bushings as what you removed from the top piece. Set those inside the trunk along with the new top nut.
Push the bottom of the Nivomat shock onto the support bolt and hand-tighten the nut to hold it in place. Line up the top bolt of the shock with the hole in the top of the wheel well and cut the plastic cord holding the shock closed. As it expands, guide it into place.
Put one metal washer back on the top bolt of the shock and then the new rubber bushings, followed by the second metal washer, and tighten the top nut completely with a socket wrench. Completely tighten the bottom nut. Replace the tire and tighten the lug nuts. Lower the car to the ground, tighten the lug nuts again and replace the hubcap. Repeat the entire procedure on the rear passenger tire.