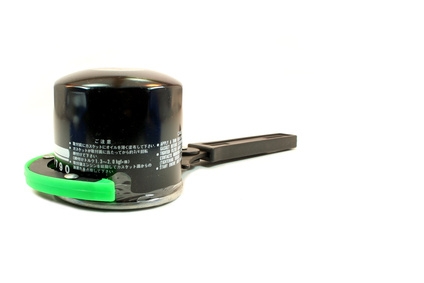
Unlike most cars that use a simple all-in-one oil filter, the 2010 Toyota Camry uses a more complicated oil cartridge system. The filter housing must be removed and opened up to change the actual internal filter. Regardless, the oil filter can still be easily changed at home without the assistance of a mechanic or service station. Both the internal filter and the rubber O-rings should be replaced with each oil change.
Jack up the front of the Camry by placing a floor jack under the center of the front cross member. Place jack stands on each end of the cross member and lower the vehicle onto them.
Position an empty container under the oil pan to catch the used motor oil, and remove the oil drain plug. Allow the oil to drain completely, then replace the plug, ensuring it is sufficiently tight.
Place a socket wrench over the oil filter housing and remove the bolt holding it in place. Unscrew the actual filter housing and pull it off of the engine. Pull off both of the rubber gaskets. Press the new gaskets (included with the replacement filter) onto the housing. Remove the old filter from the housing and slide in the replacement. Screw the filter housing back into the engine and replace the bolt that was previously removed.
Remove the oil fill cap on the top of the engine and fill the motor with 5 qts. of 5W-20 motor oil. Jack up the Camry enough to slide out the jack stands, then gently lower the Camry to the ground.