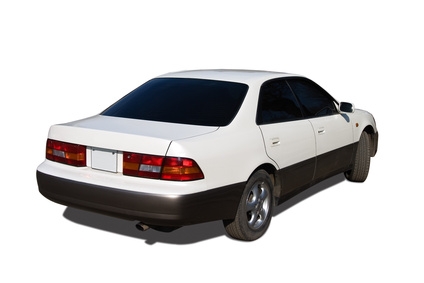
The Nissan Altima is considered by the automotive community to be a mid-sized sedan. Regarding size and ambiance, the 2005 SE model is no different. The engine compartment is located at the front of the vehicle, under the hood. Engine access is needed to perform this procedure. Spark-plug replacement can be performed with common tools and little to no experience. Refer to the 2005 Nissan Altima Owner's Manual for the factory recommended parts, parts numbers and torque levels required to complete the procedure.
Locate the engine compartment and raise the hood. Secure the hood with the prop-rod.

Locate the battery in the engine compartment.
Disconnect the negative battery cable from the battery terminal.
Remove the engine cover. Be careful not to damage the engine cover.
Locate the ignition coil packs. There are six ignition coil packs on the 3.5 engine, one for each spark plug. They can be located on the top of the spark plug and spark plug boot.
Locate the wiring harness connector that is connected to each ignition coil pack.
Pry upward with a flat head screwdriver on the connector tab to release the wiring harness.

Pull outward on the wiring harness connector by hand until the wiring harness is removed.
Remove the ignition coil pack bolt with a socket and socket-wrench by turning the bolt counterclockwise.
Remove the ignition coil pack and spark-plug boot by pulling upward until it releases.
Remove the spark plug by placing a spark-plug socket down on the spark plug and turning counterclockwise with a socket wrench until removed. Be careful not to damage the ceramic spark-plug insulator.

Place the new spark plug down into the spark plug compartment and turn clockwise by hand until the spark plug is hand tightened.
Turn the spark-plug clockwise with the spark-plug socket and wrench until the manufactures recommended torque is reached. Be careful not to damage the spark-plug ceramic insulator during this procedure.

Place the ignition coil pack and spark-plug boot assembly on top of the new spark plug and push downward by hand until you hear a snap.
Insert the ignition coil pack bolt into the ignition coil pack and turn clockwise with a socket and socket wrench until the manufactures recommended torque is reached.
Push the wiring harness connector onto the ignition coil pack by hand until you hear the connector tab snap.
Install the engine cover.
Connect the negative battery cable.