Performing a tune up on a Dodge Avenger means to replace the spark plugs, spark plug wires, distributor cap and rotor. These components need to be replaced periodically and Dodge Avenger owners should strictly follow the maintenance schedules listed in the vehicle owner's manual. If you notice that the performance of your Avenger has been lacking lately, it could be a sign that your vehicle needs a tune up.
Unhook the ground cable from the negative battery terminal. Begin by loosening the retaining bolt using a wrench. Then pull the clamp off the terminal.
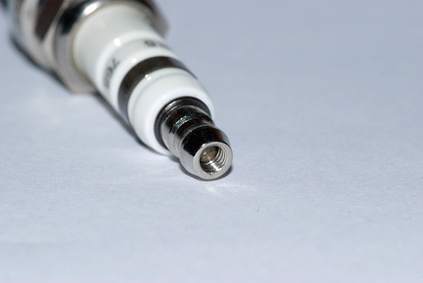
Check the gap between the spark plug electrodes using a feeler gauge. Check the measurements against the specifications listed in the owner’s manual and adjust if necessary.
Pull the spark plug wire off the first spark plug. Unscrew the spark plug from the cylinder head using a spark plug socket and ratchet.
Spread an anti-seize compound on the threads of the new spark plug and screw it into the cylinder head using a spark plug socket and a ratchet. Then push the spark plug wire onto the new spark plug.
Repeat this process to replace all of the other spark plugs. Remember only disconnect one spark wire from its plug at a time. This will prevent attaching the wrong wire to the wrong plug.
Remove the new spark plug wires from the box and arrange them on a flat surface from longest to shortest.
Find the shortest spark plug wire on the engine. Pull it off the distributor and the spark plug. Then push the new wire into the terminals in its place. Be sure to secure the new wire in any clips that are meant to secure it.
Find the next longest spark plug wire and replace it as you did the shortest. Continue in this manner replacing the wires from shortest to longest until all of the wires are replaced. Remove only one wire ate a time, so the wires will not get mixed up.
Set the new distributor cap down in front of the old one, while it is still attached to the engine. Orient the new cap, so it is facing the same direction as the old one.
One by one transfer the spark plug wires from the old cap to the new distributor cap. Be sure not to mix up any of the wires while transferring them to the new cap.
Loosen the old distributor cap mounting screws by pressing down on the screw heads and rotating them 1/2 turn. Then lift the cap off the distributor.
Unscrew the rotor from the distributor shaft using a Phillips screwdriver. Be careful not to drop the screws into the distributor body. Lift the rotor off the distributor.
Drop the new rotor onto the distributor shaft; screw in the two screws that secure it.
Set the new distributor cap onto the distributor and tighten it by pressing down on the screw heads with a Phillips screwdriver; then hook the screws underneath the distributor body.
Slide the negative battery cable onto the negative battery post. Then tighten the retaining bolt using a wrench.