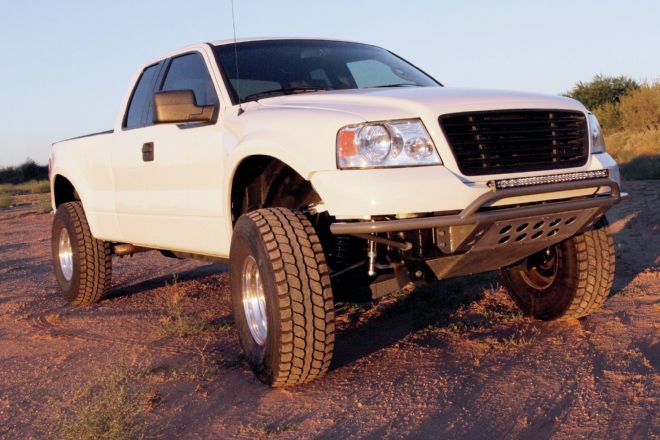
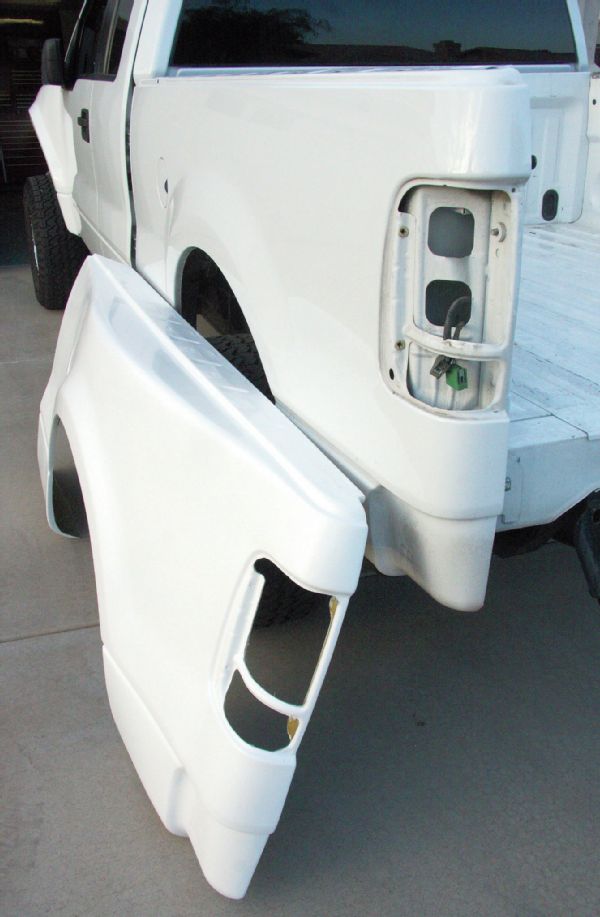
You see them running around town or in the desert. We’re talking about those trucks with unpainted fenders and maybe unpainted bedsides. We’ve been there for some number of months running our ’06 F-150 prerunner truck with bare fiberglass. However, we sort of got away with the look since our Ford is white, but it was time to finally shoot some color onto the ‘glass and have the truck completely painted again.
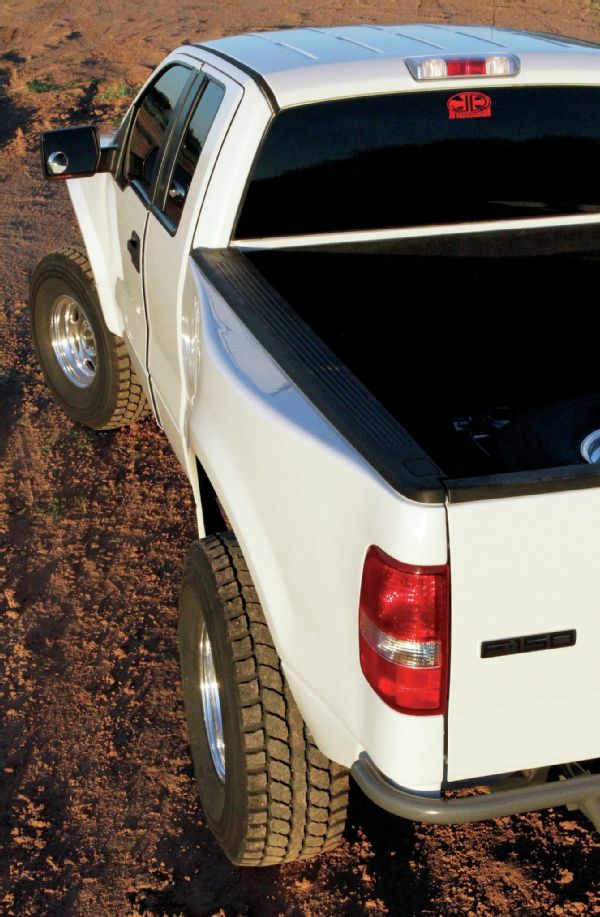
We’d previously installed Glassworks Unlimited fiberglass front fenders and bedsides. The fenders we purchased offer a 4-inch flare and 3-inch rise at the fender arch over the stock fenders. They’ve also been enlarged to a wider opening at the back edge near the door for better tire clearance. We needed the extra room to accommodate the movement of our 37-inch BFGoodrich Baja T/A tires attached to a JD Fabrication long-travel kit that pushes each tire out 4 inches over stock. The Glassworks fiberglass bedsides for the ‘04-08 F-150 have a 4½-inch flare and 3-inch rise over stock. They come with a contoured area for the fuel filler door and can be used with the stock tailgate.
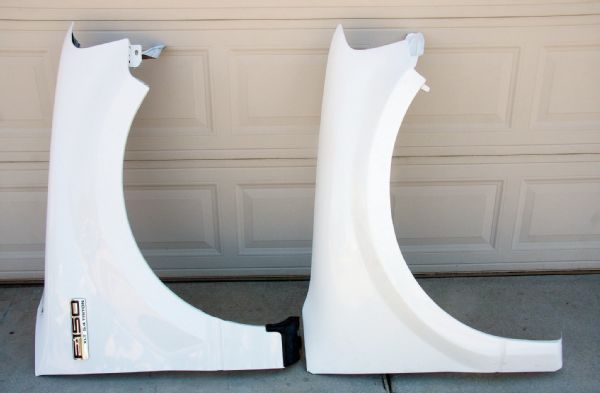 The front fender installation was fairly straightforward, being a bolt-on affair. We removed each factory steel fender (left) to install the fiberglass replacement (right). With the new fender sitting in place, we checked for hood clearance, then marked, and drilled holes along the top edge to align with the existing holes on the metal inner fenders. We used a small standard twist drill to start holes and enlarged the holes with a step drill.
The fenders were mostly a bolt-on affair, with some minor trimming and fitment work. The bedsides were more involved, but still manageable as a DIY home project. With the fiberglass trimmed and fitted, we took the truck to Lamb Fab, a custom shop in Gilbert, Arizona, to have their crew complete the finish bodywork and lay down some glossy white color onto the panels.
We’ll recap some of the installation procedure we followed and point out some tips we used. We’ll also share with you some of the methods used at Lamb Fab to get the fiberglass looking good and prepped for paint. When all was said and done, we were back in white and the truck was looking sharp.
 You need to be careful with the body panel gap at the door. It’s wise to open and close the door to check that the door and fender never rub. The required gap may be more than you expect. Masking tape at the panel edges offers some door paint protection when doing this.
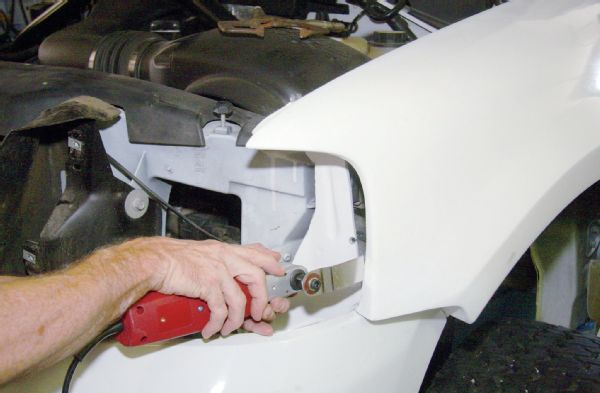 Fiberglass panels usually require some trimming for fitment. We cut the fiberglass with a thin cutoff disc in a 4-inch angle grinder and a multi-tool with a vibrating blade. Smaller areas of cleanup were done with a flap disc on a grinder and sandpaper. You can’t expect the fenders to be exactly symmetrical and you’ll need to do some test-fit and trim iterations. Areas such as this corner in the headlight bucket may need trimming and shaping. Both of our fenders needed to be opened up to clear the headlight assemblies.
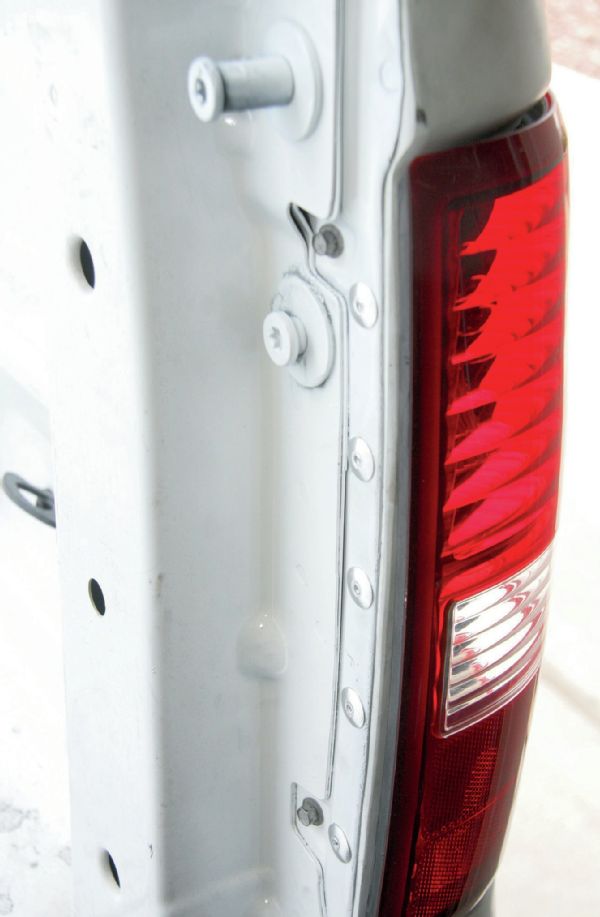
 Dealing with the bedsides meant cutting sheetmetal or cutting spot welds to separate the factory outer bed skins from the inner panels. We used a simple spot-weld cutter in a cordless drill to cut through the many welds. You can also cut away the outer skin with a saw or cutting disc if you want a faster method.
 The guys at JD Fabrication provided us a tip to strengthen the new bedsides and improve the mounting rigidity. We welded a piece of 1-inch box tubing to the factory inner panels to further support the fiberglass bedside. We secured each bedside to the box tubing and to the stock inner panel using large-head 3/16-inch aluminum blind rivets.
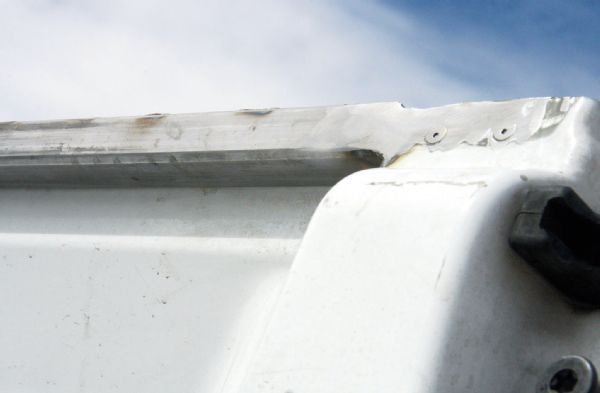
 Here’s another tip we picked up from JD Fabrication. We mounted the bedsides so the trailing lip at the tailgate sits to the outside face of the stock inner fender, rather than to the inside face. This leaves a gap at the tailgate joint so the tailgate fits well. Otherwise, you have to sand the fiberglass very thin to fit at the tailgate joint or remove the tailgate.
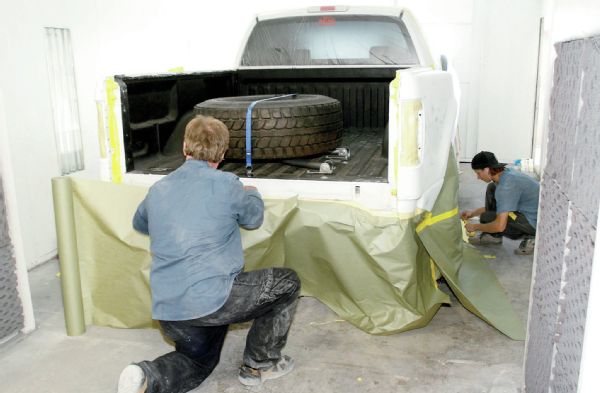 The truck then went to Lamb Fab for final bodywork and painting. As provided, most fiberglass panels have some waviness in them, especially long bedsides. Joe Dunphy and Justin Miller sanded out the high spots on the bedsides and added thin filler where needed to get the fiberglass looking straighter. Then it was time to pull the truck in the paint booth for primer. A really good paint shop will mask a vehicle to the floor like this to prevent overspray from getting anywhere on the vehicle.
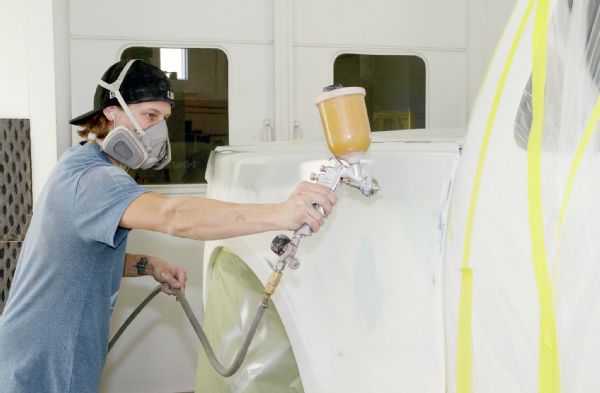 Justin shot three coats of high-build primer onto the bedsides to further help smooth the glass ripples and wavy spots. He added flex agent to the primer mix to provide a less rigid backing for the paint base. This is good practice when shooing onto fiberglass, and when it’s for an off-road application.
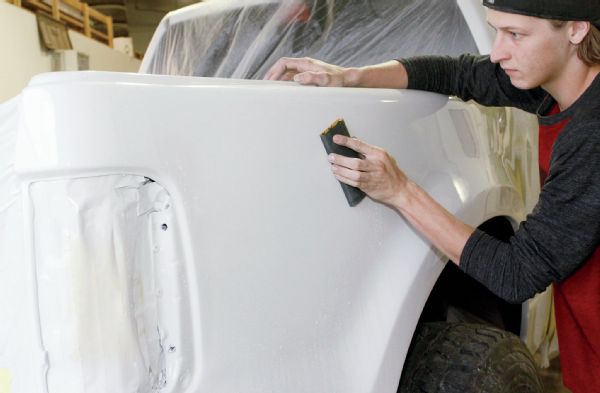
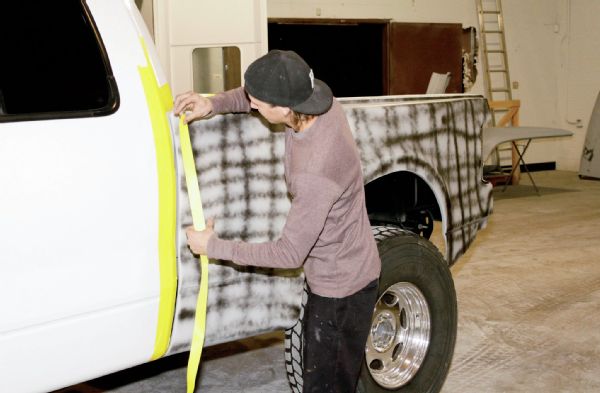 The final coat shot after the gray primer was a black stripped guidecoat layer. Once the primer cured, the truck came back out of the paint booth and was taped off for final sanding. It was block and wet-sanded to get a smooth, flat base for the paint to follow.
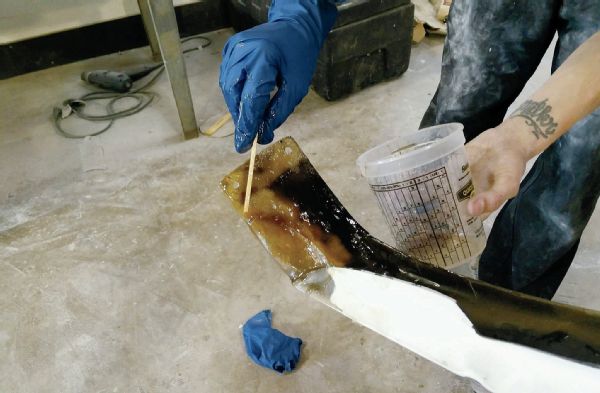 With the bedsides ready for color, Justin moved on to working on the front fenders. They were removed from the truck and he added fiberglass at the corners where it was needed to better match the door lines. He also strengthened the lower edge of each front fender where the fiberglass was thinner.
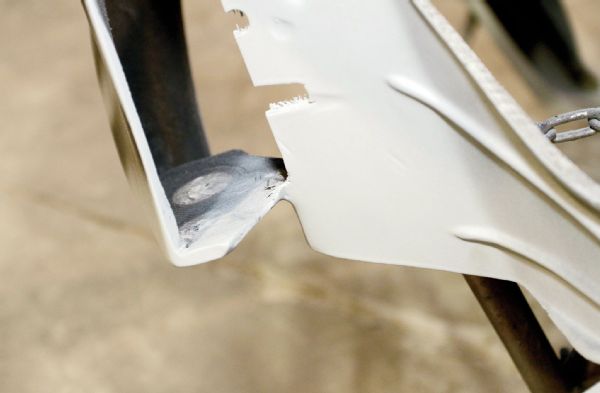 It’s good to check the fiberglass pieces carefully before committing lots of time to painting them. The thin area where the front fenders meet the headlight brackets had some evident cracking. Justin laid on a bit more fiberglass to strengthen the small bridged area.
 The front fenders got the same primer and guidecoat treatment as the bedsides. Note also that you may find minute gelcoat cracking on some pieces. It’s best to address those with body filler prior to priming to avoid paint headaches later. In general, fiberglass body prep takes more time than if you were prepping steel replacement panels. The added attention to detail at this point will pay off with a better final paintjob.
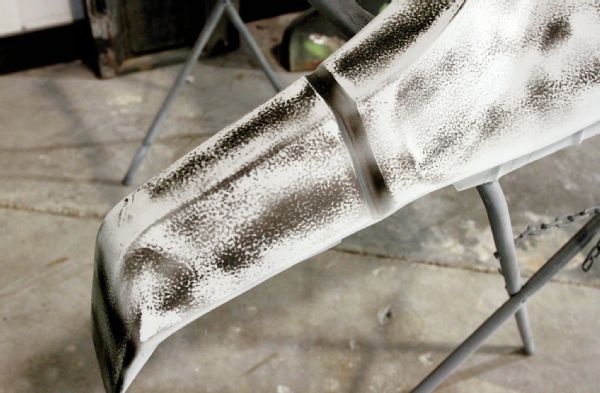 This gives you an idea of the guidecoat behavior during sanding. The initial waviness of the gelcoat and the heavy base primer was flattened with the sanding, hiding imperfections from the mold process. Once the primer was laid down on the fiberglass, subsequent paint and prep work proceeded much the same as if the panel were steel.
 After final primer sanding and wipe down, the truck was ready for color and clearcoat layers. The bedsides were again painted on the truck, while the front fenders were painted on stands. Once the color and clear were sufficiently cured, the fenders were remounted, and final aligned to the hood and doors.
 The clear was wet-sanded and buffed as the final processes. With the work poured into smoothing the glass panels, they now looked like the sheetmetal pieces they replaced. The bed caps, taillights, and tailgate were reinstalled.
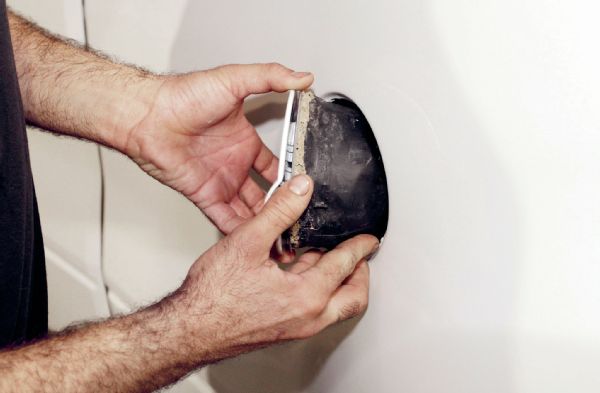 The stock gas filler door was painted to match and secured to the bedside using 3M Panel Bonding Adhesive applied to the backside. The factory filler components were used, along with longer connector hoses to get the filler out to the widened bedside.
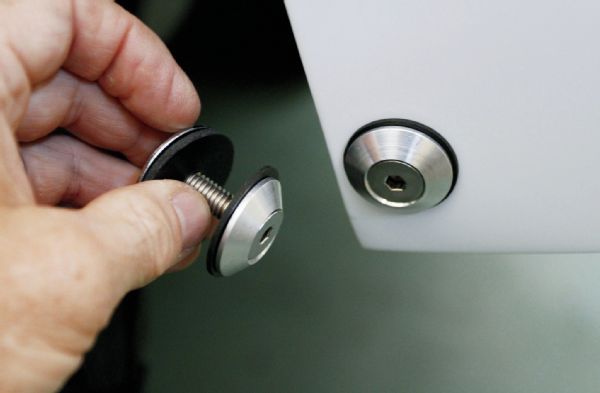 We had modified the stock bedside support rods and reused them on the new bedsides to keep the lower end of the panels from flapping around. We installed some machined aluminum washers and used rubber fender washers front and back to sandwich the fiberglass without harming the paint, while still allowing some slight flex when needed.