The term prerunner can mean a lot of things. One is a basic stock pickup that has seen the addition of some good shocks and larger than stock all-terrain tires.
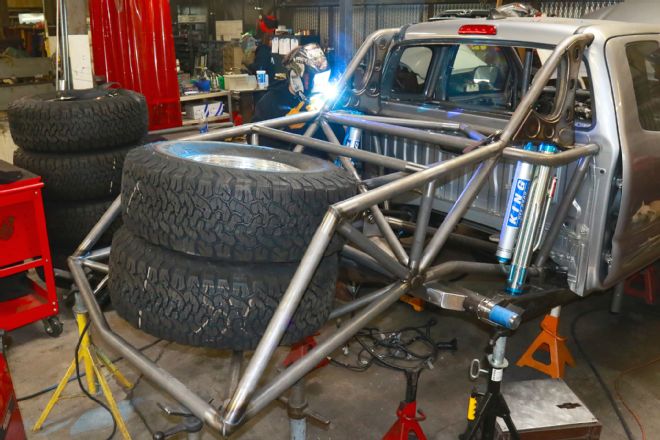
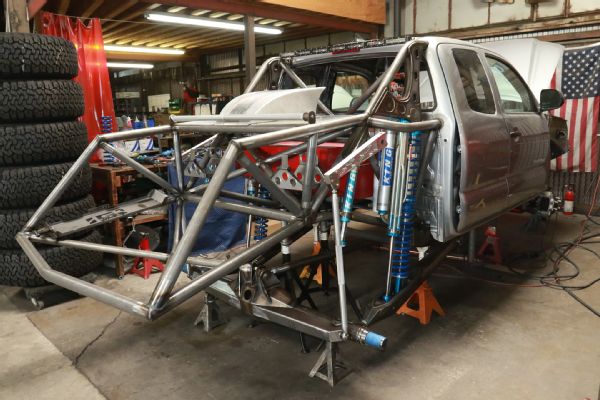
Others are like this under construction Toyota Tacoma 4x4. Sure it has good shocks and larger than stock tires, but it also is getting a little bit more. Like an entirely new back half suspension system that is tied to a fully integrated cage. This is Trophy Truck territory and when completely done, this Tacoma will have the capabilities of driving nearly anywhere on Earth, and doing it quickly and safely.
Solo Motorsports has been tasked with this job, and the owner of this truck has many more plans for it than just what Solo does, and we plan on shooting it once it’s completed. But we’re getting ahead of ourselves.
Sure, this truck will be trick, but know that this isn’t a job that comes cheap. We shot this story to show just how a complete cage/suspension system is constructed and what materials are used. It’s a labor-intensive job that takes a long time to complete. We personally stood around the cold shop (it was January, after all) for nearly 2 weeks while Ryan Cook first took apart the stock Tacoma and then built the cage/suspension system.
With the back half being done, work to the front suspension system will now begin. It will utilize a Solo XLT 19-inch travel kit and a series of support tubes will connect the front end to the rest of the cage, which even now snakes around the cab. So follow along as this new Tacoma becomes all that it can be: with a little bit of help from Solo, King, Currie and a lot of fabricating skill.
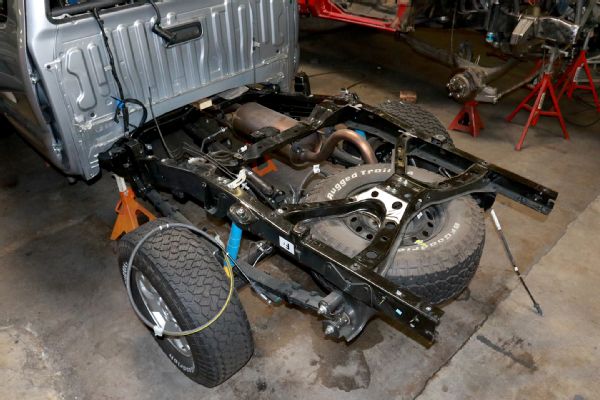
Nothing too surprising about the stock Tacoma rear frame section. It’s sturdy and it works well as a stock entity, but not as a full-fledged pre-runner.
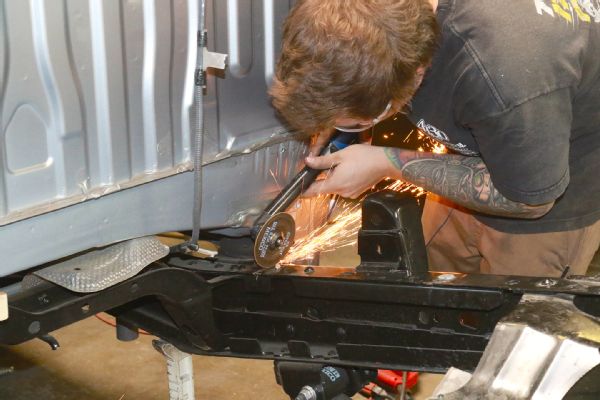
With the truck securely up on jack stands, the frame rails are cut through just behind the cab.
The now free stock section is rolled out of the way.
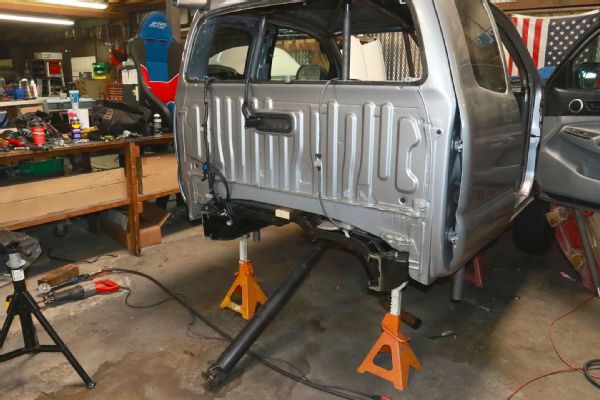
The Tacoma as a blank canvas. This build will take many hours and a lot of material, so know that when you want a shop to build yours.
Pieces of 3/16-inch steel are used to box off the ends of the rails. They will soon be totally MIG welded on.
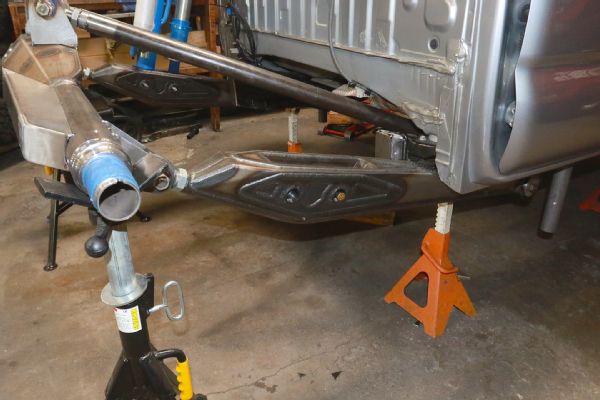
Solo Motorsports makes two lengths of trailing arms. These are the “shorty’s” at 48-inch. They are made from Chromalloy steel, heavily gusseted and equipped with 1-1/4 Heim joints with 1-inch Uniballs.

A Currie Enterprises 40-spline, full-floater rearend is to be used. It comes with the truss tack-welded in place, but not fully welded. When the shop finishes installing their hardware to it, the unit will be sent back to Currie for finish welding. That way, they can make sure that the unit is straight.
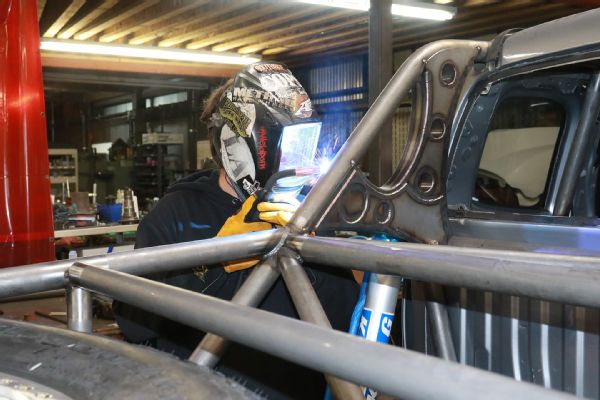
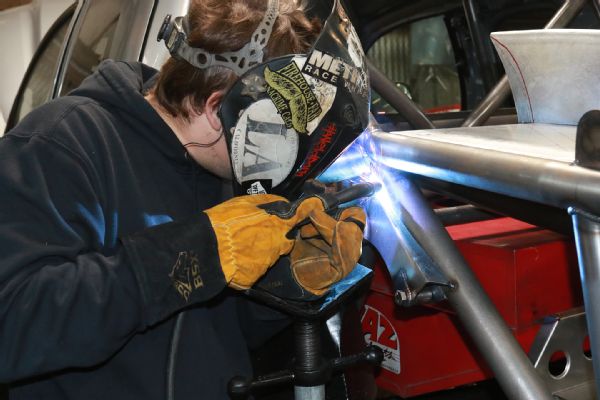
The first section of cage is built. Ryan uses 2-inch, .120 wall DOM tubing. Note the diagram on the table used as a template.

This section is attached and integrated into the cab cage. When done, the cage will tie the front suspension to the rear suspension through the cab.
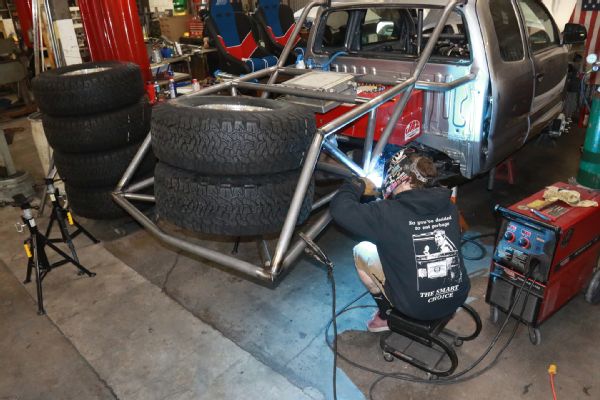
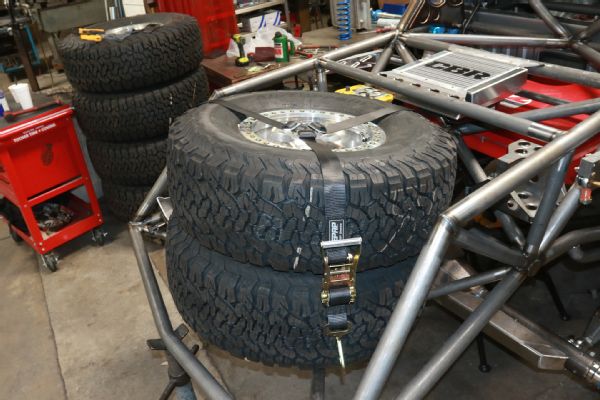
Two spare, 37-inch BFG AT tires will sit in the cage, so they are set into place and the side tubes are installed. Not that they radiate from the 9-tube junction.
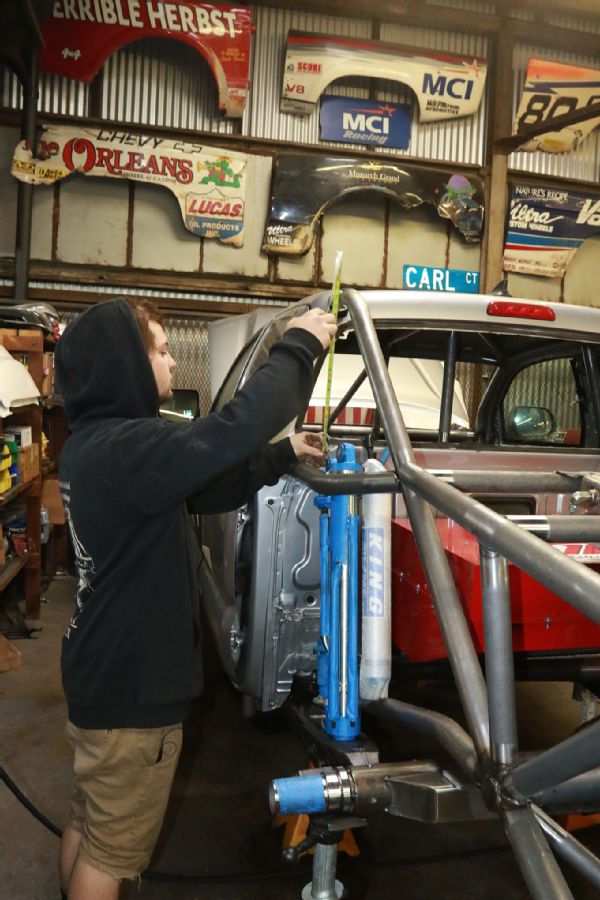
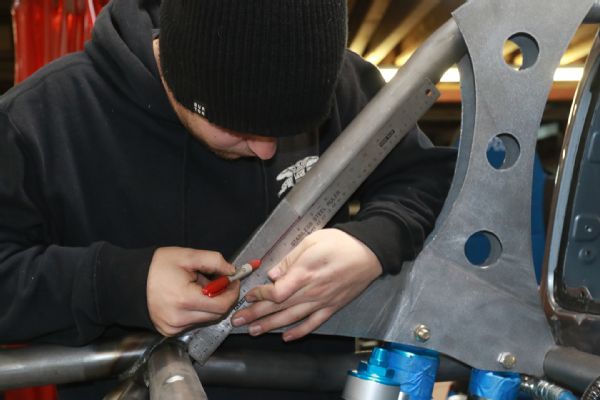
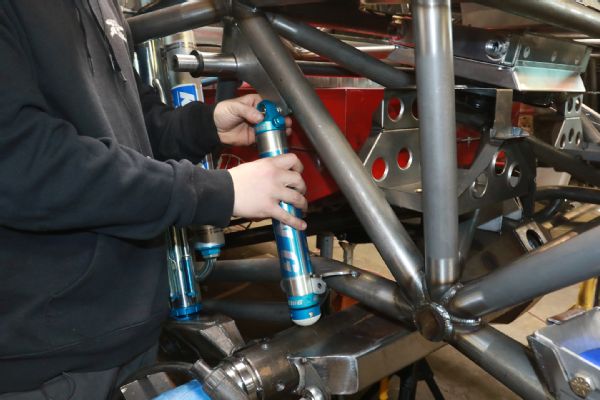
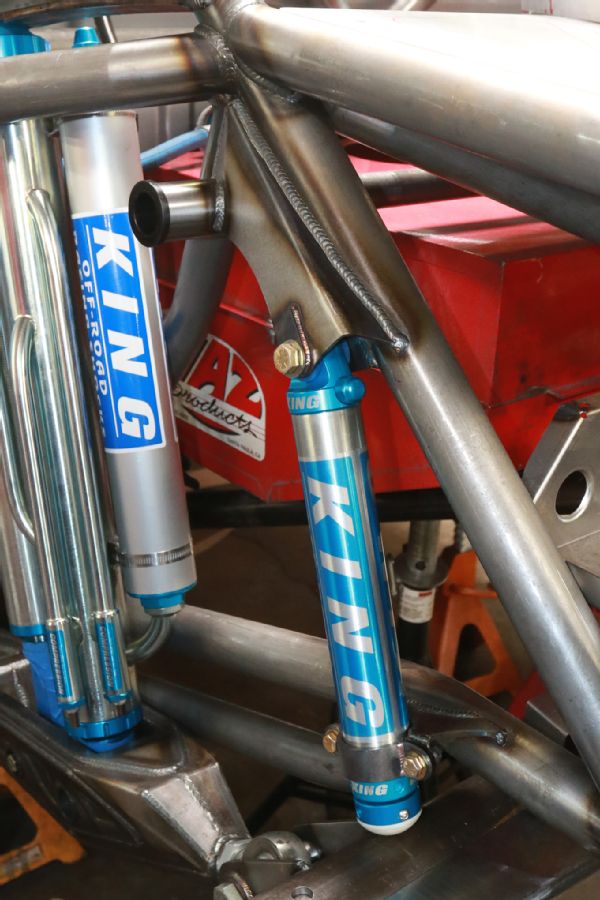
The King 2.5x16 coil over and 3.0x18 4-tube bypass shocks are bolted to the arms, and measurements are taken for the upper shock mounts.
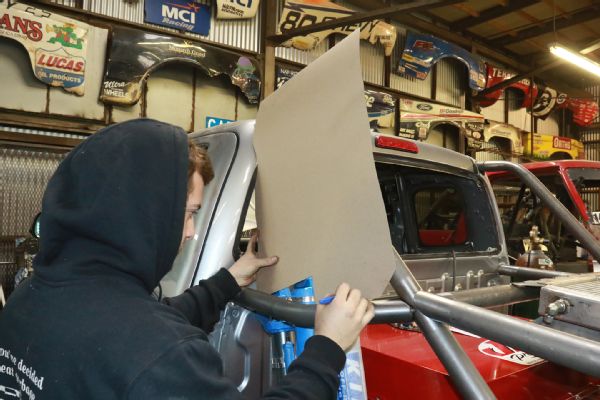
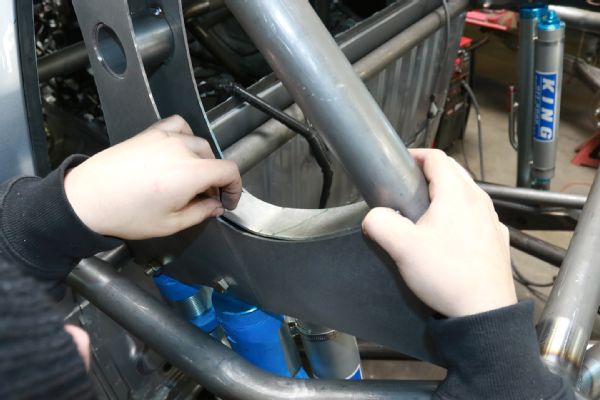
Construction paper is used to make a basic template.
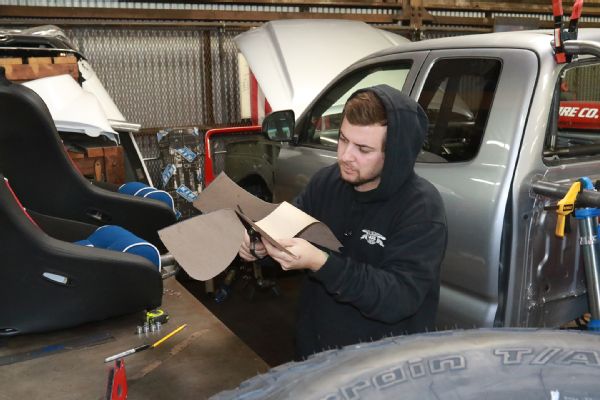
Using experience and a pair of scissors, the template is slowly whittled into shape.
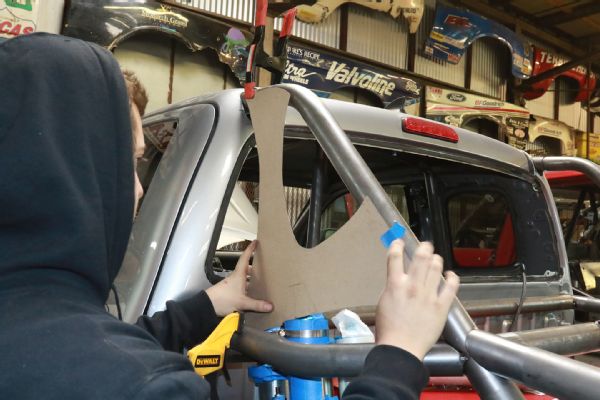
The final template is done.
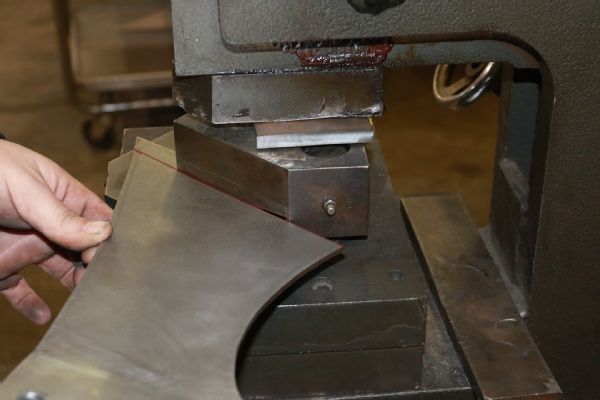
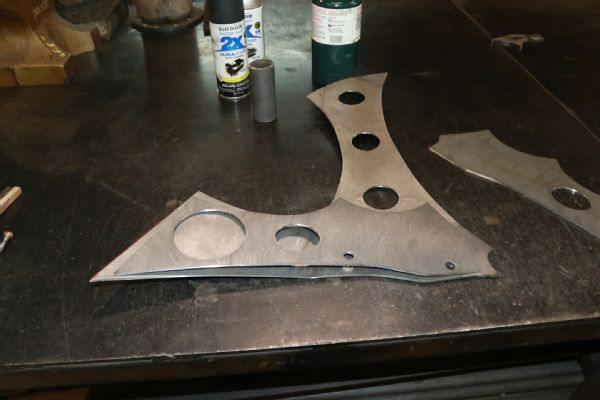
The template is transferred to 1/8th-inch Chromalloy sheet and then cut into basic shape using an “iron worker.”
Again, the piece of steel is slowly modified until it’s the exact shape and size required.
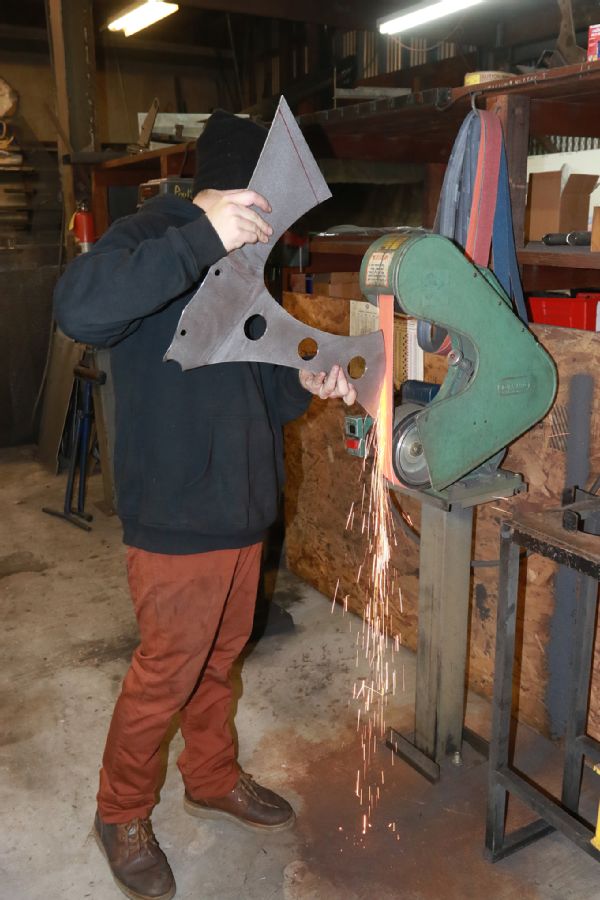
Shaping takes place with a belt sander.
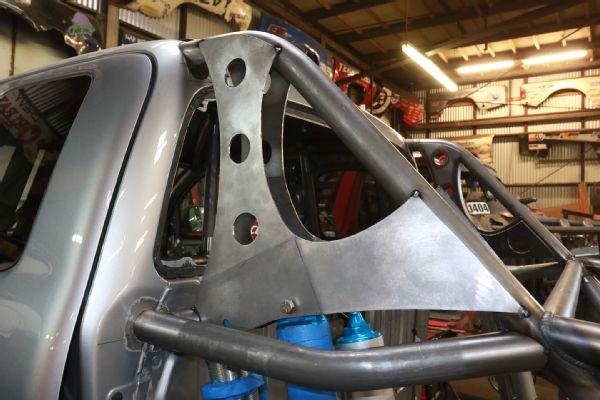
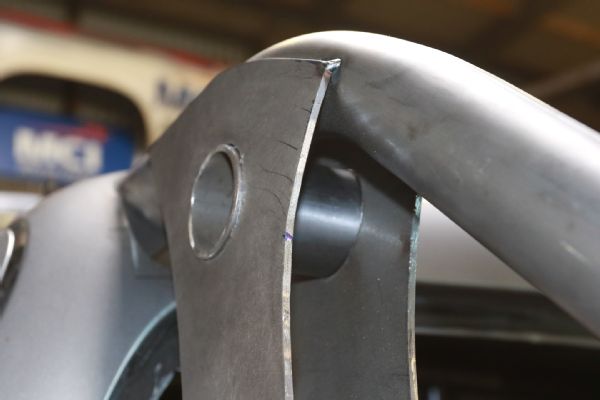
A plasma cutter was used to form the holes and the piece has been bent in the brake to fit the contour of the cage.
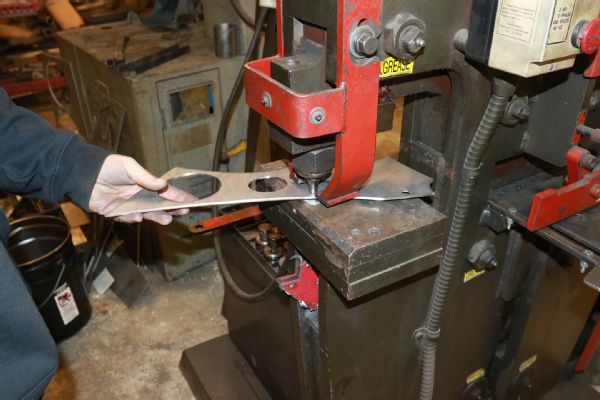
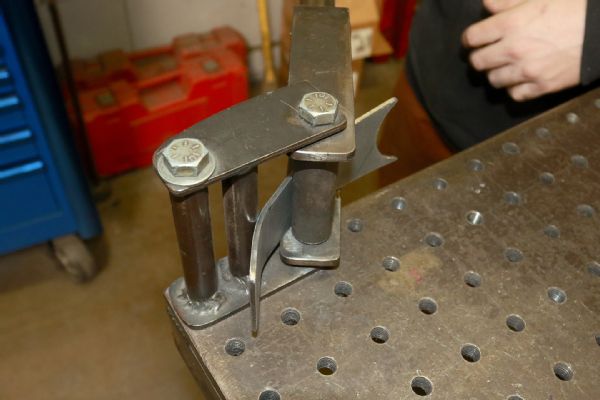
The “Iron worker” is used to punch the shock mounting holes, though this is actually the doubler plate.
Another 1/8th-inch piece of sheet is used to construct the doubler plate. The plate will add strength and rigidity to the mount.
The two pieces are TIG welded together.
A series of 2-inch, .120-wall DOM “through tubes” are fed into the holes and will be welded. A plasma cutter was used to cut the holes.
A few pieces of the 1/8-inch sheet are bent using the radius former.
The bent pieces are onto the brackets and welded into place
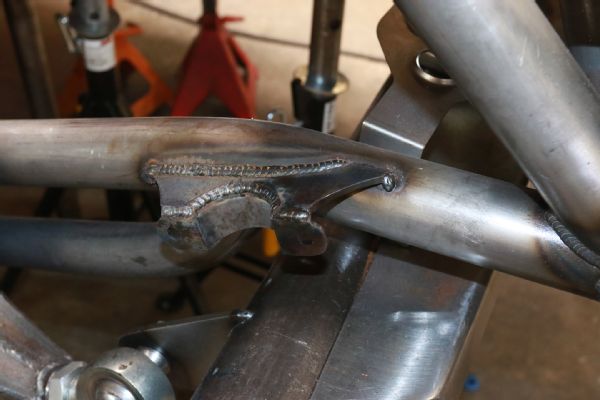
Cook uses a MIG welder to completely weld the shock mount.
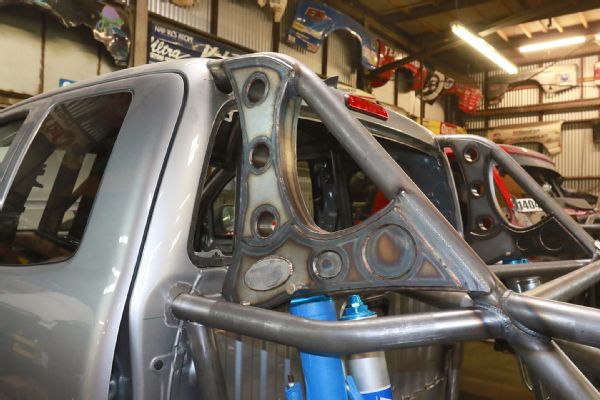
Part shock mount and part modern art, the bracket is done.
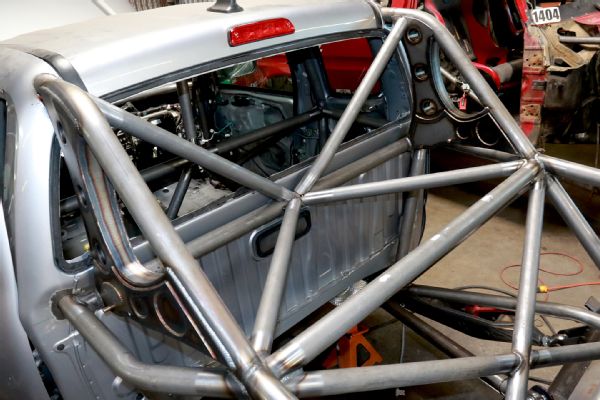
A series to tubes are cut and welded in to form what Cook calls a “window junction.”
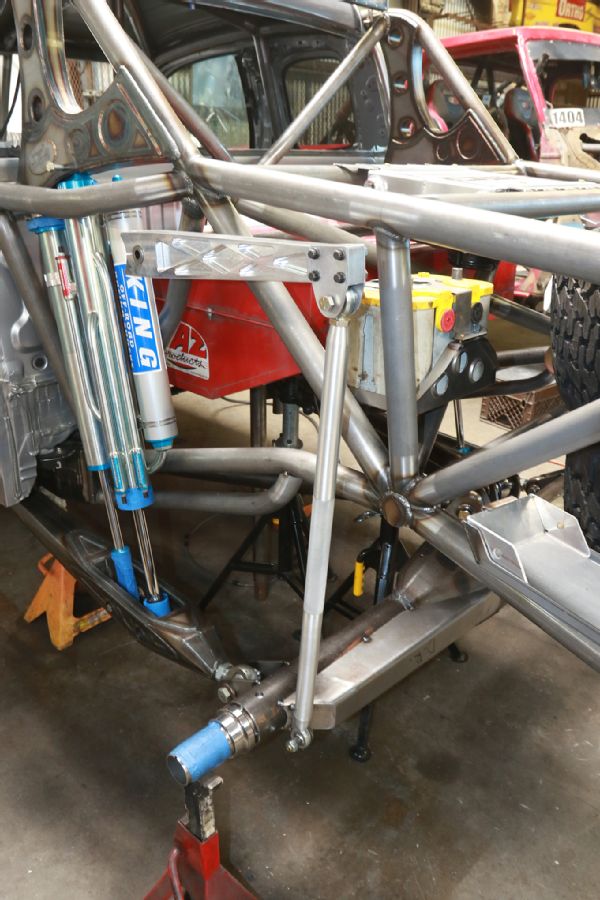
74Weld made these sweet sway bar arms from billet aluminum. They are attached to the Currie housing with Solo Motorsports billet aluminum tie-rods.
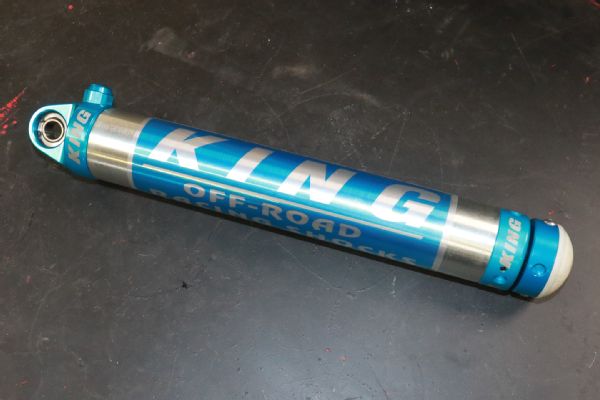
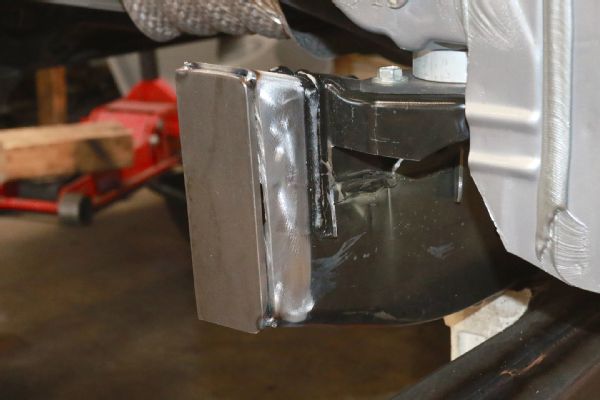
If they look different, good eyes on you, as the King 2.0x4-inch bolt in bump stop is a new design. With the upper eye and being clamped down low, they’re easier to install than the traditional style bump stop.
The upper bump stop mount is integrated with the sway bar tube, so that they’re both essentially one-piece. It’s also made from the 1/8th-inch Chromoly plate.
The King bump stop is slid into place and the fit is checked.
An outer piece of Chromoly plate is formed and welded into place.
The lower mount is fabricated and welded into place.
With the welding done, the mount is finished and it’s easy to see why this new design is much lighter than the traditional bump stop mounts and to is much easier to replace a damaged bump stop should the need arise.

Cook also formed a scoop out of .063 aluminum sheet for the CBR 12x12-inch transmission cooler and a Solo hydraulic jack skid plate mount has been welded on too.
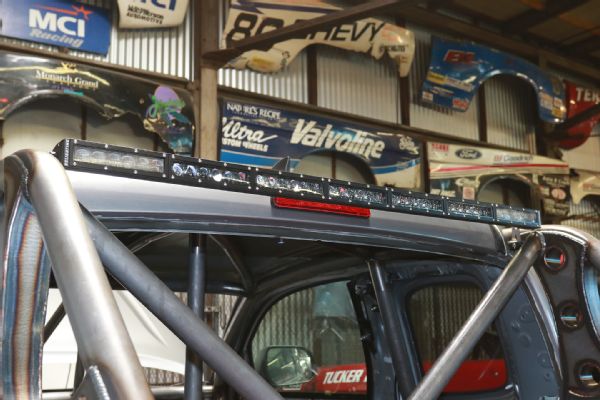
A GG Lighting light bar runs across the top of the cage providing ambers, stop lights and white light to all those behind.
The BFG’s are held in place with PRP wheel straps.
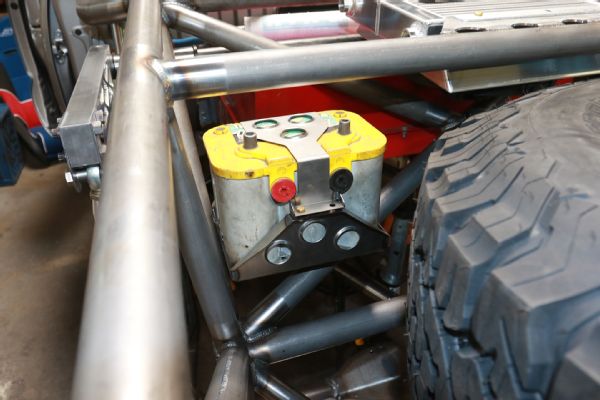
Twin Optima Yellow Top batteries are held in place with aluminum mounts and a Jaz 32-gallon fuel cell is in place just below the CBR cooler.
And there it is. The rear half of this soon to be killer Tacoma is done. Now Cook will do to the front end what he did to the back. Stay tuned, as when this truck is done, we’ll be shooting a full feature on it.