Four-door Rubicon JKs are remarkably capable off-roaders in their stock form as well as being one of the best-riding Jeeps for day-to-day use. However, for some owners, like those who thrive taking on the challenges of Moab, the Rubicon, or Oregon’s Brown’s Camp, stock just isn’t good enough. Instead, they are constantly striving to take their Jeep’s off-road prowess to the highest level while still keeping ride and handling suitable for a daily driver.
Julius Griffith is one such JK owner. His ’14 AEV Hemi Rubicon, already set up with a 3-inch suspension system, Dana 60s and 37-inch tires, is a great trail and street combo. After spending a good part of last summer on off-road forays, though, he decided the JK needed more ground clearance and suspension articulation to handle the trails and challenging terrain he enjoys exploring.
Dunks Performance in Springfield, Oregon, handled the earlier upgrades, so they were tasked with taking his Hemi-powered JK to the next level. They installed a Synergy Manufacturing Stage 4 long-travel suspension to clear the way for Nitto 40s. Taking the big step up to a premium long-travel suspension of this type—and the additional changes (bigger tires, better shocks, etc.) that come with it—isn’t cheap, pushing well into four figures.
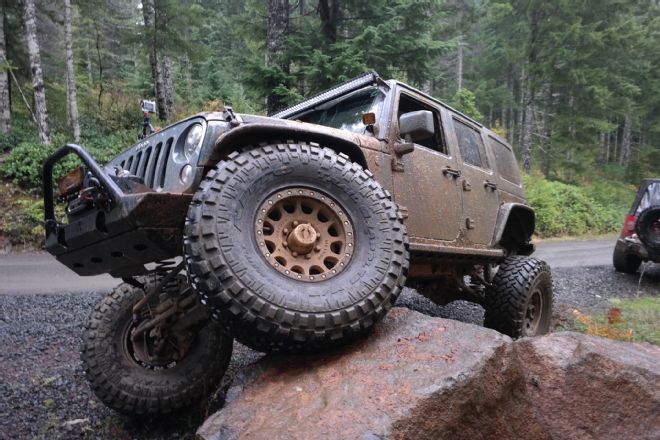
However, for adventurous Jeepers like Griffith, the benefits definitely show their worth when boulders that would normally beat and bang the skidplates pass harmlessly underneath while the suspension articulates smoothly over rugged terrain. The long-travel suspension is also smoother on-road, a plus for a daily-driver/family vehicle.
The conversion isn’t for faint of heart DIYer as we discovered following Dunks Performance tech Casey Castle through the task of installing the Synergy Stage 4 kit. This suspension upgrade takes an experienced mechanic 12 to 14 hours and requires cutting off most of the major factory suspension brackets on the frame, trimming the rear track bar and shock brackets, grinding all those areas smooth, then drilling and bolting (no welding required) on the new components. The fuel tank also has to be dropped.
Although this upgrade can be done on a garage floor using jacks and jackstands, it’s far easier using a lift. It’s also nice having a state-of-the-art in-house alignment machine to make everything perfect before you hit the road. Dunks offers both, which makes it a total in-house job for its customer. Here’s how Dunks took Griffith’s AEV JK Rubicon four-door from an already respectable trail machine to one that was awesome.
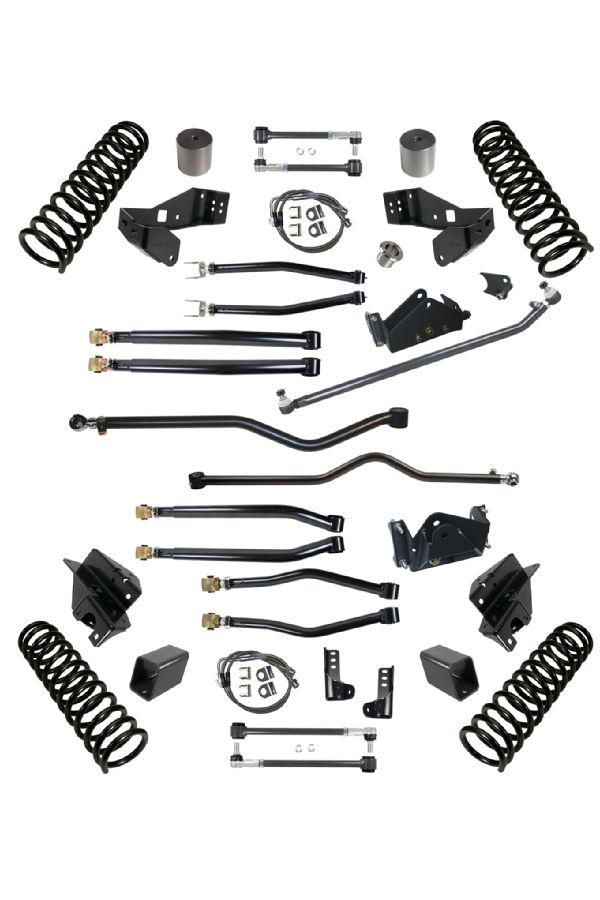
Synergy Manufacturing’s Jeep JK Stage 4 kit is 100 percent bolt-on and includes all the hardware to swap out the stock components for a 4 1/2-inch-lift long-arm version. This kit makes way for 37s with stock fenders, or 40s with high fenders, which is what this owner did. (This long-arm suspension requires new wheels and shocks.)
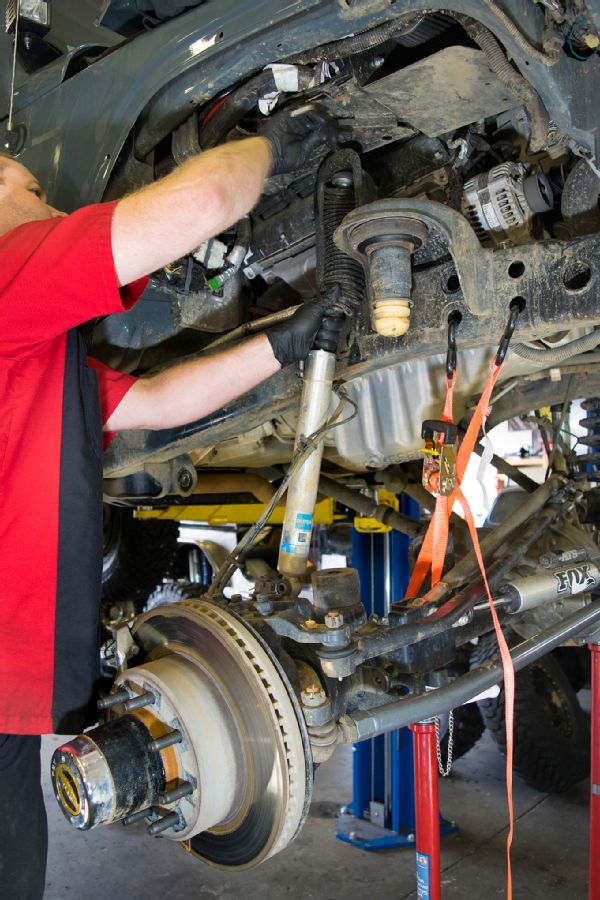
The Synergy Stage 4 upgrade requires removing the skidplates and all of the factory or other suspension components. Here Dunks’ Casey Castle works on removing a 3-inch aftermarket kit that was under Griffith’s Rubicon to make way for Synergy’s Stage 4 parts.

Castle uses a pair of adjustable jackstands under each front and rear axlehousing, as well as wrapping a small ratchet strap around the side of the axlehousing he’s working on. These steps provide quick adjustability and an added level of safety when removing/installing the suspension components.
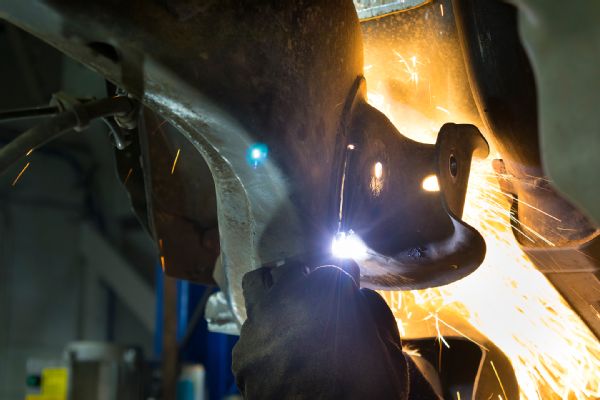
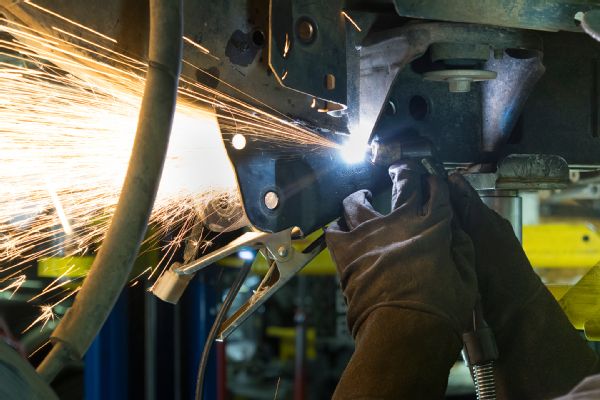
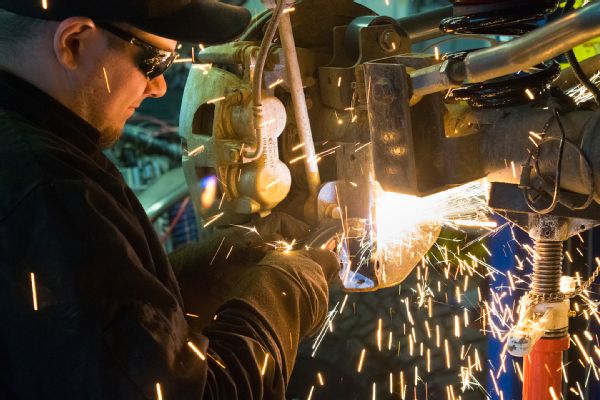
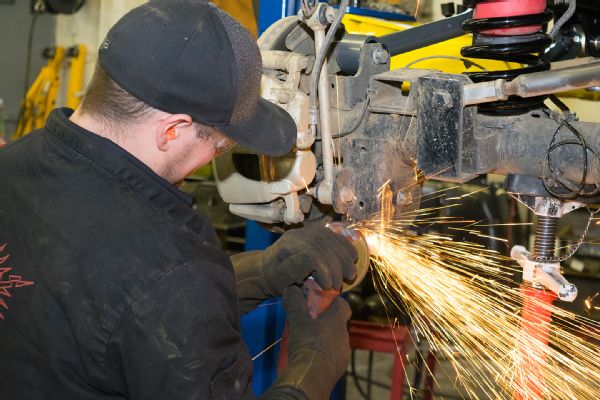
After the front suspension components are removed, the real fun begins. Removing the inner/outer parts of the lower control arm brackets and the entire upper control arm bracket per Synergy’s instructions that come with the kit. Castle uses a Miller plasma cutter to make short work of the tasks.
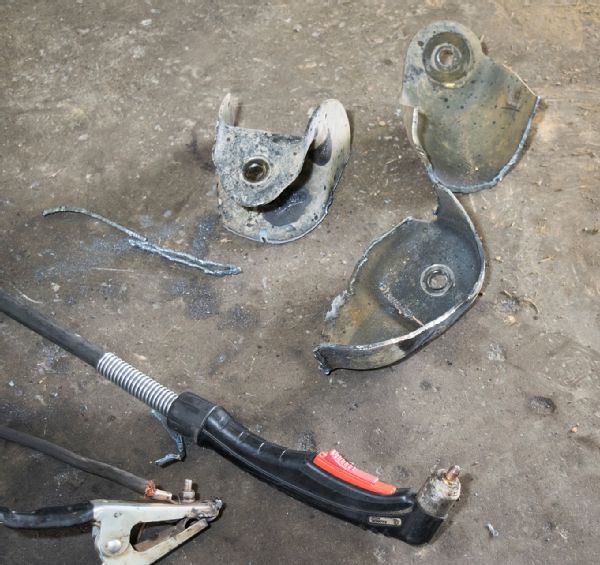
Here’s the remains of the factory front control arm brackets Castle cut off the frame to make way for Synergy’s new brackets and long-arms.
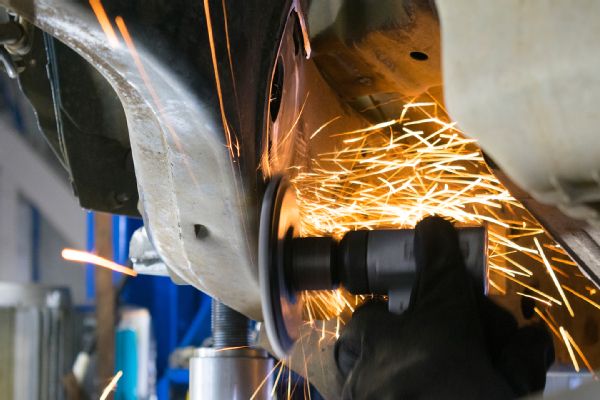
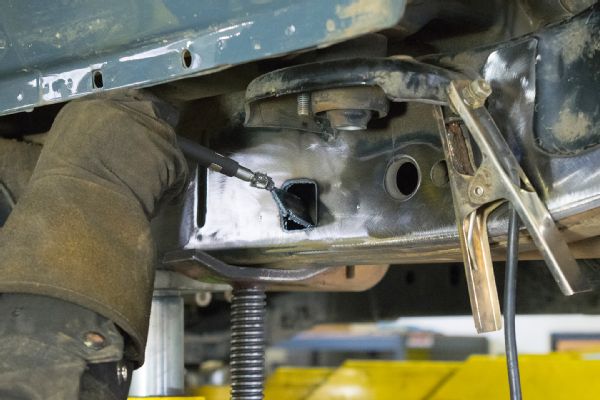
The areas where the factory brackets are removed need to be ground smooth so the new brackets fit snug to the frame.
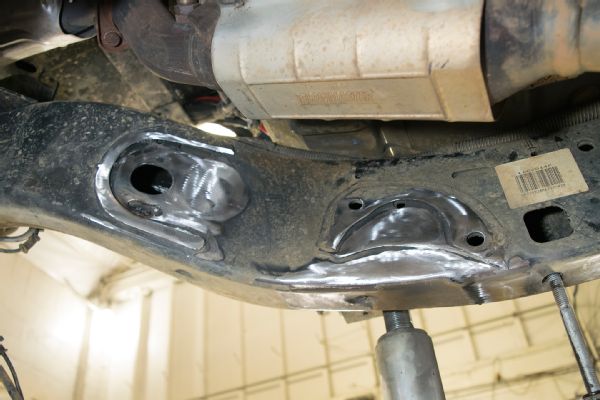
Note the exhaust: This is an AEV JK with the Hemi conversion, so exhaust had to be rerouted after Synergy suspension install.
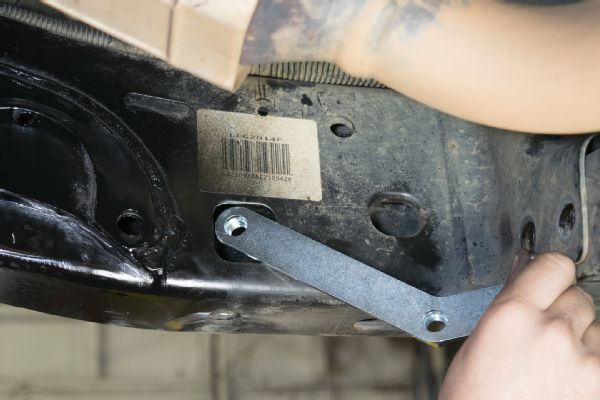
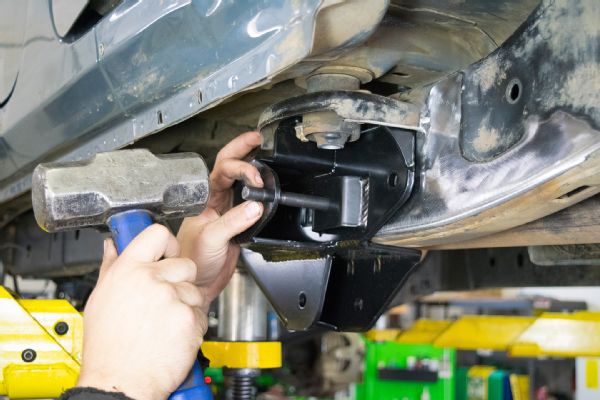
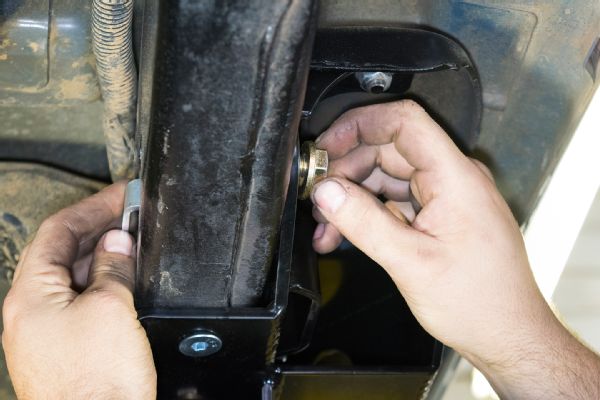
After the frame is smoothed and coated with a rust-inhibiting paint, the Synergy threaded frame inserts for the transmission skidplate need to be removed. This is done by threading a skidplate bolt back in and hitting the head hard with a hammer to break the nut inside the frame to break loose. Do this on both sides. Then insert the Synergy nut-tab plate into the frame.
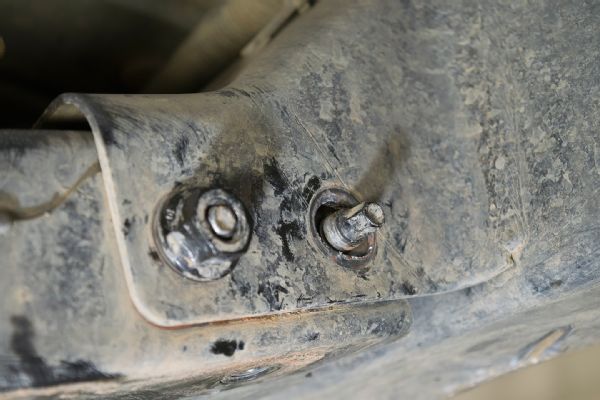
Now remove the nuts from the JK transmission cross member bolts. If the nuts aren’t on the engine side, flip the bolts around so the nuts are on the front-facing side.
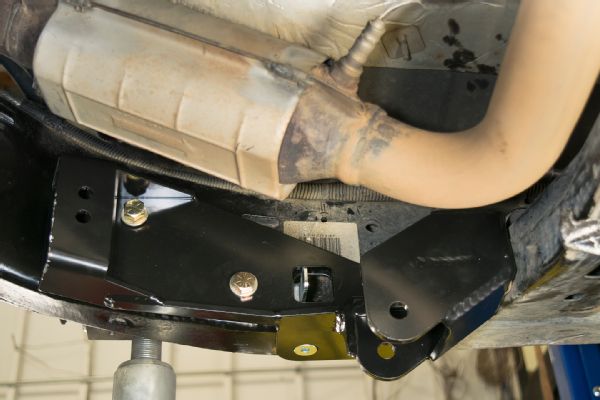
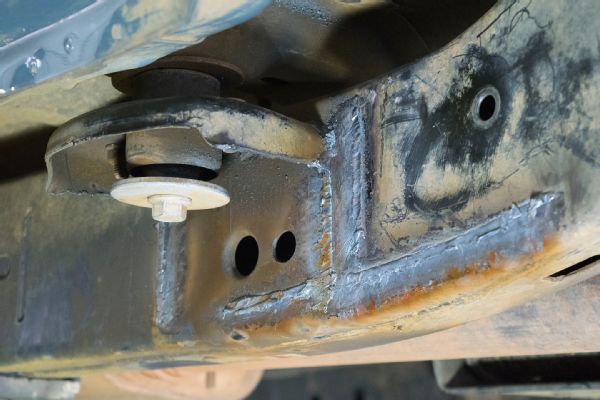
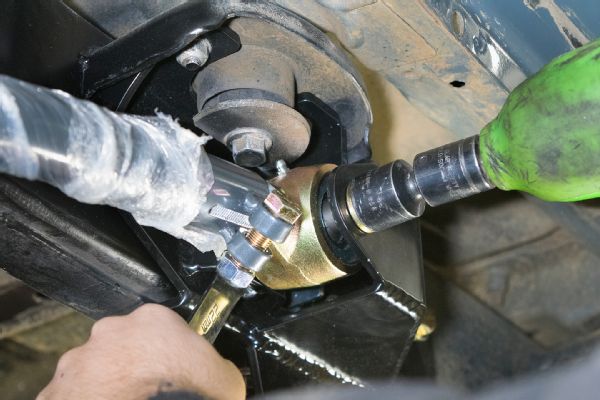
Place the Synergy control arm bracket over the transmission cross member bolt and lightly tighten the 1/2-inch Allen-head screws into nut tab. Follow by using the factory trans crossmember bolts and nuts to bring the control arm bracket into place against the cross member and the supplied frame nut tab to bolt bracket to the frame rail. Tighten all bracket hardware to 90 ft-lbs.
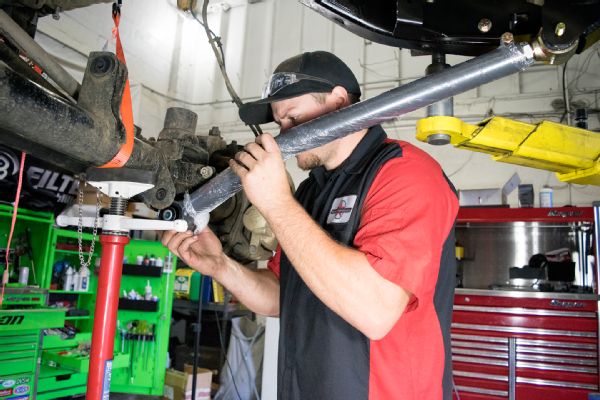
Before installing the Synergy lower control arms, adjust both right and left control arms to 31-5/8-inch center-to-center using the adjuster sleeve. This sets a starting point before final alignment. Control arms need to be installed with the bends upward and inward.
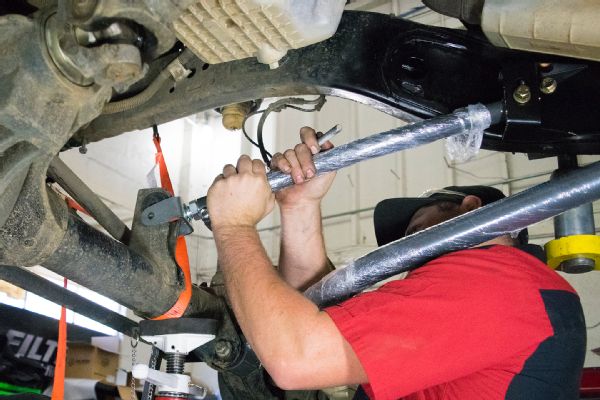
Proper placement of the control arms is the Johnny Joint on the frame end of the control arms, with grease fitting on top. Castle likes to leave the shrinkwrap over the arms until the install is completed to protect against scratches before leaving the shop.
Castle preset the upper control arms to 25-inch center-to-center per Synergy’s instructions before bolting them in place, and then they were installed flex joint to frame, with the adjustable end at the axlehousing.
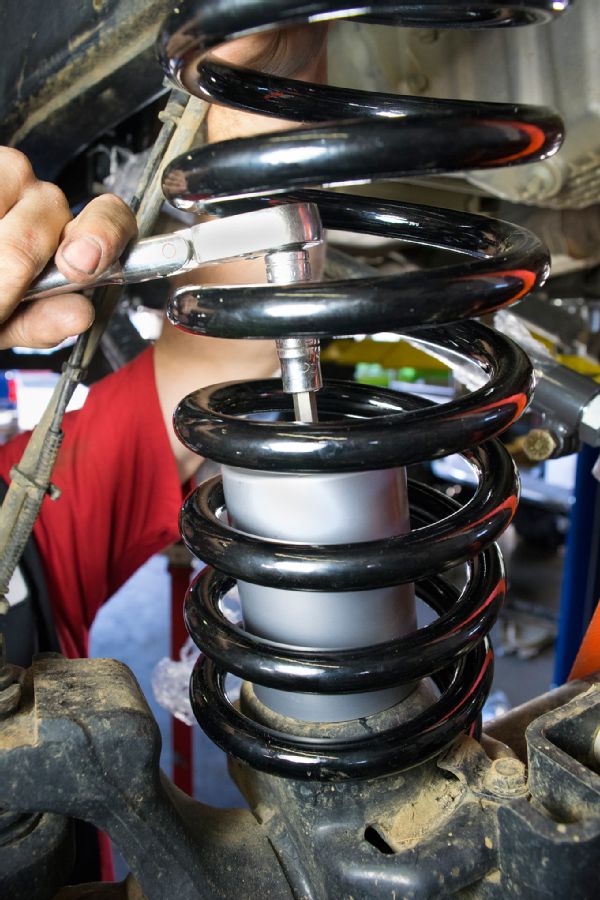
Castle places the bumpstop spacers inside the new Synergy progressive-rate coils and then slides the springs in position. Use a ratchet to bolt the bumpstops to the housing.
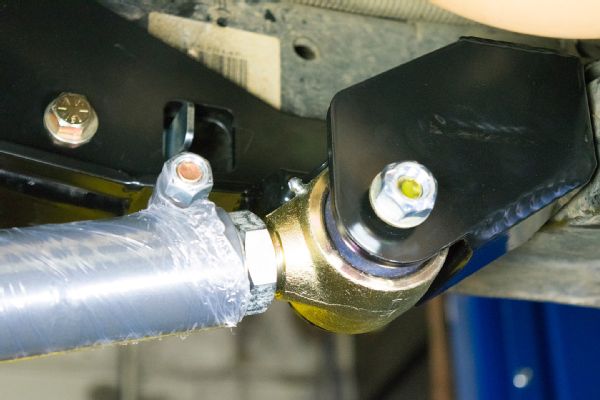
Synergy’s kit has front track bar relocation brackets, which are bolted into place using existing factory holes. New track bar is then loosely bolted into place. Griffith ditched the factory Rubicon sway bar system, replacing it with a Currie Antirock torsion bar setup for greater axle articulation and control. He also upgraded the factory steering stabilizer with a Fox 2.0 Stabilzer ATS kit.
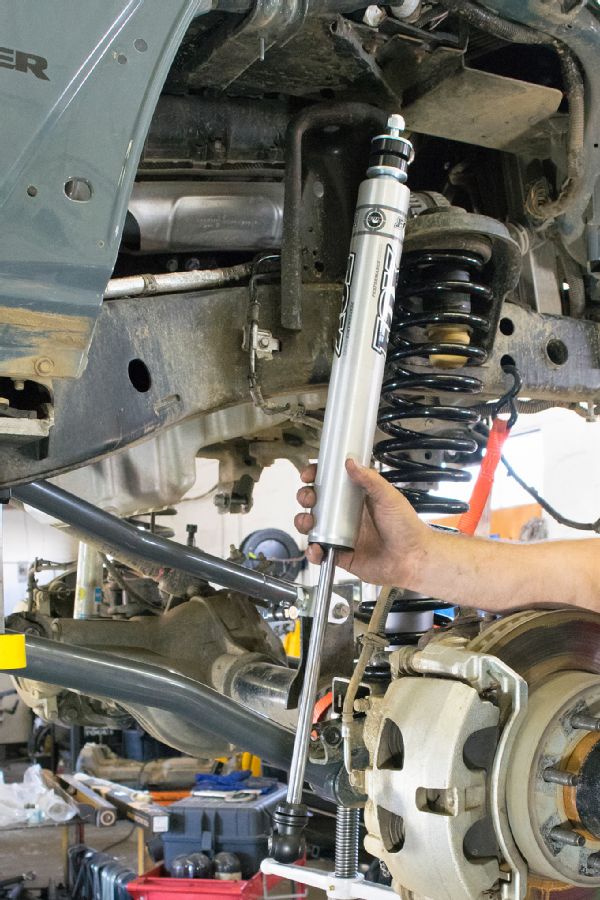
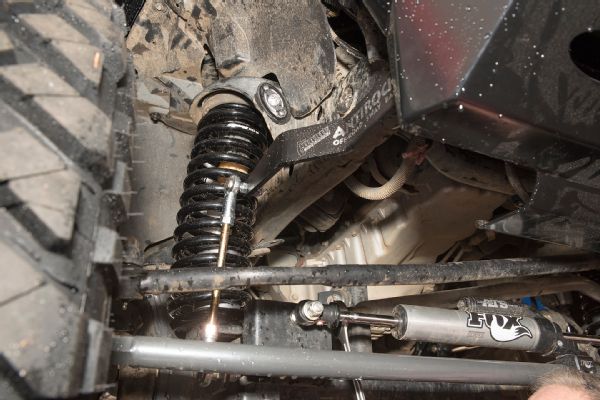
Synergy’s long-arm kit doesn’t come with shocks, leaving the options to the customer. Griffith chose to go with Fox Performance Series, which was the final upgrade to the front.
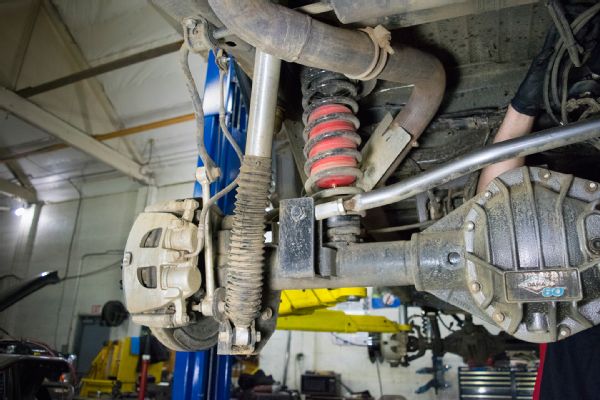
The rear suspension gets all-new springs, control arms, track bar, and shocks. Griffith’s AEV Hemi Rubicon has already had the Dana 44s swapped out for 60s with electric lockers.
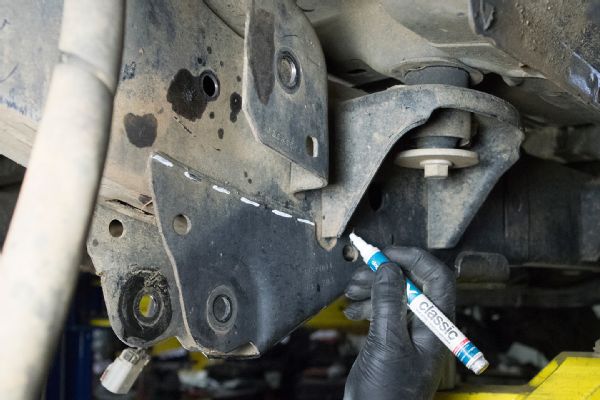
More cutting. After the upper and lower control arms, fuel tank, and the threaded insert in the frame that holds the fuel tank bracket are removed, the next step is cutting the sides of the lower control arm brackets so the new brackets can be bolted in their place. Castle marks the cut line.
The Miller plasma cutter makes the removal task easy, but a grinding wheel can also handle the job, albeit a lot slower.
The upper bracket also has to be removed from the sides of the frame rails. Castle goes a step further by carefully removing the upper bracket entirely, cleaning off the top of the frame rail so it’s smooth.
The third item that needs cutting is the rear body mount, which has to be trimmed so there’s about an inch remaining as measured from the top down.
After the areas cut are ground smooth and painted, remove the body-mount nuts and center bolts. Position the new control arm brackets over the body-mount studs and reinstall the nuts. Use the bracket as the template to mark the holes that need to be drilled in the frame to permanently mount the control arm bracket. Castle used both a pencil and center punch to mark the hole locations.

Drill out all the mounting holes using a 9/16-inch bit as the final step. Clean, deburr, and paint where the brackets and holes are drilled.
A hole needs to be cut into the frame on the driver side to feed the nut tab into the frame (there’s already one on the passenger side). A hole saw or plasma cutter will work to make the opening. It doesn’t have to be neat as the new bracket covers it up.
Position the control arm bracket, slide the supplied nut tabs into the frame, and bolt the bracket into place.
The large body washers need to be trimmed to clear the upper control arm joint. Once that’s done, reinstall bolt and torque to 80 ft-lbs. Then install the control arms with the zerk fittings up and the Johnny Joint at the frame bracket. Torque all control arm bolts to 125 ft-lbs.
The lower rear shock brackets need to be cut off and the area ground smooth so the adjustable bracket Synergy supplies in its kit can be bolted into place.
The new Synergy brackets are adjusted to fit the Fox remote-reservoir shocks Griffith opted for on his JK’s Stage 4 suspension upgrade.
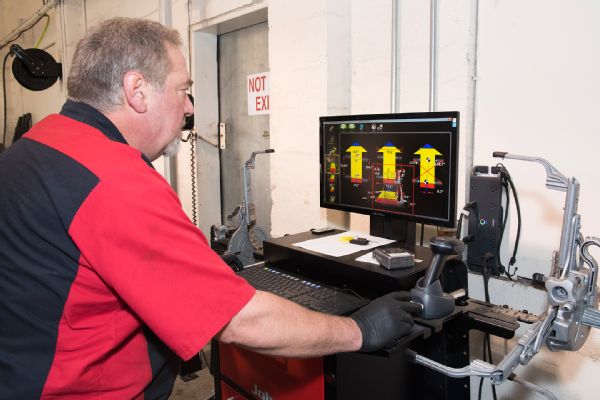
Dunks Performance’s alignment guru, Richard McFarland, uses state-of-the-art technology to fine-tune the JK after the Synergy Stage 4 install. The alignment machine measures all aspects in tenths of an inch with an instant readout visual display.
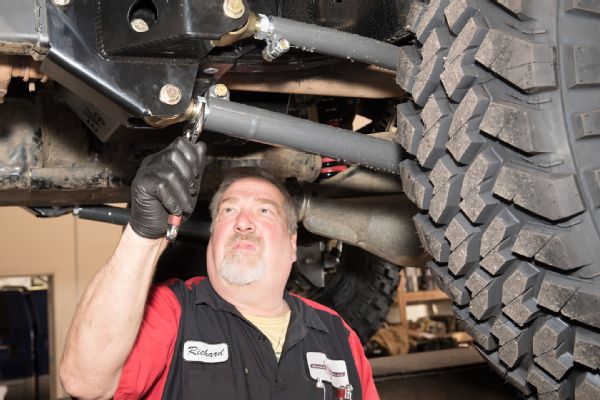
Here McFarland takes advantage of the Synergy control arm adjustment ends that allow fine-tuning the alignment without disconnecting the arms. He can adjust both wheelbase and driveshaft pinion angles at the same time.
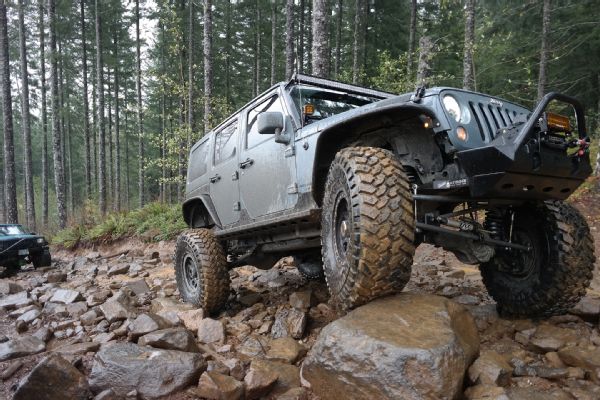
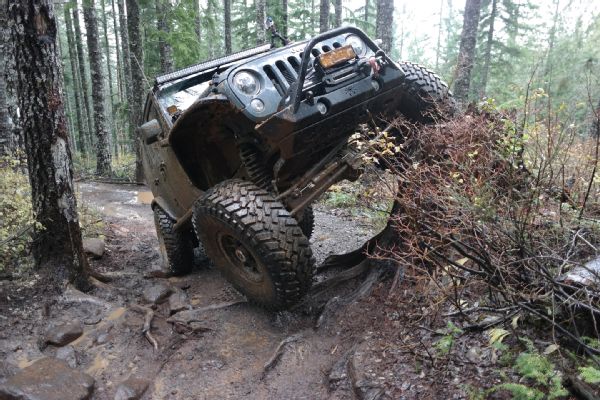
The proof of how good the Synergy JK Long-Arm suspension upgrade works is seeing it in action on a challenging trail such as this section in the Brown’s Camp OHV area just west of Portland, Oregon. It’s a favorite area of Griffith’s for enjoying his AEV JK.