Have you ever heard the expression that you can’t be all things to all people? Well, builders of performance shocks, and the OEM’s too for that matter, have exactly that to deal with when it comes to suspension tuning.
The OEM’s want their vehicles, even trucks, to be smooth riding and supple. But, as they have learned the hard way, the only way to achieve smooth and supple is to have a soft ride, and a soft ride may mean that the thing wants to roll over in a turn. If it rides too hard, nobody wants to drive it. So they make it as “neutral” as possible. That means it’s not as good as it can be.
The makers of performance shocks produce truly sophisticated pieces of engineering prowess that, off the shelf, may offer the perfect ride for one person; and be not even close, tuning-wise, for another. Suspension set-up, like art, is in the eye of the beholder. They too, use their vast experience to get their shocks as close to what the buyer wants and is putting it on.
There’s a reason why race teams spend a lot of time testing shock settings; it’s a tune and try kind of thing. For the rest of us, we usually put on a shock and fiddle with the settings dials some (if there are any) and call it good. That doesn’t have to be the case.
We went by Rite Performance as Curtis Rite was not only changing the valving on this Fox Racing 2.5 reservoir-equipped coil over shock, he was adding a reservoir that is equipped with high and low speed adjusters. These shocks were part of a suspension install we did in the January 2016 issue, where a ReadyLIFT Long Travel Performance Front Suspension System was installed onto a 2wd Chevy Silverado 1500.
But, after the owner had been out bashing the truck, the conclusion was reached that the suspension was way to soft and changes had to be made. Rite had been out testing with the owner, and knew what had to be done to make things right (no pun intended). Rite comes by this knowledge honestly as he was a professional mountain bike racer who had worked for a frame manufacturer and thus closely with the suspension team. He soon began working for a shock manufacturer, and after a few years went out on his own. His 11 years of experience is instrumental when deciding which shims go where.
And that’s what valving a shock takes: know what you want to achieve and being experienced enough to how to go about it. Taking a shock apart isn’t rocket science, but making it work as intended once the pieces are back together nearly is. There’s a reason that suspension tuning is known as a “black art” in the competition world.
Rite will not only replace the stock shim stack with one’s of his choosing, he will also replace the stock reservoir with a Fox unit that features Dual Speed Compression (DSC) adjustment knobs for that extra “on the trail” tuning ability.
So, follow along as this pretty nice for an off the shelf Fox 2.5 is transformed into one that is perfect for the truck and driver’s needs.
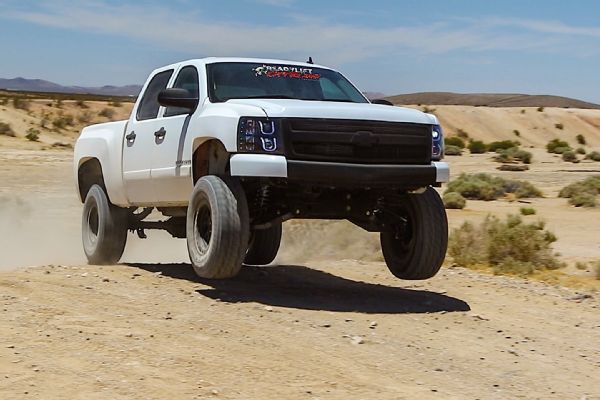
Jumps, bumps, rocks and sand all want to make you wreck, but proper shock tuning will give you the edge you need to be safe, and fast.
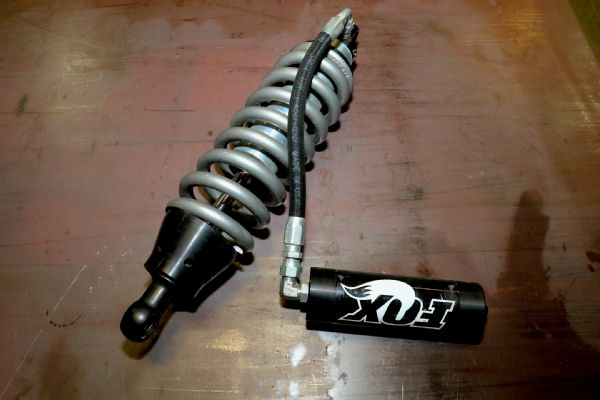
This Fox 2.5 reservoir equipped coil over shock is good, but it is about to become all it can be.
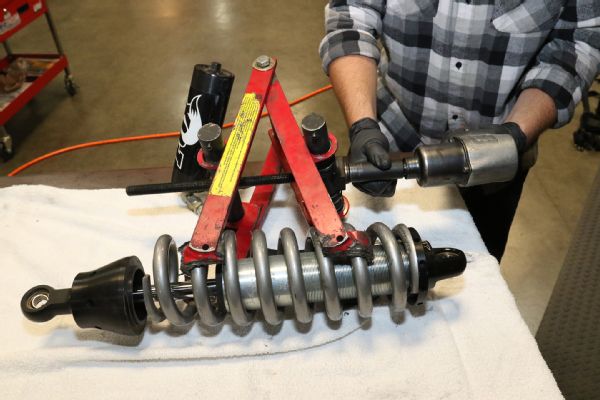
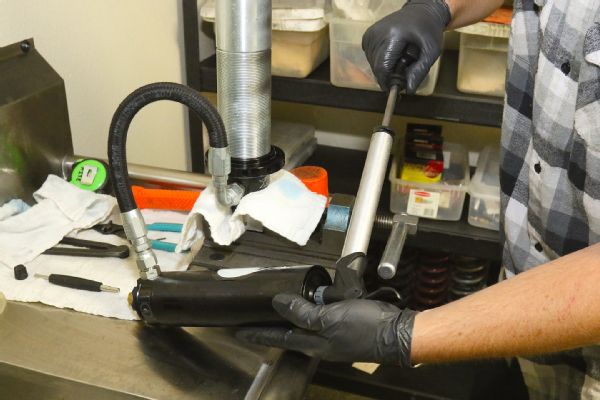
A spring compressor is used to remove the spring. Or as we call it, taking your life in your hands. This is a dangerous step and care must be taken when attempting this step.
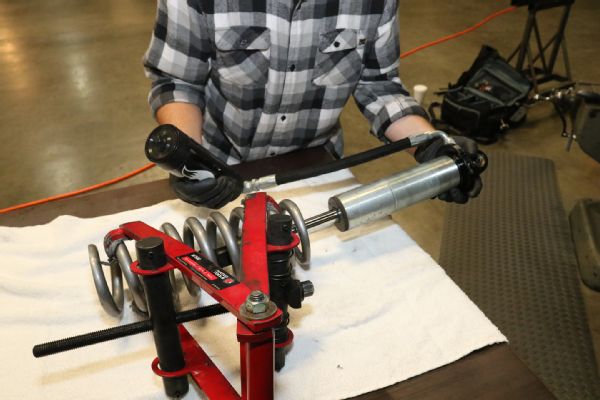
The upper retainer is removed and the shock body is removed.
The Nitrogen is released by loosening and removing the Schrader valve.
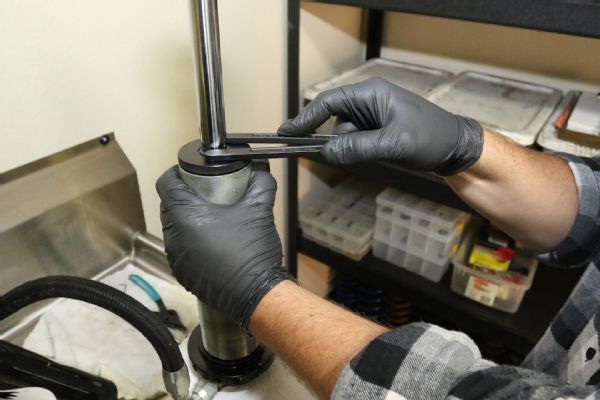
There is a dust cap set screw that locks the cap in place when tight. It is loosened.
A spanner is used to unscrew the dust cap.
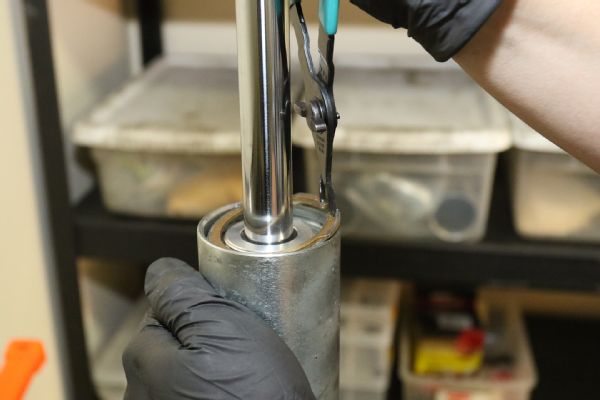
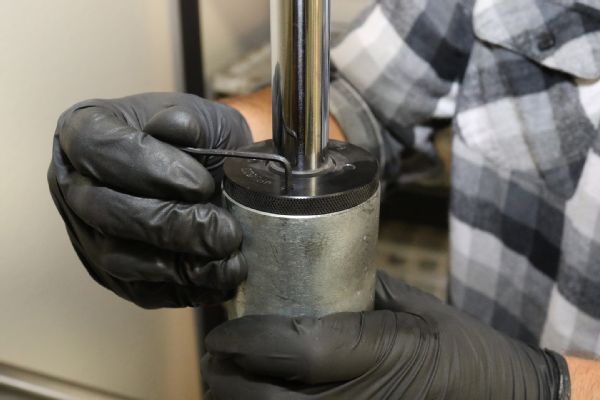
Beneath the dust cap there’s a C-clip that holds the shaft assembly in place.
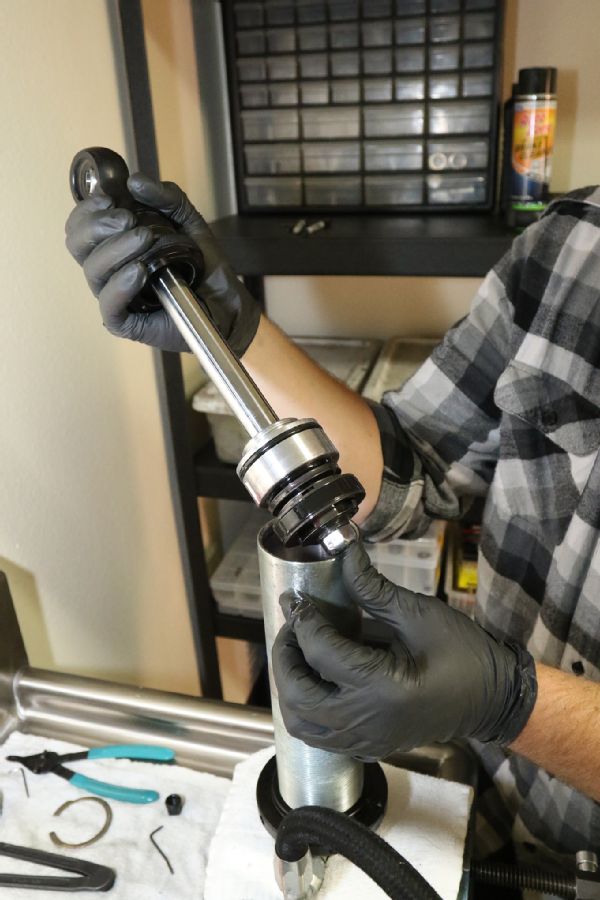
With the clip removed, the shaft assembly is slid up and out.
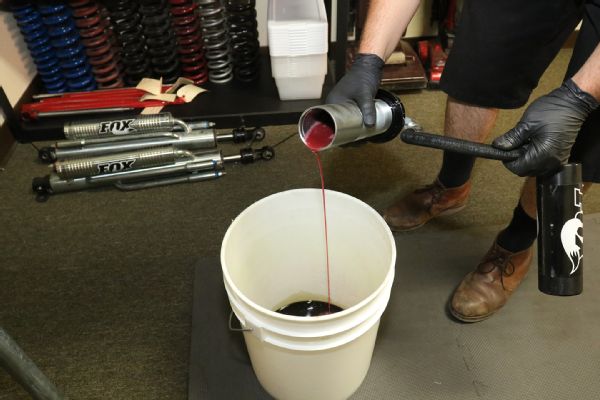
The fluid is poured out.
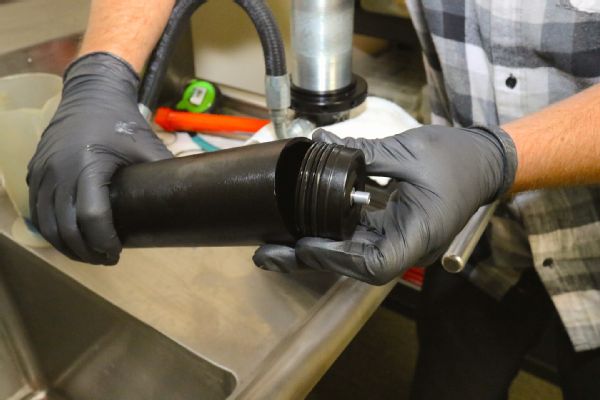
Next, the reservoir is disassembled. Pushing in of the reservoir top cap reveals the clip that holds it in place. The clip is removed.

With the clip out, the top cap is removed. Rite uses a T-handle that he screws onto the Schrader valve.
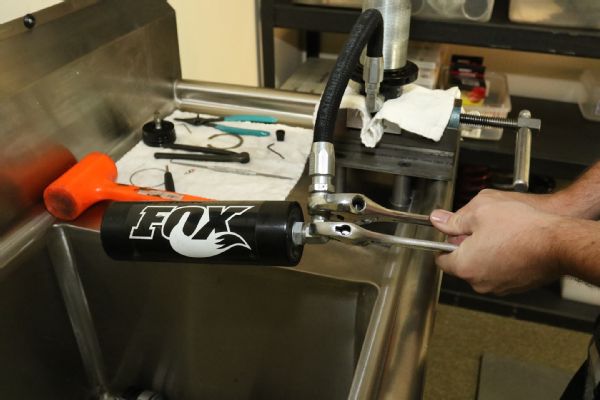
The hose connection at the reservoir is broken.

Deciding upon the capacity of the new reservoir is not a one-size-fits-all thing, as the length of the new reservoir is predicated on the overall stroke length of the shock. Rite will size them accordingly.
The heart of the upgraded unit are these two little dials, as thanks to the Dual Speed Compression (DSC) adjustment knobs, on the trail suspension fine tuning is but a click away.
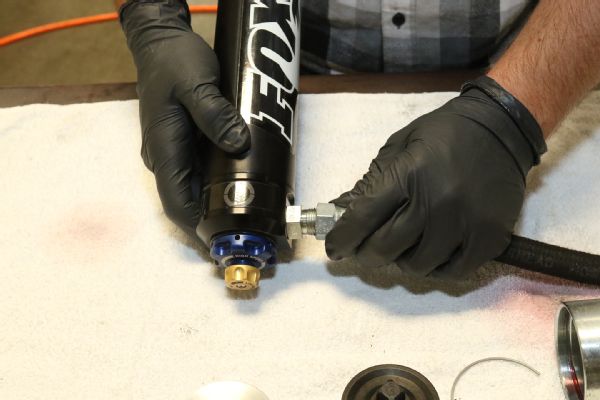
The hose is attached to the new reservoir with an RP-modified fitting.
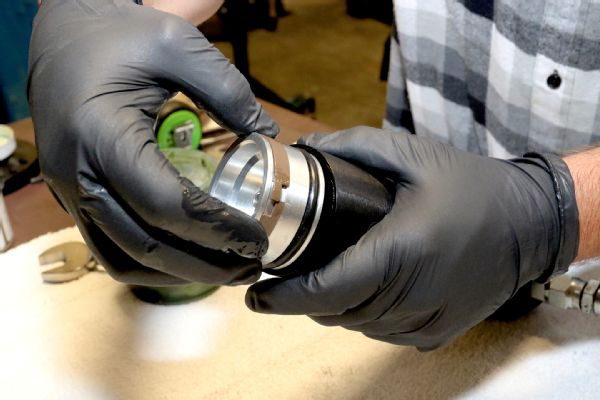
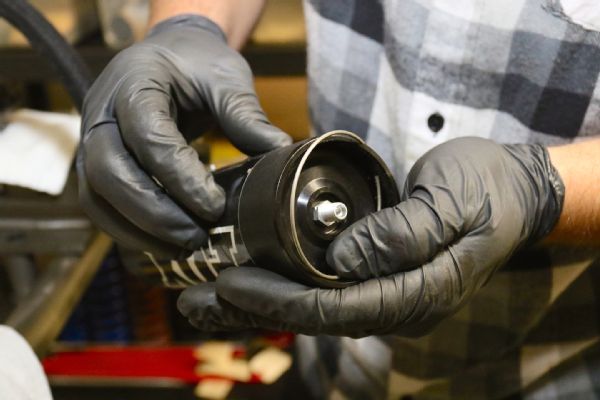
The Internal Floating Piston is lubed with fluid (as is the inside of the reservoir) and installed. Notice the brownish band. It’s called the Wear Band, but it really keeps the IFP positioned correctly in the tube and sliding straight up and down evenly.

F&L Xtreme shock oil is poured in to nearly the top of the reservoir.
Once the top cap is installed, its clip is snapped into place.
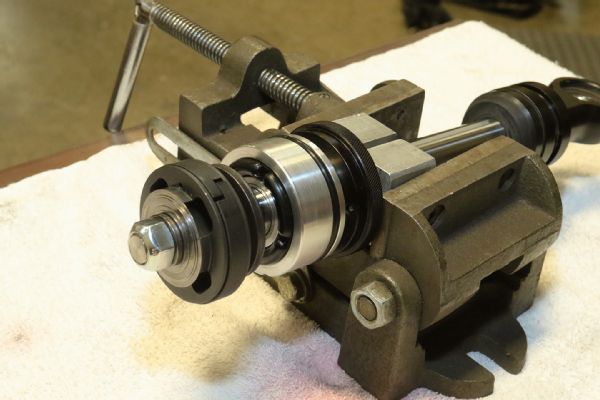
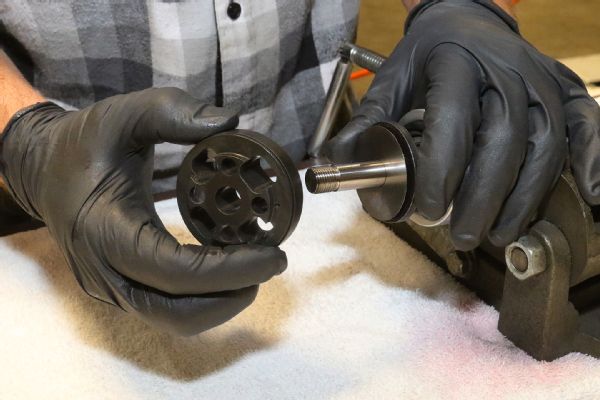
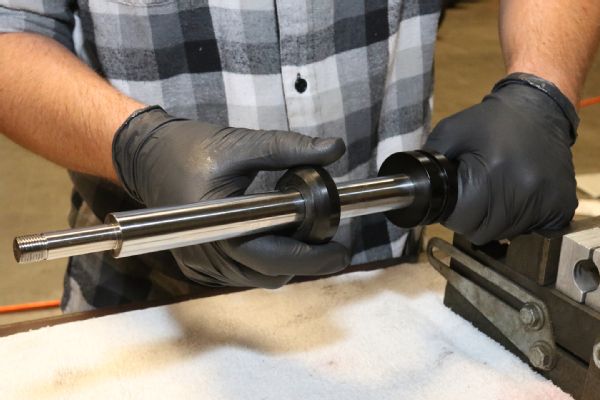
The business end of the shaft assembly.
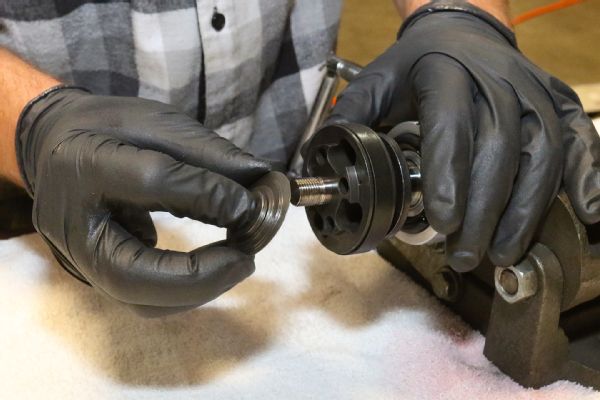
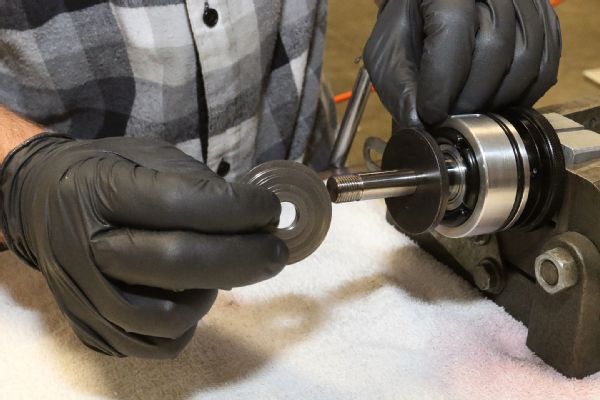
The rebound shim stack is removed.
The rebound shim stack is removed.
With the piston gone, the compression shim-stack is removed.
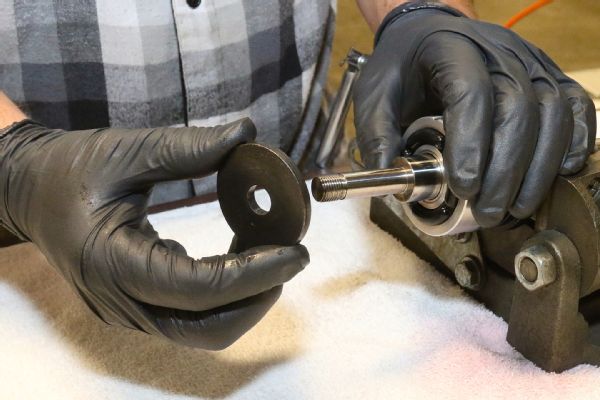
This is called the metering plate. It limits the shims from over-flexing.
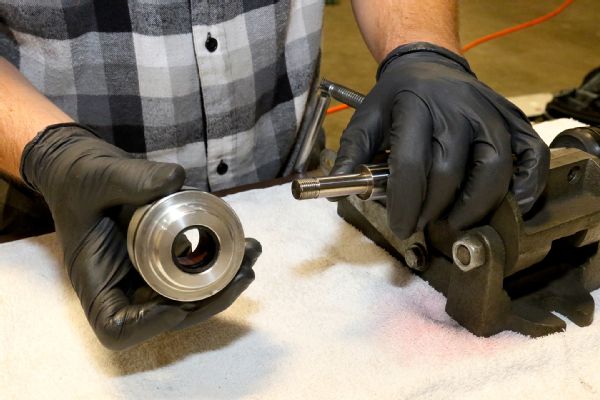
The steel head assembly includes a shaft main bearing, a high pressure O-ring and something that’s called the H-wiper (?). This piece seals all of the fluid in the body.
The stock bump-stop is removed and will be replaced with one that has more of a progressive action.
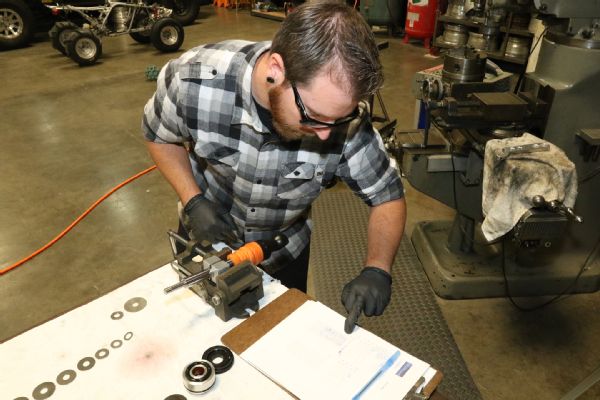
Rite has worked out what he thinks is the best combination, and has it all written down. Careful documentation is key when tuning shocks so you know what changes have been made and through testing, what the end results are. This goes for on the trail clicker spinning too, as knowing what the current settings are is imperative when tuning shocks.
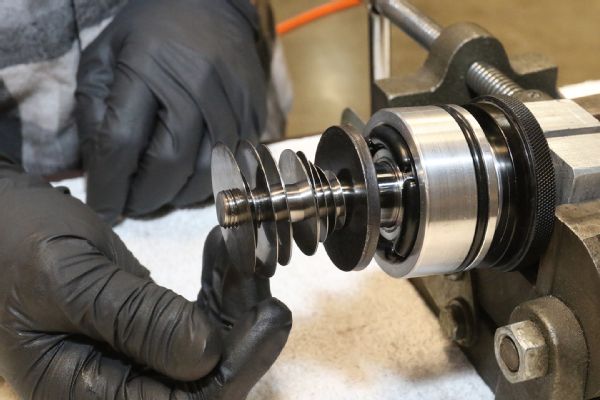
The new compression shim stack is installed. They will be followed by the piston, and rebound shim stack.

Once in the shock body and in motion, the fluid (which will be coming at you during the rebound phase) is forced through the holes in the piston. The flow will precisely fold back the shims as the fluid is forced through and past them. It’s this controlled folding that gives the shock its ride characteristics.
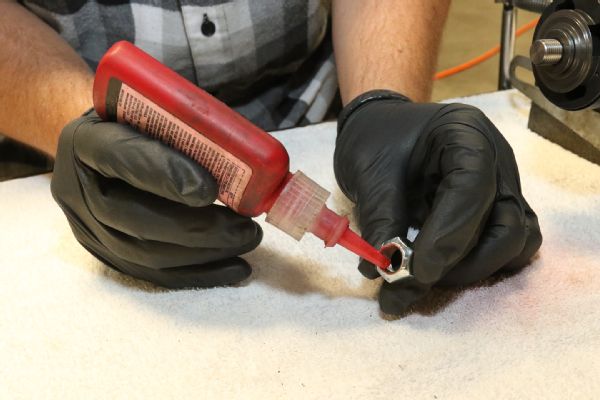
A few drop of Loctite are used on the nut. You do not want this thing coming apart at 85+mph on a fast whoop section.
The nut is torqued to 25lbs.ft.

The shaft assembly is carefully slid into the shock body and the C-clip snapped into place.
Rite uses a small tire pump to set the system rather than compressed-air as he doesn’t want any moisture getting in.

Rite fills and purges the system with Nitrogen three times before he’s satisfied that no air remains. It’s finally set at 200psi.
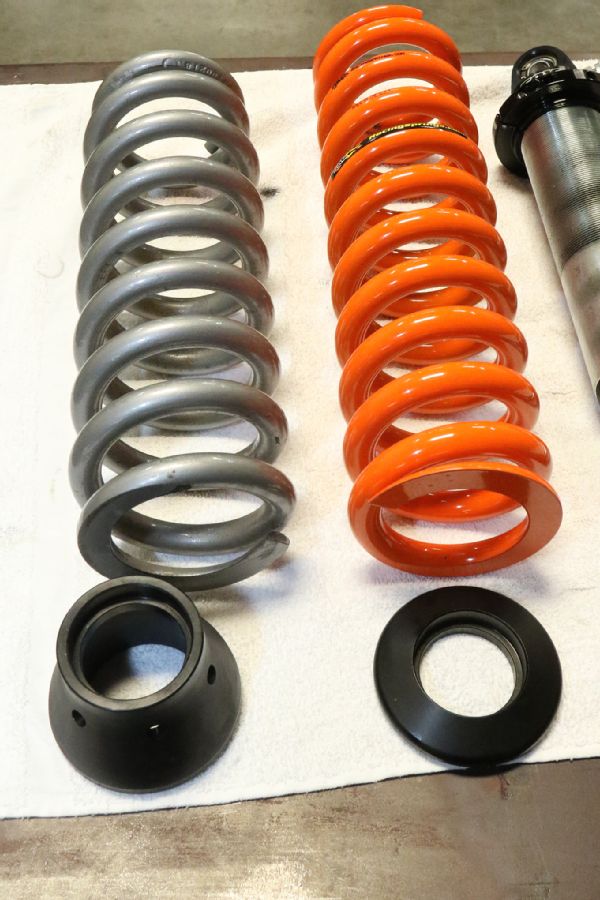
In addition to the new valving and DSC equipped reservoir, the stock spring (700lbs. per inch x 14.2-inches in length) with a new 800lb. unit that is a full 16-inch-inches long. Though stiffer, it’s longer, so it will also aid in the progressive feel.
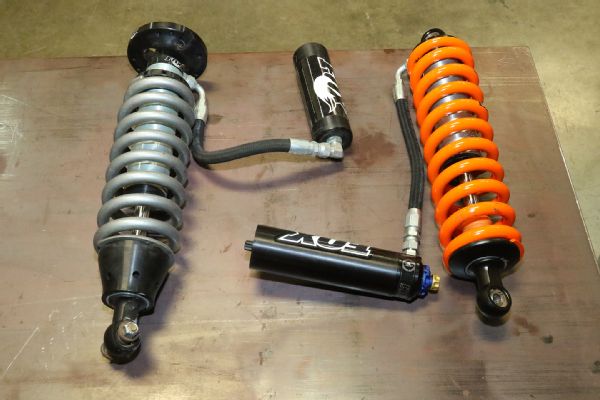
The difference between the stock Fox shock and the Rite Performance tuned one is that while one is good, the other is tuned to the vehicle and the drivers preferences.