From the factory, there are few vehicles as capable as the Jeep Wrangler Rubicon. Factory lockers, 3.73:1 or 4.10:1 gear ratios in the differentials, a 4:1 ratio transfer case, and an electronically disconnected swaybar. That doesn’t mean that it can’t do with some improvement however. Depending on how you use your vehicle, the suspension, bumpers, armor, wheels, and tires are just a few of the things that you might consider changing. If you’ve been reading Jp for more than a few months, then you’re probably familiar with our $3K, 3 Day projects. The premise is that you don’t need a huge budget, or a shop, to outfit your Jeep. You can do just about all of this with basic hand tools in your driveway, over a weekend. Maybe even with a few friends, bribed with some adult beverages, to help things along.
When we got a hold of our ’11 JK, it was completely stock. The only mods were a set of 1 1⁄2-inch wheel spacers from Poison Spyder Customs to help fit the 285/70R17 BFG KO all-terrain tires and a scrap-metal front winch bumper. The tires rubbed the fenders pretty badly on anything larger than a speed bump, and the bumper—well, the bumper was built on a bored Saturday out of scrap metal. What can we say? When you have no money to go out wheeling but you do have a welder and a pile of steel lying around, what are you supposed to do to keep yourself entertained? Ugly or not, it still had to be more fun to work on then that list of honey-dos.
Since our JK already had decent tires for its intended use, we decided that the bumpers and suspension would be where we concentrated our efforts. This JK gets used as a daily commuter as well as a weekend toy. We wanted to keep our focus on quality over quantity. Sure, we could have spread the budget out a bit more, but then those long freeway commutes wouldn’t be nearly as comfortable. Since we already had the Rubicon’s factory rock rails on the sides, the decision was made to stick with them for the time being. A front winch bumper, and a rear bumper with tow points, was where the focus needed to be.
 GenRight Off Road’s aluminum stubby bumper comes with everything you need for the front. The aluminum bumper, steel winch tray, and steel tow points were all very well made with great fit and finish.
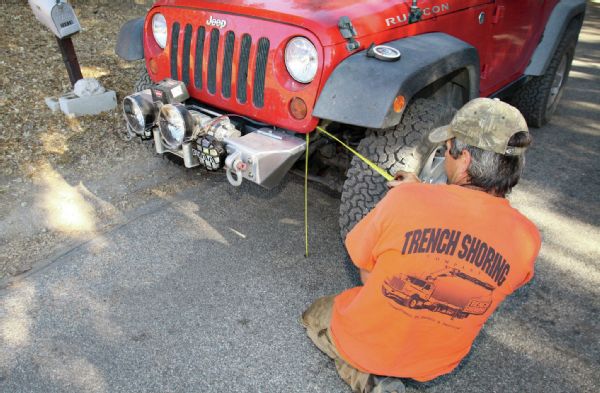
 There are a few holes you’ll need to drill to mount the bumper. Always wear eye protection when using power tools, and be especially careful when drilling over your head. Metal shavings in your eyes will quickly ruin your day.
 We originally didn’t want a rear bumper on our ’11. After talking to GenRight Off Road though, the company talked us into this frame cover they had been working on. It’s almost a work of art. Laser cut and CNC formed parts, with some beautiful welds holding it together. Built-in reverse lights help you see what’s behind you.
 There is one hole in each framerail you will need to tap. For some reason, we had a nightmare of a time finding the 1⁄2-20 TPI (fine thread) tap in our area. When drilling or tapping, you should use cutting oil to help prolong tool life. If you don’t have actual cutting oil, WD-40 or a similar product can also be used.
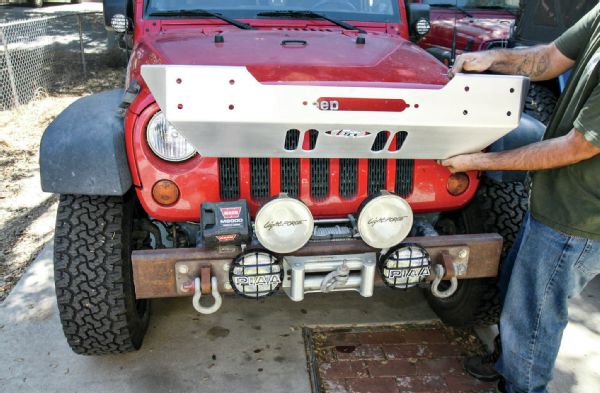 Talk about an extreme make-over. The scrap metal bumper may have done its job just fine, but it fell a bit short in the looks department. No worries on that score though, the new aluminum bumper will fill that spot nicely and look great doing it.
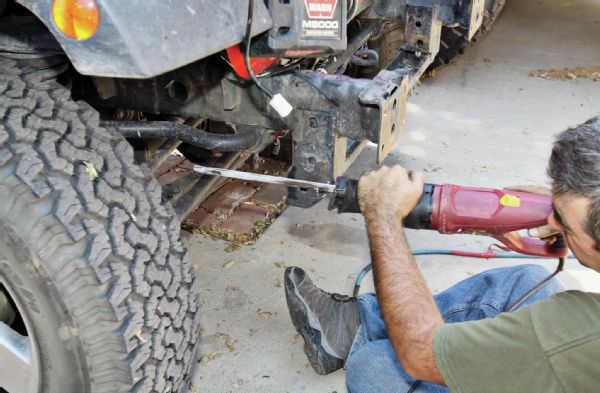 Install of the GenRight Off Road bumper begins with trimming the lower crash bar corners. You need to trim just enough so that the bumper fits over it. Remember to squirt some paint on the cut area when you’re done to keep rust from taking hold.
 Whenever you cut metal, it’s always a good idea to take a minute and de-bur the sharp edges. We used an electric grinder with a flap wheel here, but a de-burring tool or a hand file would work as well.
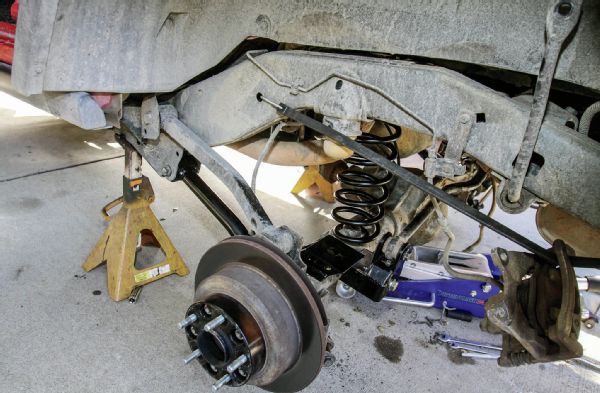
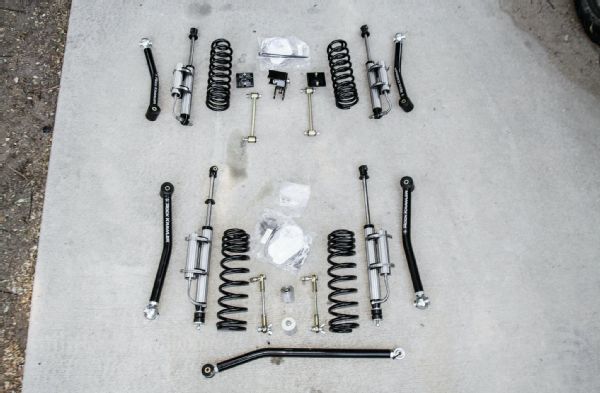 Rock Krawlers TKKT suspension system is a pretty comprehensive kit. Springs, lower control-arms, track bar, extended brake lines, adjustable sway-bar end-links, and any necessary hardware and brackets. As always with something like this, make sure to double check that you’ve received everything you were supposed to. Mistakes do happen, and you don’t want to find out you’re missing something while your Jeep is in pieces.
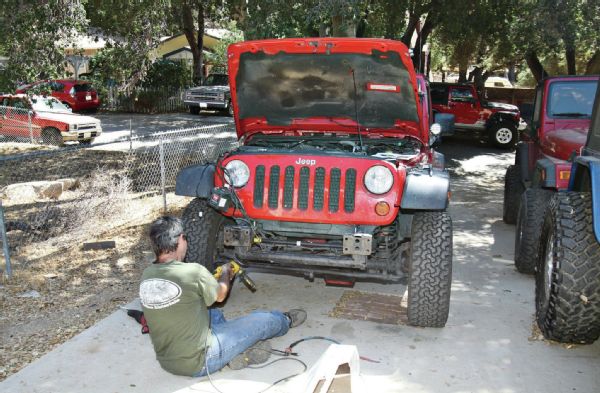
 While not strictly necessary, it’s a good idea to get some measurements before getting started. Park on a level surface and measure from the ground to a fixed point on your vehicle at all four corners. You’ll also want to check the pinion angles at stock height so you can make sure it’s correct after the lift height. A pinion angle that’s too far out of spec will not only cause an annoying vibration but can destroy driveshafts and bearings.
 After drilling a hole in the top of the factory track bar mount, Rock Krawler’s track bar relocation bracket gets bolted on. One bolt went through the hole we drilled, the other goes through the factory hole. After the bolts are tightened and you ensure it’s properly installed, Rock Krawler recommends a 1-inch weld on each side of its mount to further secure it to the axle tube.
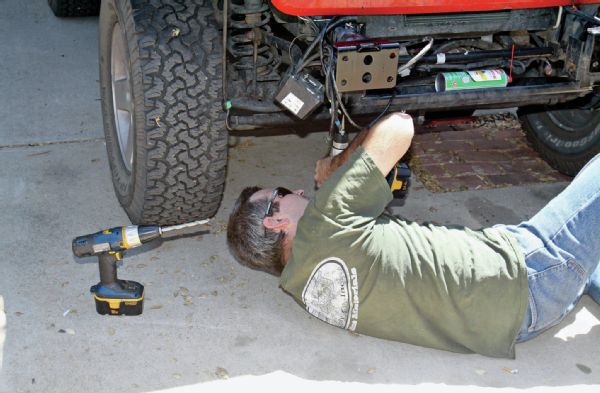
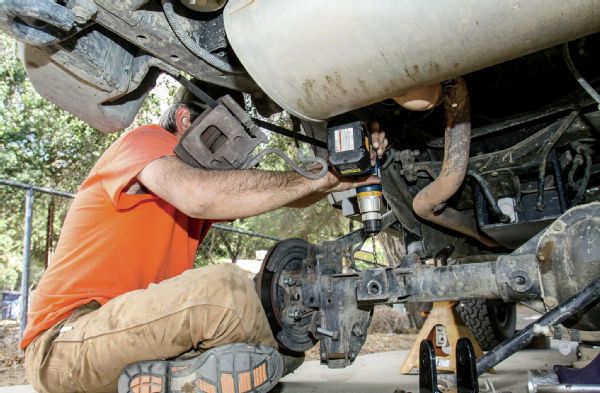
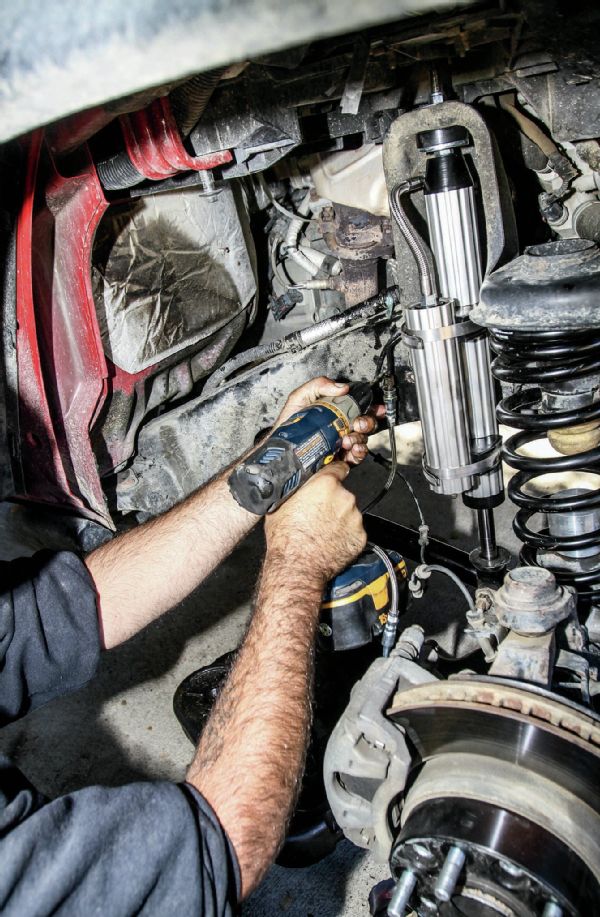
 The front bumpstop extensions are incredibly easy to install. All that is needed is to drill and tap a hole for 1⁄2-13 bolt in the top of the lower coil pad. We used the 3-inch extensions that Rock Krawler recommended. Be sure to pay attention though—you don’t want to end up like us, having to pull the shock and coil back out because you forgot to install the extension first.
 The last part we have here is to install the stainless steel brake lines and the sway bar end links. To accommodate the extra suspension travel we’ll have using this system, the kit includes adjustable length frontend links, extended fixed-length rear end links, and extended-length stainless steel brake lines.
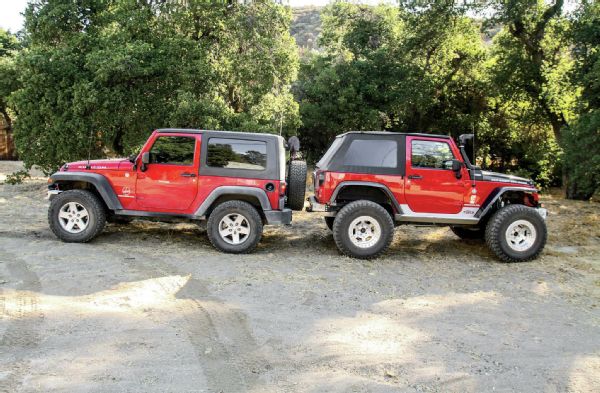
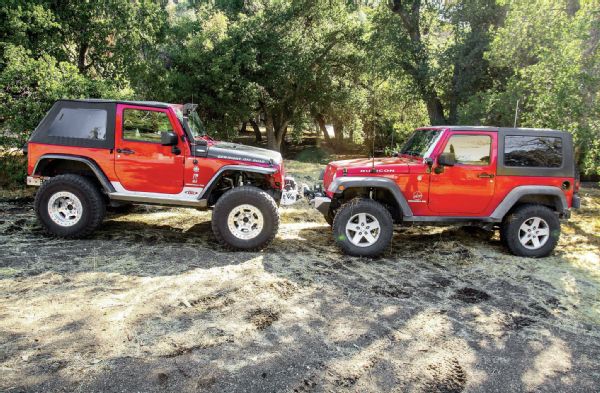
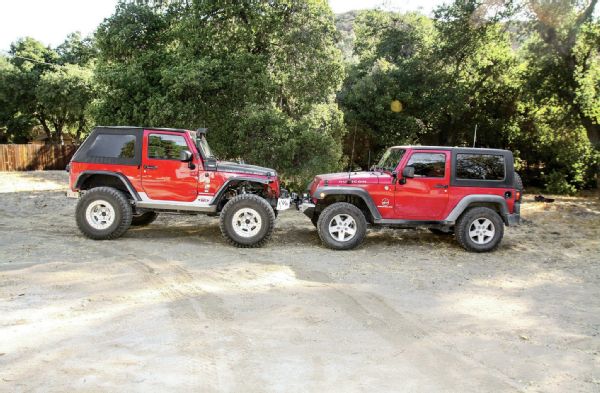 Since we had Junior (“Junior,” Aug. ’15) sitting there, we went ahead and compared the two. Junior had 31⁄2-inches of lift. Our ’11 JK was at stock height. The difference in height isn’t quite as obvious in the front. Not having a flat piece of ground to park wasn’t helping the comparison either. We could still see the difference, though, and could get an idea of where it was sitting.
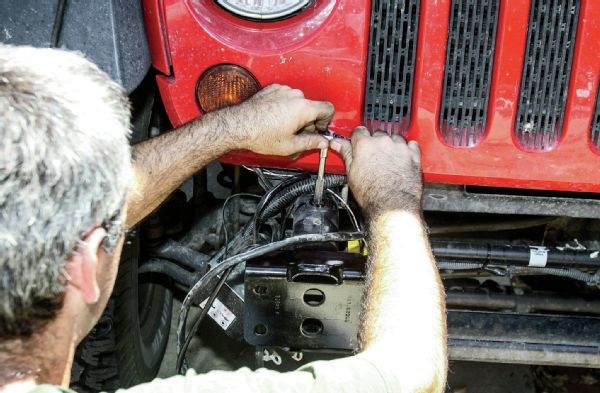
 We had to relocate the brake lines to prevent any interference with moving parts. The rear was accomplished with some bent pieces of steel to just lower the mounting point of the hard line. Up front we simply drilled and tapped a hole to screw the mount to. Whichever way you decide on, always check that the brake line won’t catch on anything when the suspension cycles.
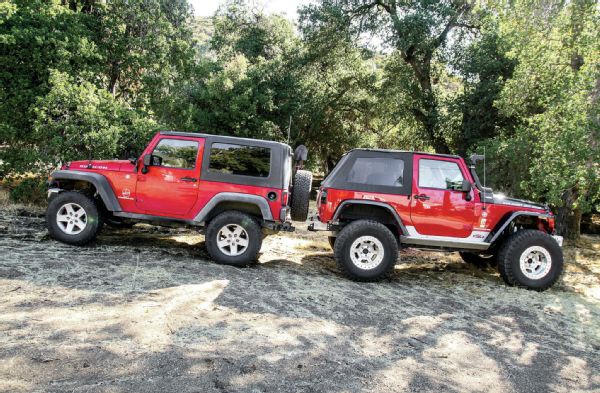
 Once we finished the lift, we took the ’11 back over to our kinda-flat spot. We did our height comparison again so we could see the difference lifted. It doesn’t really look like much, but then that was the look we were going for. Since this JK is a daily driver, we wanted to keep the lift mild, concentrating more on ride performance than on looks.
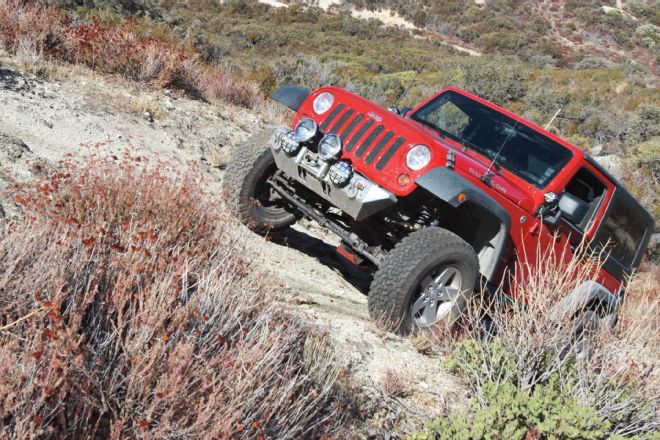
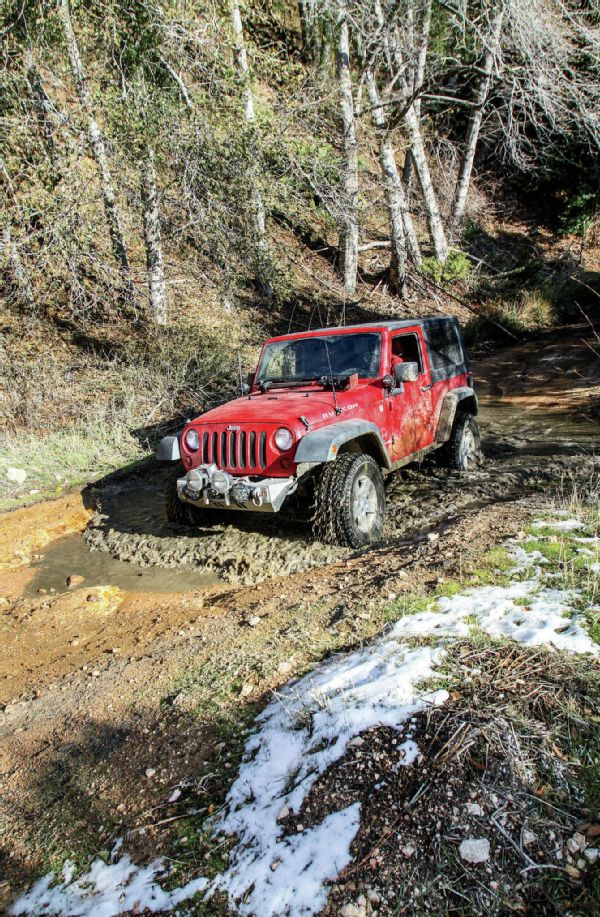
 Right behind our parking spot here is a small wash. Nothing major but we took our JK down there to flex it a bit. Whenever suspension work is done, it’s always a good idea to flex the suspension and check for clearances before hitting the trail. Rolling down the freeway or crawling over a rock in the middle of nowhere isn’t the time to find out that your suspension is interfering with something else on your vehicle.
 Unfortunately, our ’11 JK is afflicted with that common malady known as JK lean. It seems that the weight of the passenger side fuel tank is what causes it. After a call to Rock Krawler we decided our problem was a possible defective spring. They must have been right because after installing a fresh coil, it was corrected and the lean hasn’t returned in the proceeding 6,000-7,000 miles.
 Once we were sure everything was in good working order, we took our JK out for a little trail run. Nothing major—just enough to rattle the Jeep around a bit so we could check for loose bolts and such. Minor or not, though, even the simplest dirt road is better than the smoothest freeway.
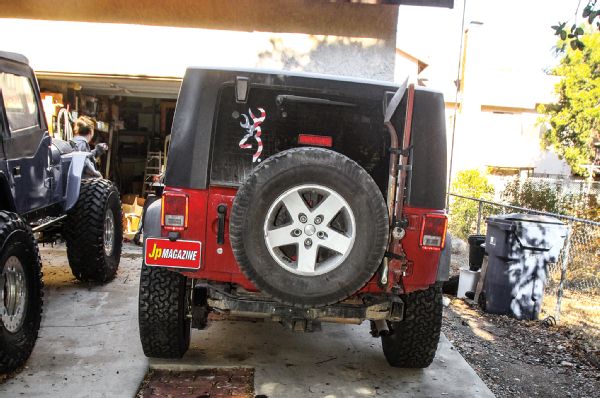
 Very similar to its full rear bumpers, GenRight Off Road’s frame cover keeps the frame a little more out of sight. It uses the same tow points as the full bumpers, which also act as the mounting points for the bumper itself. The lights we have on there are not the included ones, however. When you’re like us and have Editor Trasborg helping you, you sometimes break things before install. Unfortunately, the lights couldn’t be salvaged. This was just one of those bull-in-a-china-shop kind of moments I guess.
Budget Breakdown
When you cut corners you will never be happy with your decisions and end up spending money over and over again. We know because we’ve all done it. The parts we chose here are definitely not the cheapest around. Like previously stated, we wanted to go for quality over quantity. Rock Krawlers suspension kits definitely meet the quality part of that. We probably could have saved a few dollars by using less expensive shocks, but we didn’t want to compromise the ride. That said, if you can be patient, you can run across some screaming sales on occasion. After having put some miles on since the install, we can definitely say it was worth the wait to watch for a sale. The suspension performs amazingly, and the bumpers look great. We did go over our budget by $59.98, but we feel that the increase in performance over less expensive parts is worth that small amount.
Rock Krawler Suspension 1 1⁄2-inch Max Travel Stage-2 kit $1,999.99 GenRight Off Road Stubby Aluminum Front Bumper $659.99 GenRight Off Road Fusion JK Stubby Aluminum Rear Bumper $399.00 Total $3,059.98