 Ken Brubaker
Senior Editor, Four Wheeler
Photographers:
Rough Country Suspension
Ken Brubaker
Senior Editor, Four Wheeler
Photographers:
Rough Country Suspension
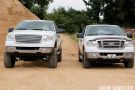
When Ford trotted out the all-new F-150 in 2004, the truck world sat up and took notice. The new F-150 was a radical departure from the version it replaced, from sheetmetal to interior. Sales were brisk, and so was the aftermarket response. As a matter of fact, even after four years the aftermarket continues to respond to the popular F-150 with new products designed to enhance its performance both on- and off-highway.
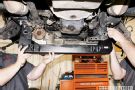
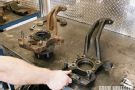
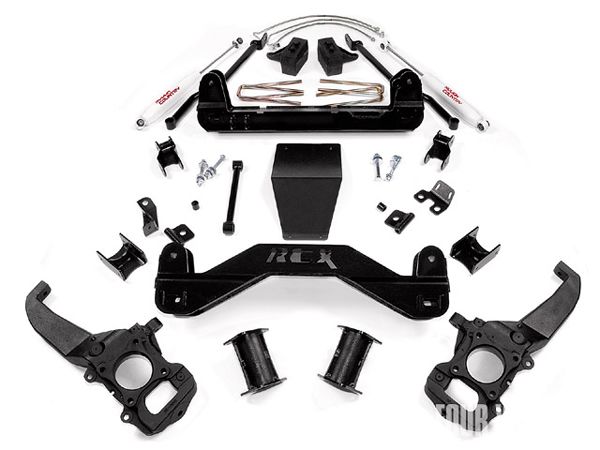 Here's the complete F-150 6-inch kit. It includes all of the required bracketry and knuckles to lift the front as well as new leaves, blocks, and shocks for the rear.
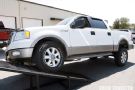
Case in point: Rough Country Suspension recently introduced a 6-inch kit for the '04-'08 F-150. This kit was developed using a 35x12.50-17 tire with factory wheel. It was designed to lift the front suspension 6 inches and the rear 5 to 5.5 inches so the vehicle would set level. Naturally, the kit includes everything needed to complete the installation including bracketry made from 0.250-inch-thick, 50,000-psi tensile-strength A572G50 steel that has been powdercoated textured black. Aside from the aforementioned things, one of the kit's big selling points is its affordability. At the time of this writing, the kit is advertised on roughcountry.com for only $1,199, which makes it one of the least expensive F-150 6-inch kits on the market.
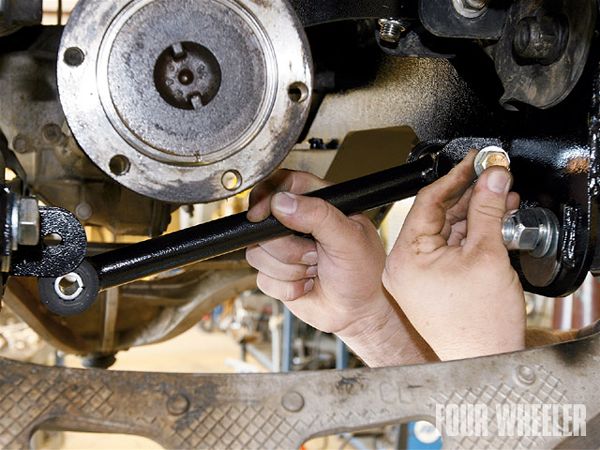
We recently had the opportunity to travel to Rough Country world headquarters in Dyersburg, Tennessee, to view the installation of the kit. Rough Country says that due in part to computer-aided design the kit installs easily in 8 to 10 hours. After watching the Rough Country folks install the kit, we think that figure is accurate, though obviously installation time will vary depending on your skill level. If you choose to install the kit yourself, we found the instructions to be complete and well-illustrated, and there's a complete listing of the tools required.
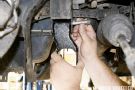
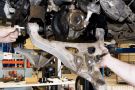
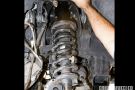
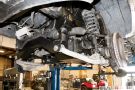
So how does the kit do what it does? Here are the highlights of the install, beginning with the reassembly of the front suspension using the new Rough Country components.
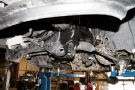
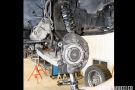
10. A crossmember brace (shown) fastens to the front and rear crossmembers on the passenger side to create added strength. Also installed between the front and rear crossmember on the driver side is a new differential skidplate that also serves as a support brace similar to the passenger-side crossmember brace. Following that step, new sway-bar drop brackets are installed.
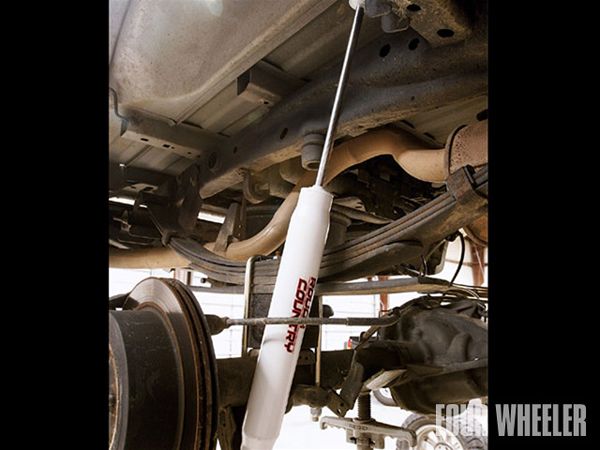
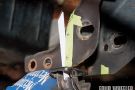
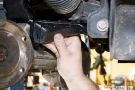
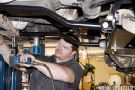
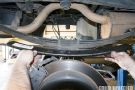
17. Overall, the rear suspension lift is very simple. Here you can see the finished product on the driver side. Visible is the new 4-inch cast-iron lift block, U-bolts, and premium Nitro 9000 shock. Not visible, but also included in the kit, is an emergency-brake-cable drop bracket and brake-line relocation brackets.
Bottom line
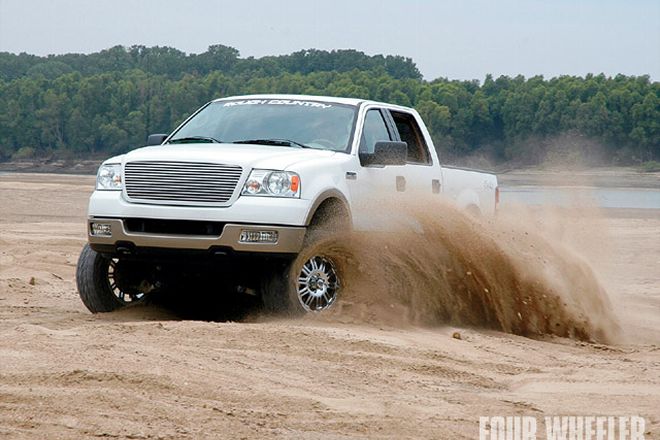
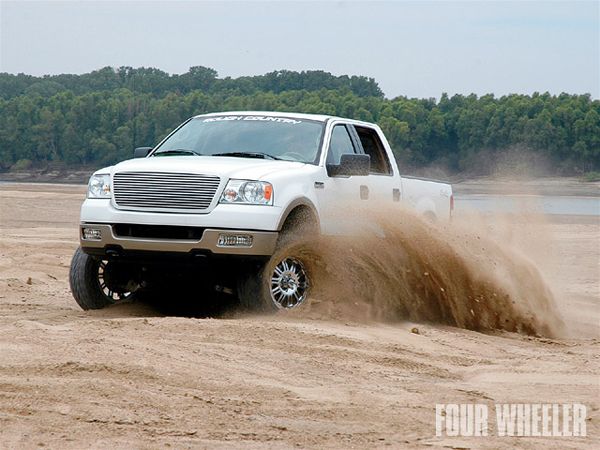
The truck we installed the kit under was shod with 35x13.50-20 Mickey Thompson ATZ tires mounted on 9.5-inch-wide KMC Hoss wheels. Naturally, this combination rode a tad stiffer than the stock F-150 with 17-inch wheels that we've driven in the past due to the decreased sidewall of the 35x20s. Overall ride quality was good though and still smoother than a 3/4- or 1-ton truck.
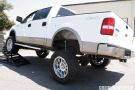
We ramped a similar stock F-150 on a 20-degree RTI ramp, and it climbed 58 inches to generate an RTI score of 417. The lifted truck climbed 55 inches to generate a score of 396. Frankly, we're not surprised the RTI score dropped slightly after the install as adding leaves to rear spring packs tends to stiffen things up and inhibit flex. Keith Lovins, product development manager at Rough Country, says; "Rough Country used an add-a-leaf in the rear to keep from stacking lift blocks. Instead, we used a 4-inch block to replace the stock 2-inch block and added an add-a-leaf in the spring pack. This decreased the amount of flex in the rear by 3 inches on a 20-degree RTI ramp, but the advantage is that the towing capacity is increased and the stability of the truck is increased at highway speeds. We at Rough Country feel that an F-150 will be used as a work truck or a tow vehicle and that towing capacity and stability is more important than losing a few inches on an RTI ramp." Hey, we're down with that logic. Improving approach, departure, and ground clearance while retaining work capabilities-on a budget-works for us.