Part 2
So I've been working a little more on Leroy (my project EK for those of you unfamiliar) and the ball is definitely rolling in the right direction. For this month's update, I'll take you through a little bit of work I've been doing inside the cabin and show you a nifty way to remove the sound-deadening from your own car - should you be dumb enough (like me) to want to.
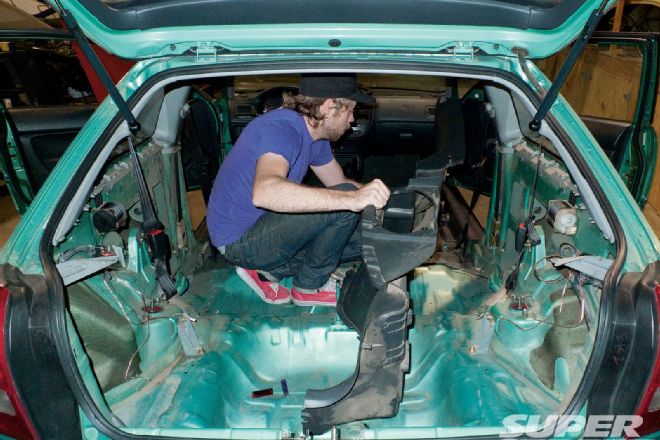
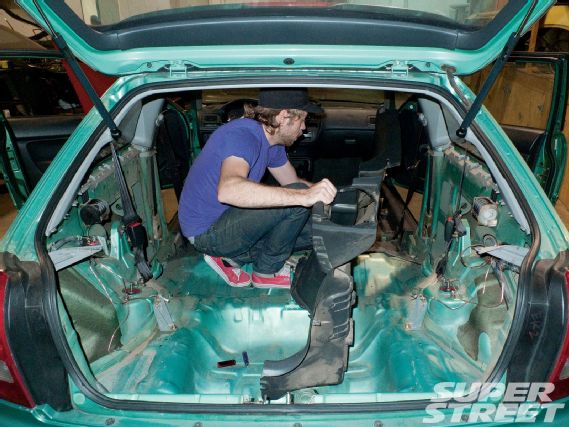
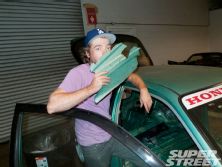
Here I am removing some of the last of the paneling on the inside of the car. Problem with me working on cars is, I usually become too preoccupied with working that I forget to have someone take pictures so I apologize for jumping into this so quickly.
 |
The Road To SuperLap - Our Garage
|
The Road To SuperLap - Our Garage
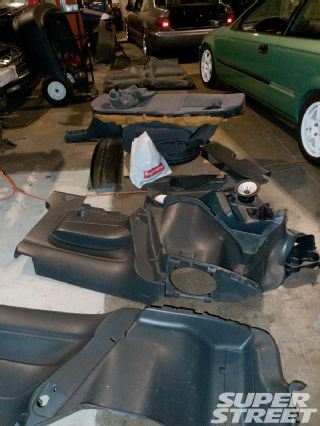
What a pile. As you can see I removed the rear paneling, rear speakers, door panels & speakers (not pictured), rear seat assembly, front seats (now in Project Car's current vehicle), armrest, center console, carpet and I had to get down to the sound-deadening.
 |
The Road To SuperLap - Our Garage
|
The Road To SuperLap - Our Garage
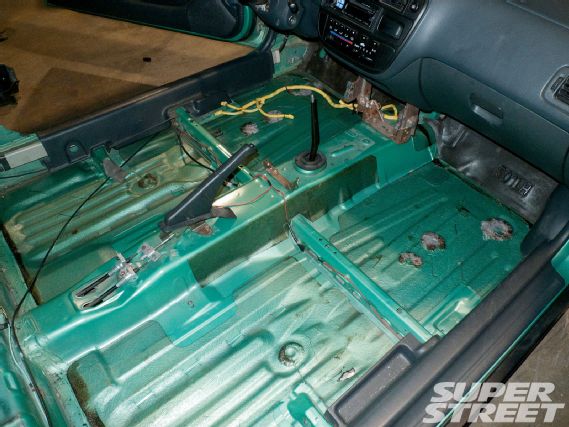
This is my enemy. It's not really that heavy but you can save some weight by stripping this crap off your car. Beware if you don't plan on putting carpet and rear interior back in. It's going to be pretty damn loud but that's how race cars are supposed to be, right?
 |
The Road To SuperLap - Our Garage
|
The Road To SuperLap - Our Garage
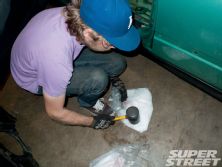
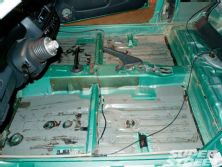
Getting all this shit off the floorboard is a huge PITA. Fortunately, some rocket scientist many moons ago discovered that by freezing the material with dry ice it becomes rather easy to remove. Here I am breaking up, pouring and spreading the dry ice along the floorboard. Please use caution when using dry ice!
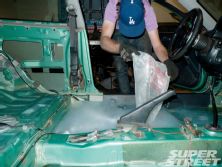
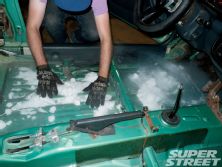
Once the section of sound-deadening you're working on has been sufficiently frozen, it should come off rather easily. Obviously, there are variables (how much dry ice, age of car and ambient temp) that will work for everyone but the principle remains the same; the more dry ice you have the less time you'll spend scraping. The idea is to try and get the crap off in large chunks; either hitting the floorboard with a rubber mallet or using a screwdriver to get under a corner both work well.
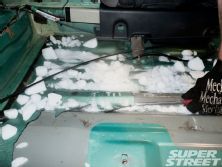
Once finished ,the floorboard should loosely resemble what you see here to some varying degree. Later on I will go in with an angle grinder and some 3M pads to remove the material that was super-stuck from factory glue/caulk. But for now I'm calling this good.
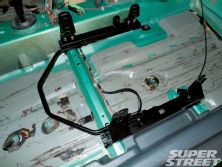
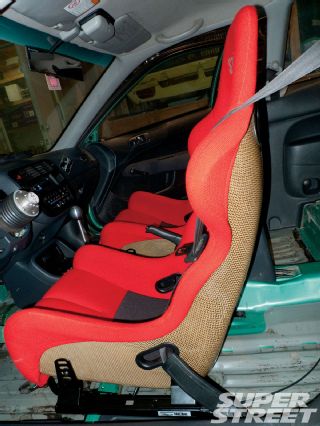
Properly setting up seatrails is a larger chore than you might think if you've never assembled them before. I find it easiest to first bolt the rails into the car and loosely tighten the brackets. Then place the seat in and adjust the brackets as necessary and tighten the nuts. In some cases you might have to remove the bracket to gain access to the seat mounting hardware. Once everything is locked down check the sliding mechanism; if it doesn't slide well it's not the product's fault - it's improper installation.
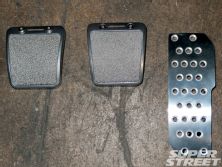
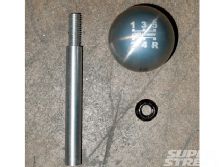
To round out the cabin I decided to throw on a shift extender from Circuit Hero along with a knob and pedal set from Mugen. The shift extender takes a little while to get used to but I really prefer the positioning over stock - nice and close to the steering wheel. The Mugen knob and pedals are now available at most Honda dealers and also add to the driving feel of the car.
As Goldmember would say "that's a keeper".
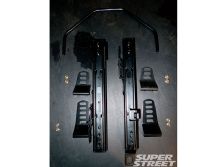
Being the anal person I am when it comes to cars, I probably installed/removed/reinstalled the rails about five times to insure smooth operation and flush mounting without any cockeyed hardware. If you're going to do something, it's worth doing right.
 |
The Road To SuperLap - Our Garage
|
The Road To SuperLap - Our Garage
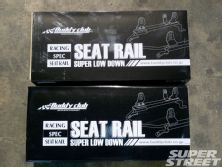
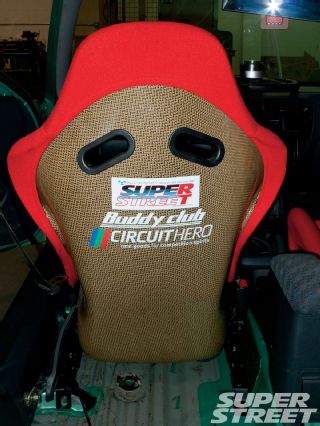
Seat rails, oh boy! The BuddyClub seat rails have become increasingly popular over the last few years since they are reasonably priced, nicely made and sit hella-low. They come with hardware to attach the brackets to the sliders but you'll need to retain your factory seat bolts and pick up hardware for the bucket-mounting portion.
As we all know the key to going fast is all about sticker application. So that's pretty much it for now until next time- sticker safely!
 |
The Road To SuperLap - Our Garage
|
The Road To SuperLap - Our Garage
Coming soon: Driving gear, exhaust, front lip, proper 5-point restraint system, more brake & suspension work and of course - more decals!
Sources
BuddyClub buddyclub.us 909.923.9188
Circuit Hero circuithero.com 619.334.2551
American Honda Mugen Accessories
(available at your local dealer)
automobiles.honda.com/fit/mugen-accessories.aspx