 Superlift's basic late-model Toyota kit consists of front and rear spring spacers and necessary hardware to create 2 to 2.5 inches of lift, depending on vehicle. For the Tundra, the rear blocks are optional (to retain the factory rake), as are rear Superide shocks and the TruSpeed speedometer recalibrator.
Many late-model trucks and SUVs do dual purpose as weekday commuters and weekend fun machines. Enthusiast owners often want a little lift to make their trucks stick out from the crowd but without sacrificing daily driveability and fuel economy. Mild 3-inch-or-less lift kits are popular for people who want a more aggressive look and stance but don't want to deal with the domino effect that comes with moderate-to-tall lifts (axle regearing, potential wheelwell modifications, steering correction, brake upgrades, and so on).
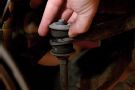
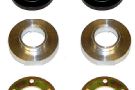
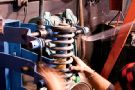
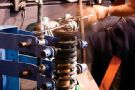
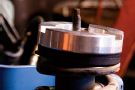
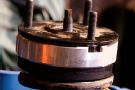
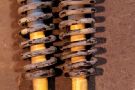
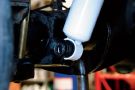
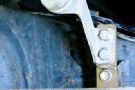
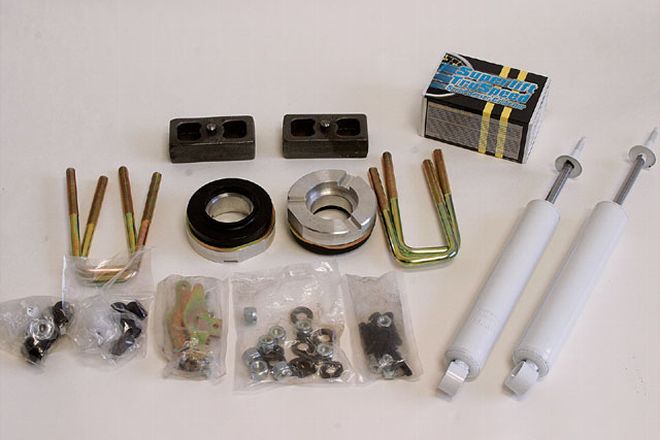
For '95-'06 fullsize Toyota owners, Superlift is one aftermarket manufacturer that offers an affordable and fairly simple kit that accommodates up to about 32x11.50 tires. In the front, the stock coilovers are retained and spaced down from the body with CNC-machined aluminum coil preload rings. Polyurethane isolators fit between the spacers and the coil to absorb noise and vibration. Superlift also includes laser-cut steel indexing plates that match the factory coil tower pattern to ensure that the spacers fit and seat properly.
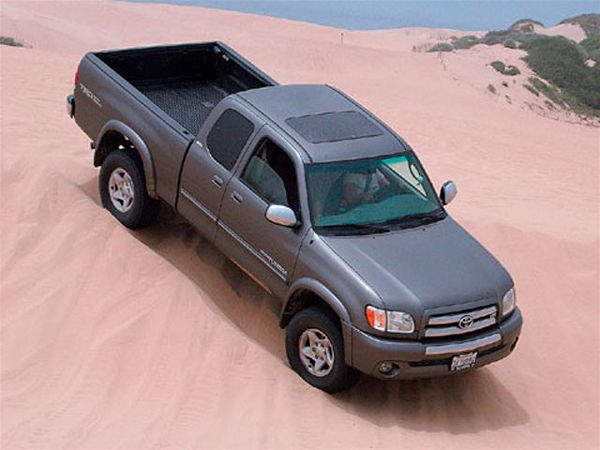 The Superlift Tundra kit retains daily-driveability by fitting 32x11.50 tires.
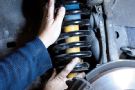
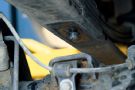
Rear lifting is also accomplished with spring spacers. In '95-'06 4Runners/Tacomas and Prerunner pickups, rear 1.5-inch tapered blocks combine with the front spacers to yield about 2.5 inches of lift. The same basic Superlift system raises '99-'06 Tundras and Sequoias about 2 inches: Sequoias are leveled with rear polyurethane coil spacers, and Tundra owners can opt for the 1.5-inch rear blocks if they want to retain the OE raked/rear-high look. Rear extended-length Superlift Superide hydro shocks are also offered as an option, as is the TruSpeed speedometer recalibrator to compensate for larger-than-stock tires.
Installation
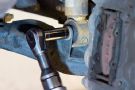
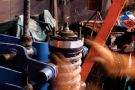
Although the kit isn't complex, Superlift recommends that the front coil spacers be professionally installed on the factory struts. The reason is that coil springs store potentially lethal amounts of energy, and a suitable compressor tool is required to safely remove them from the front struts.
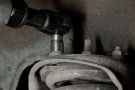
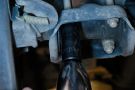
Superlift also addresses the details for the different Toyota models. For example, the included rear axle brackets retain OE calibration of the brake proportioning valve and e-brake cables.
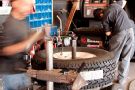
Superlift rates the job a "3" on its 1-to-5 degree-of-difficulty scale. Estimated shop time for professional installation of the basic kit, minus any optional parts, is three hours.
Results
This kit is an easy and affordable way to give Toyotas a boost. The Phantom Gray Pearl '03 Tundra 4x4 shown here at Pismo was one of thousands of similar-looking Toyotas running around Southern California. Now it stands about 10-percent taller than most and still functions as a daily driver.
Many Toyota owners find the factory ride a bit spongy. This kit stiffens the ride somewhat-particularly at speed-since the front coilovers are slightly compressed to a more progressive stage. Also, the larger tires make the speedo read slower than actual road speed. Superlift's optional TruSpeed unit recalibrates the factory speed-signal pulse to correct the speedometer reading and auto-trans shift points. The four-wire installation gets power from a key-on fuse, ground to the chassis and corrects the speed signal at the blue/yellow wire at the speed sensor plug on the transmission or transfer case.
Overall, this is an economical way for late-model Toyotas to experience about a 10-percent growth spurt. Much of the job can likely be handled by mechanically competent do-it-yourselfers with the possible exception of the strut modifications. Installation highlights are covered in the accompanying photos and captions.
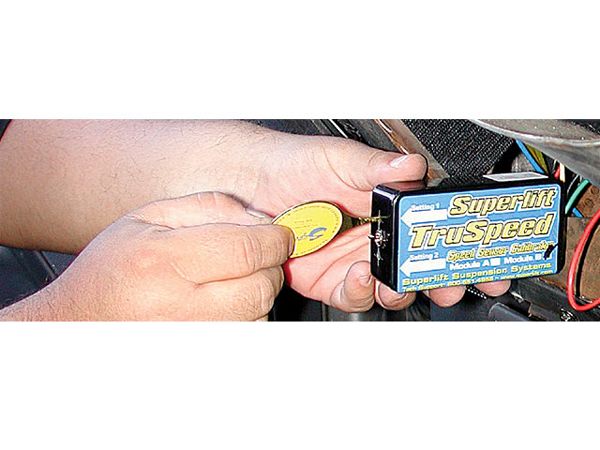
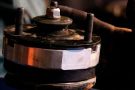
19. The optional TruSpeed speed recalibrator connects with four wires and allows the speed-signal pulse to be dialed in within 1 percent accuracy by following the included instructions.