 Ken Brubaker
Senior Editor, Four Wheeler
Ken Brubaker
Senior Editor, Four Wheeler
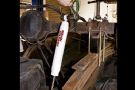
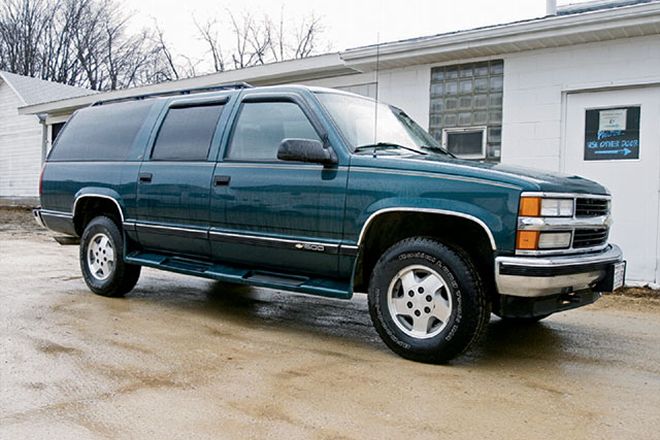
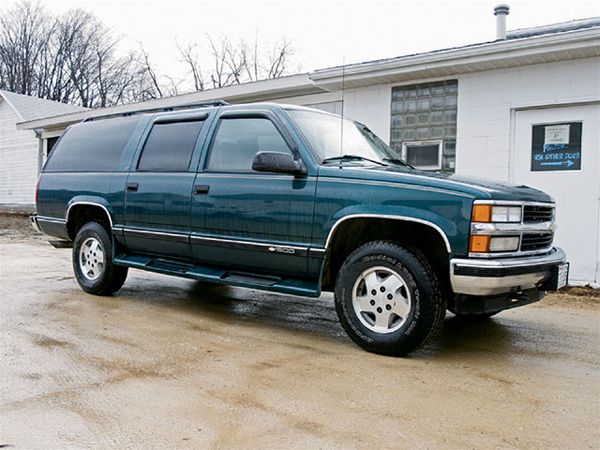 Before
We couldn't take it anymore. Whenever we looked at our buddy's '95 Chevy Suburban 1500, we got nauseous. We love Suburbans, but this specific rig was a pimped-out model, which included horribly bulbous fiberglass running boards and a repelling collection of chrome. It was time to bestow a little Four Wheeler love on this poor, citified truck. With that said, we constructed a simple plan that would improve the Sub's off-highway abilities and give it a whole new rugged look-all without spending a fortune.
 After
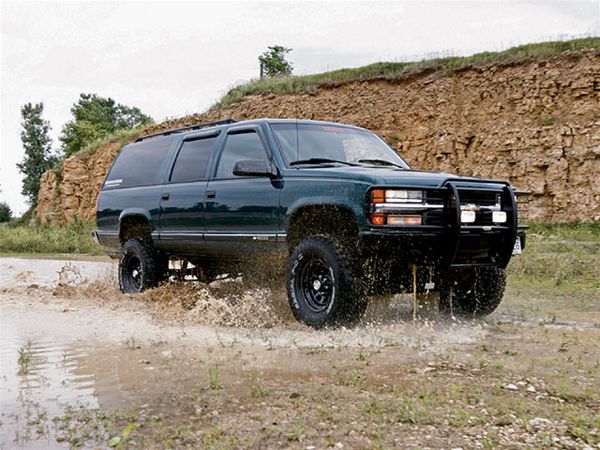
After
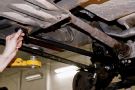
Our first call was to the folks at Rough Country Suspension. They recently redesigned their 4- and 6-inch kits for the '88-'98 GM 1/2-ton and six-lug 3/4-ton trucks and SUVs. The new kits are quicker and easier to install, and among other things, the new design reduces the number of brackets significantly. We chose the 4-inch kit. This would allow us to fit up to 33x12.50 tires (the 6-inch kit fits up to 35x12.50s), which would help improve ride height without screwing up the rig's gearing.
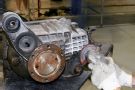
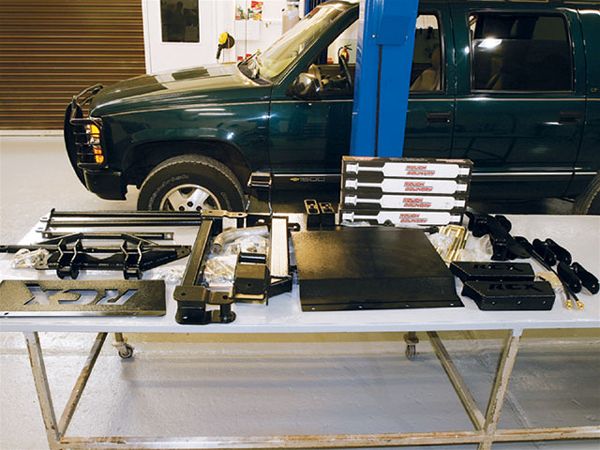 Here are the contents of the Rough Country RCX kit. As you can see, the number of components is minimal. Parts quality is outstanding, and all of the components except for the shocks and links are powdercoated black.
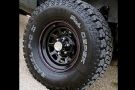
We opted for a set of Dick Cepek Radial FC IIs. These are great all-around tires because their tread pattern is part all-terrain and part mud-terrain. With a self-cleaning tread, siped tread lugs, an extra-wide footprint, and Sidebiters for added traction and sidewall protection, they're great for the daily-driven rig that sees a wide variety of terrain. We mounted them on a set of rugged, 16x8 Allied Daytona five-spoke steel wheels-black, of course.
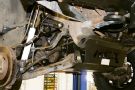
Before we installed the suspension, wheels, and tires, the owner of the truck began the transformation by removing the lame chrome wheel-lip moldings and the hideous running boards. He also removed the chrome front bumper and painted it black. He then mounted up a new Westin brushguard and Westin lights, which according to plan blend very nicely with the now-black bumper. We'll have a full install story on these two Westin products in the April '08 issue.
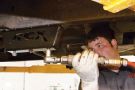
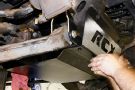
What follows is an overview of the installation of the major components in Rough Country's new kit.
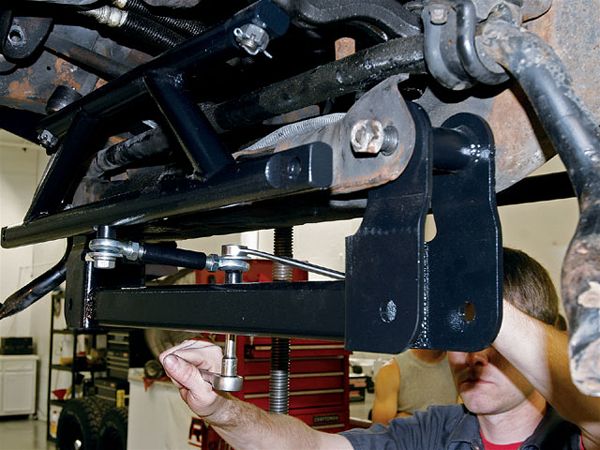
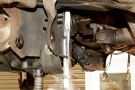
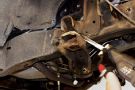
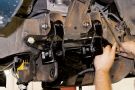
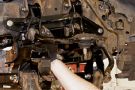
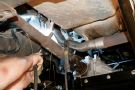
7. Here you can see the new front crossmember (bottom) installed in the factory lower control-arm pockets. This component serves as the new mounting location for the front of the lower control arms. You can also see the new steering-link assembly installed. This assembly relocates the steering components to compensate for the increased suspension lift. The stock steering-end links simply bolt to the new steering-link assembly. Here, the technician fastens the adjustable spherical rod-ended steering support brace to the new front crossmember.
We're very happy with our "new" Suburban's look and performance. The increase in tire size from the stock 245/75-16s (30.5-inch diameter) to the new Dick Cepek FC II 305/70-16s (32.8-inch diameter) has combined with the 4 inches of Rough Country suspension lift to create much improved ground clearance as well as vastly increased approach, departure, and rampover angles. The overall ride is outstanding and handling is tight. We really like the fact that the well-designed Rough Country kit components integrate visually with the stock suspension to create a suspension that looks as good as it works. After several thousand miles of driving, we've had zero problems with the kit. The Dick Cepek tires have delivered just what we expected. They offer great performance both on- and off-highway, and they're quiet. Finally, the Westin brushguard adds to the rugged look we wanted, and the lights offer the extra candlepower needed when night 'wheeling.
You're probably wondering what the parts for a buildup like this will cost. Well, here's the breakdown in approximate street prices based on our research at the time this story was written.
Rough Country 4-inch suspension lift ($950; 6-inch, $975) with optional rear sway-bar end links ($39 pair) and Nitro 9000 shock upgrade ($25): $1,014
Dick Cepek FC II 305/70-16 tires: $852
Allied Daytona 16x8 wheels: $376
Westin Sportsman grilleguard: $562
Westin large rectangular off-highway lights: $65
Total: $2,869