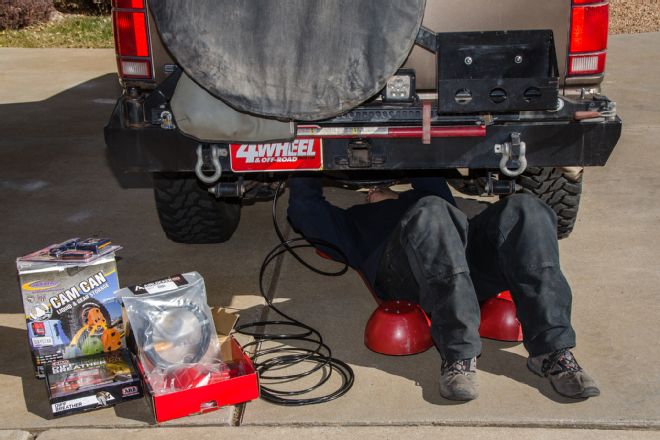
Gears, lockers, and lift kits are great upgrades to any 4x4, but the installations all take time and expertise. Some even require a well-equipped shop and a big wallet. Instead of tackling the big upgrades, we share 10 easy upgrades that you can do yourself in your own driveway with basic tools and a little time. Doing it yourself adds the benefit of getting to know your rig better. You might find where that squeak is coming from. You might finally realize which crossmember is hanging so low that you always hit it in the rocks. Here we compile 10 easy upgrades to cover your drivetrain, suspension, and electrical system and even share some upgrades to your trail recovery gear.
Differentials
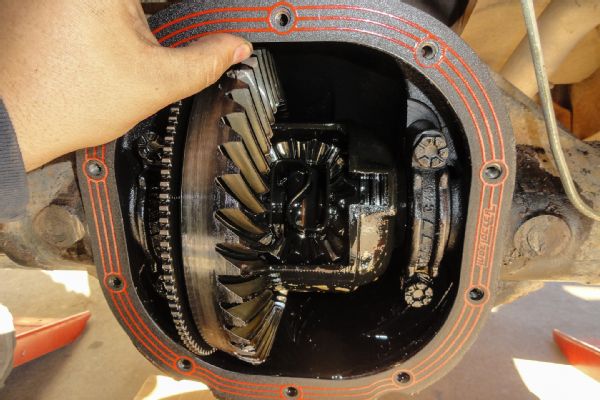
After the oil was drained we spent a while scraping the old RTV off the differential’s gasket surface. We picked up a Lube Locker reusable gasket so we wouldn’t have to scrape off sealant ever again. The Lube Locker has beads of elastomer over a steel core to create a gasket that will last and seal over and over again without the mess.
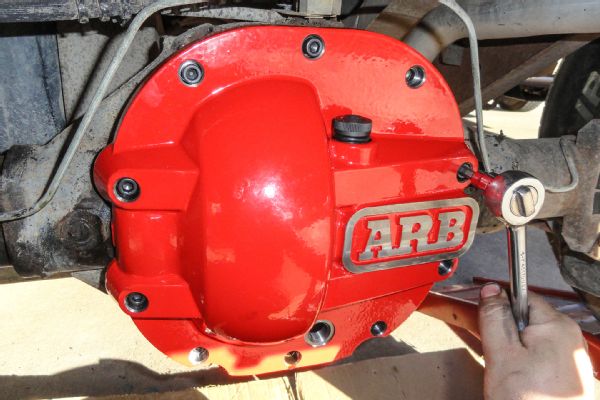
To replace our flimsy differential cover we ordered up a new nodular iron cover from ARB. The cover features cross-bracing to strengthen your housing and includes both a magnetic drain plug and oil dipstick. The thick cover protects expensive gears and lockers and includes the hardware needed for an easy installation.
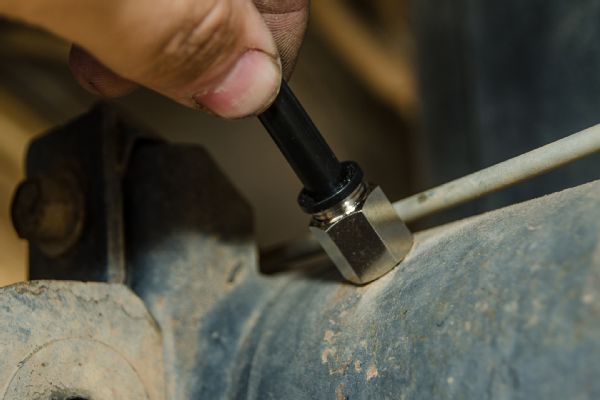
ARB’s diff breather kit comes with several push-lock fittings for the supplied 8mm tube. We unscrewed the hose barb from our axletube and then threaded in the new fitting before pressing the tubing in. We then ran our tubing along the frame and up the firewall using the supplied zip ties to secure the line.
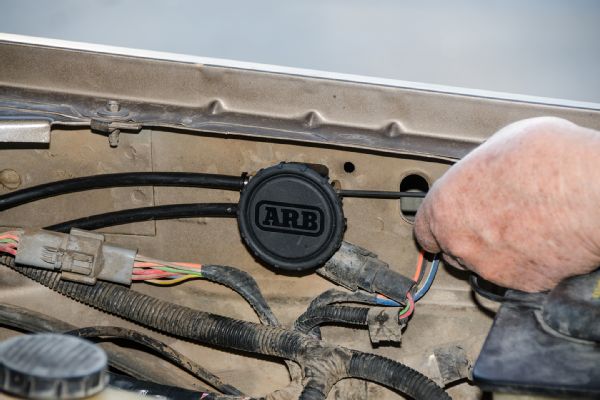
The nicely machined ARB manifold screwed right to our inner fender, up high and protected from water. We routed two tubes from both of our differentials into the manifold and plan to add our transfer case breather as well using additional tubing and fittings from ARB (PN 170113). The filter threaded into place last, capping off an easy installation that will protect the drivetrain from water intrusion the next time we hit the trails.
Differential breathers are another great upgrade to make if your favorite trails include water crossings or mud pits. Factory breather hoses are often short and include a one-way valve that can close and create a vacuum inside the differential. ARB makes a complete differential breather kit (PN 170112), which will be enough for two axles. The kit supplies enough tubing to raise the breathers as high as you want to install them to stay above the water. The ARB breathers are also designed to eliminate backpressure and vacuum common with the one-way valves that can lead to water being ingested into the differentials.
Suspension
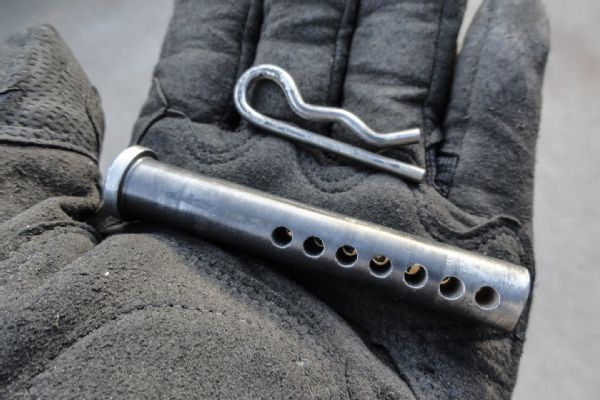
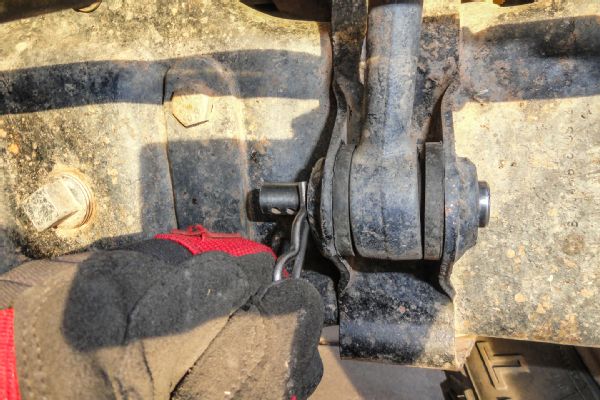
After removing the bolt that connects the sway bar to our axle, we made a trip to the hardware store and found these pins of the same diameter. We inserted the pins and now have quick-disconnect sway bars. Once we hit the trail, we simply pull the pins out and tie up the bar to our frame to gain a smoother ride with more suspension flex.
Electrical
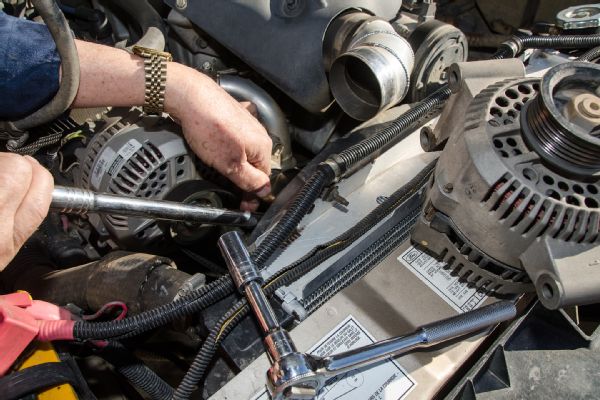
An alternator swap involves loosening the belt and removing just a few bolts and electrical plugs before a new one can be installed. Always disconnect the battery beforehand to prevent accidental arcing of the wires. Our new alternator provides 40 more amps over the old unit while still being a bolt-in stock replacement.
This was the quickest upgrade of all. A few minutes spent replacing the bulbs in our dome lights made a significant difference in the amount of useable interior light. We replaced the old incandescent bulb that gave off a dull, yellow light with a surface-mounted device (SMD) LED bulb that produced a bright white light. These SMD LED bulbs are available in different configurations to replace common automotive bulbs.
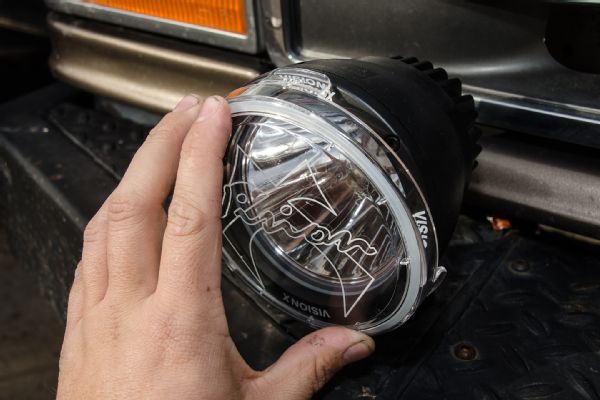
Installing a set of auxiliary lights is another easy upgrade to improve nighttime driving. We ordered a set of 4 1/2-inch Vision X LED Light Cannons. They came with a wiring harness, making the job all the more easier. We bolted the lights onto our front bumper and then aligned them before tightening down the nuts.
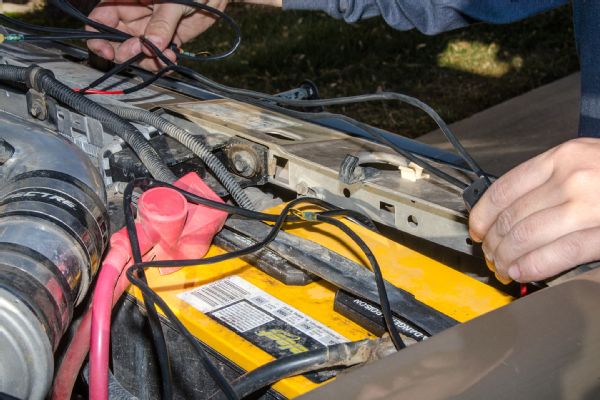
Once the lights were installed on our bumper, we stretched out the included wiring harness under the hood to check layout and placement of the grounds, switch, and relay locations. We mounted the relay just behind one of our headlights and then connected all the grounds, the positive lead to the battery, and the light connections, and ran the switch leads through a grommet in our firewall. The whole process didn’t take long at all. The hardest part was deciding on a place to mount the switch to our dash.
Accessories
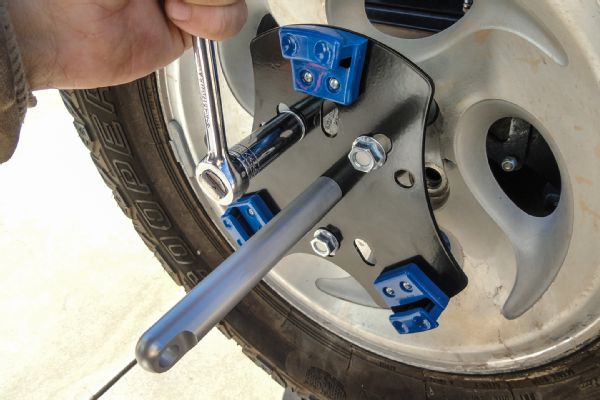
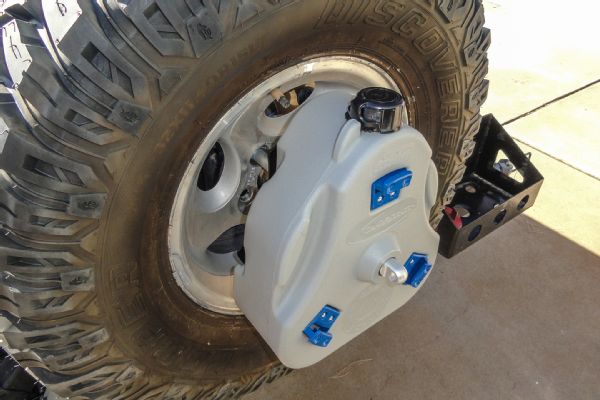
After assembling the cam brackets to the can, we bolted the bracket to our tire carrier using the provided lug extensions and nuts. The bracket is slotted for several different wheel lug bolt patterns to fit a variety of applications. Once the bracket is secured, the Cam-Can simply twists on and then locks into place. There is also an eye at the end of the stem for a padlock to ensure that your Cam-Can remains yours.
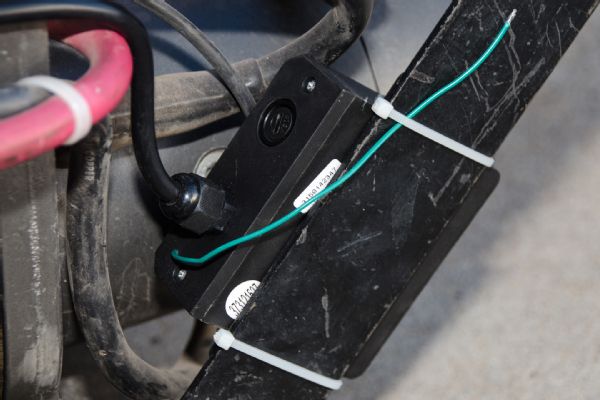
The Harbor Freight Tools control box comes with a round five-pin connector that will work with most winches with the same connection. The controller is designed for Harbor’s Badlands series of winches; however, we found that some other brands of winches simply need a separate ground wire run inside the solenoid box because the wireless remote doesn’t switch the ground. We secured the remote box to our multimount winch cradle with zip ties and double-sided tape. The box does not need any wiring to work, so it can be mounted anywhere as long as the controller can still be plugged into the winch. The green wire is the antenna and not for grounding. We secured it under one of the zip ties.
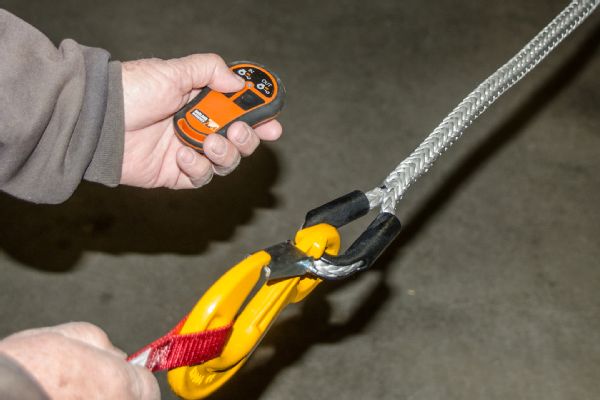
The large ergonomic wireless remote makes operating the winch easy. We spooled out our winch rope and tested the range of the remote to about 75 feet, which bested Harbor’s specification of a 50-foot range. There is a few seconds’ delay compared to a wired controller to be aware of, but we are happy we can now operate our winch from such a distance.
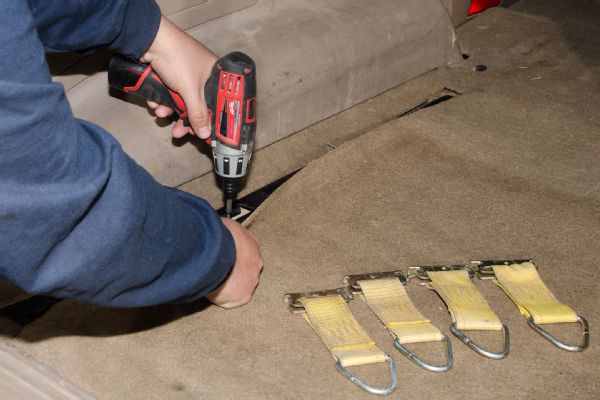
Whether you drive a truck, Jeep, or SUV, tie-down points are always handy. We decided to replace our four flimsy factory tie-down loops with E-track, which gives many more options for securing our gear before we head out to the trail. We reused several of the holes from the factory points and then carefully cut a slot in our carpet for the track to come through. We finished up the install with more screws to hold the track in place.
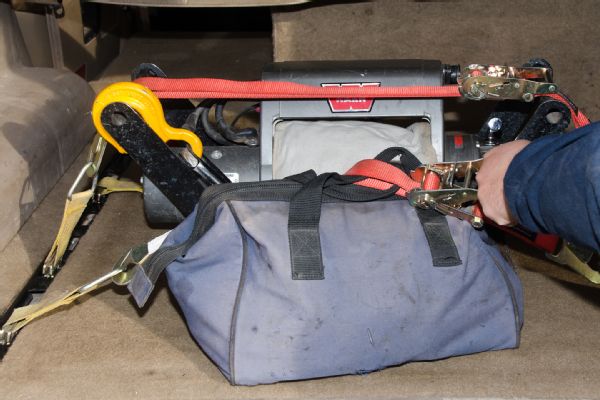
With the new E-track, securing our gear has never been easier. We now have several options to place tie-down straps in our cargo area. We are using anchors with a short strap and ratchet straps, but several other options are available, including ratchet straps with the E-track clips built in.
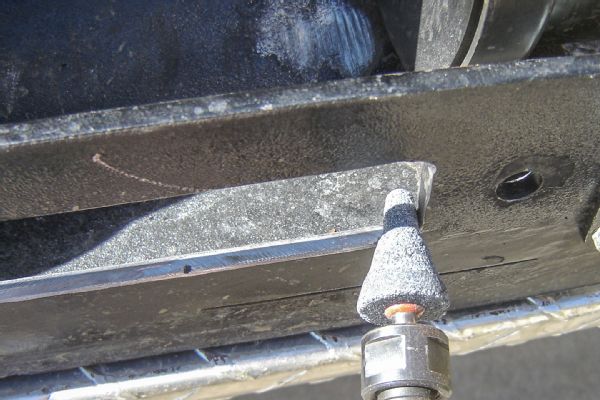
To begin replacing the steel winch cable, we unspooled it completely and removed the bolt holding it to the drum and our well-used roller fairlead. We noticed several sharp burs around the fairlead area, so we ground them smooth to prevent any snags to our new synthetic rope. We then bolted on a new aluminum fairlead and threaded the new rope through.
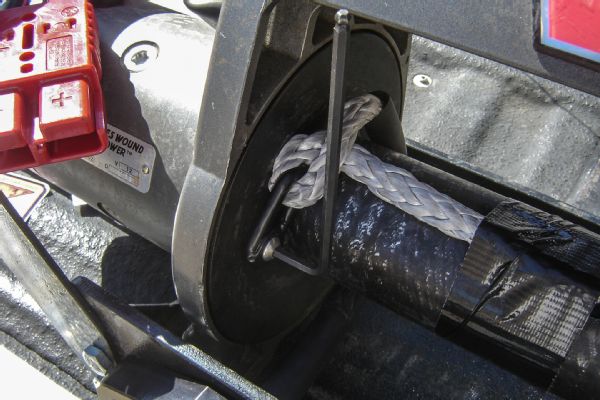
All winch lines and winches will have variances on how the rope attaches. We bolted our clip to the factory location on our drum and then ran the short, loose end across the drum and secured it with a piece of tape. Other attachment methods we have seen include a crimped-on end connector and a hole through the drum to thread the rope through.
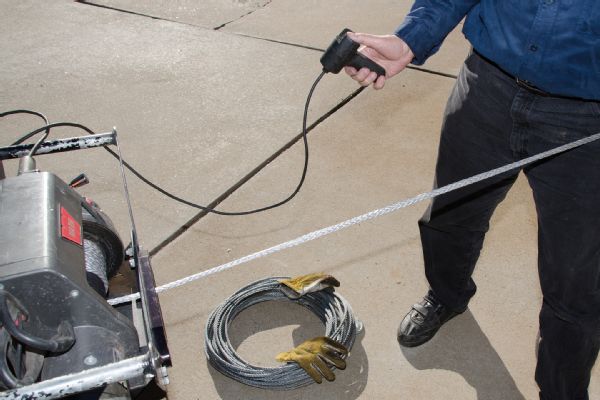
Once the synthetic rope was attached to the drum, we spooled in the first several rows with light tension. After we had the first row on, we continued to spool the synthetic rope in with tension created by hooking the rope to a stationary object and letting the vehicle roll forward with light brake applied as the rope continued to wind on the drum. We made sure each wrap was against the previous wrap and not overlapping itself.
While these are our 10 upgrades of choice, you are only limited by your imagination. New shocks, power programmers, braided stainless steel brake lines, cold air intakes, a power steering cooler, or even a simple tune-up are all worthwhile upgrades that won’t break the bank or the clock. So park your rig in the driveway, grab some wrenches, hit the easy button, and get to upgrading!