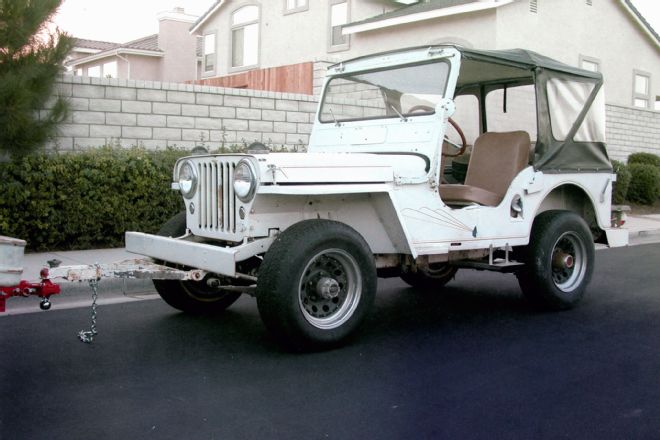
Let’s be honest. Sometimes our ideas about getting rigs running well enough to take out to the trail don’t quite go according to plan. In the case of this particular Jeep, it was the year 2000 and our plan was to buy a non-running ’46 Willys Jeep CJ-2A for a good price, and, with some luck, have it running in no time. We did get the all-white Willys with a 3A windshield for a steal, but when our two Jeep guru friends were not able to help me get the seized engine to break free, my plans quickly stopped turning as well. I did manage to order new Military NDT tires and had some nice wheels made to keep me excited, but that was where it ended. Sound familiar?
Knowing this project would now take a substantial amount of time, money, and effort, we booted the Jeep from the garage to the side yard, covered it with a tarp, and as the saying goes, it was “out of sight, out of mind.” There it sat for 13 years, and we even had horrible thoughts of selling it at one point. However, because the Jeep was responsible for me meeting my wife (a neighbor introduced us while talking about the Jeep on the day we brought it home), she said maybe we shouldn’t sell it. Her resistance to selling the CJ-2A was the spark we needed to finally pull the engine out and start tearing the entire Jeep down for a full restoration.
Once the Jeep was stripped down to the frame, we headed over to see our friends at AutoCraft in Camarillo, California, so they could media blast almost 70 years of crust and surface rust, and paint off of it. AutoCraft is a full auto body and restoration shop and also does high-end custom fabrication work to help finish any project right. At some point when a former owner painted the Jeep body white, the entire chassis also received the white-paint treatment, so what made it odd looking also preserved it and helped to keep the rust away. The next step was to prep and paint the frame using products from Eastwood. The Eastwood line of products and tools made the job much easier. We’ve had great results using them in the past and wanted that same quality look on this restoration. If you’re thinking of doing the same to your Jeep and need some inspiration, follow along as we show you how easy it was to prepare the frame for the restoration.
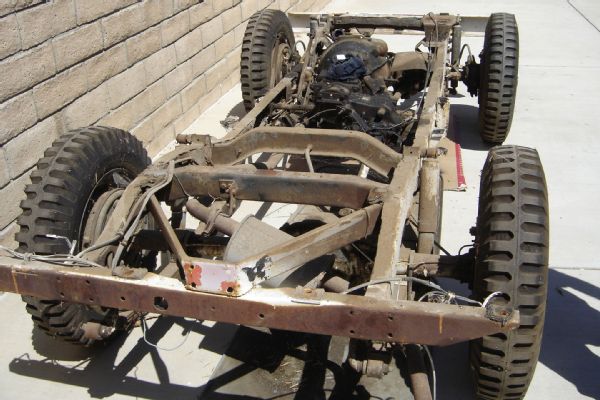 After 54 years of odd Jeep modifications from previous owners and then sitting for another 13, we began slowly taking it down to the frame. Although it took a while to get the restoration going, hopefully it will never look like this again.
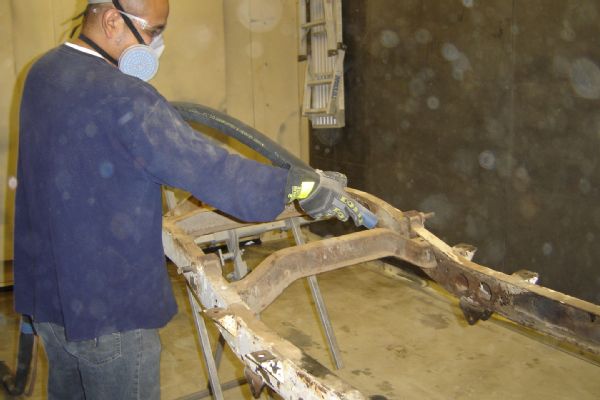 Once at AutoCraft, Rigo Martinez immediately started working his magic on the frame with a media-blasting blend of walnut and aluminum oxide.
 This close-up of the battery tray before the media blasting shows how little or no paint was left to protect the metal and was likely the worst spot of the frame.
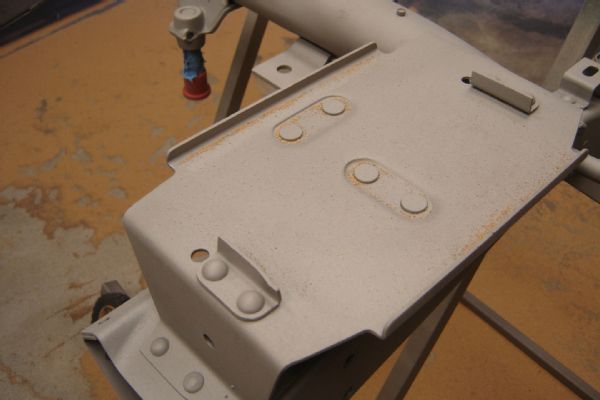 After media blasting the battery tray, it looked like near factory-new with very little pitting from the rust. Overall, this frame came out really clean, and as such, we are starting with a great restoration platform.
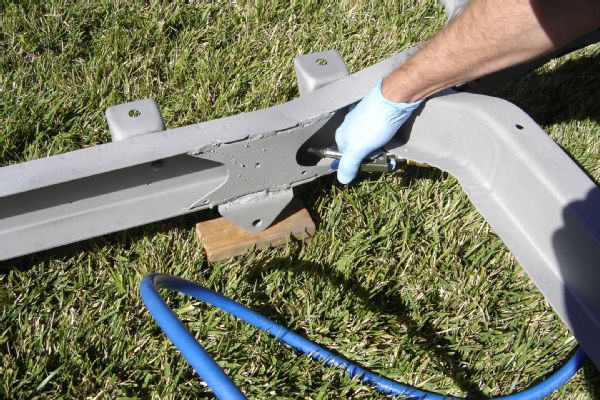 Make sure to use compressed air in all areas of the frame and blow out any loose media particles that may have become wedged in the rails or pockets.
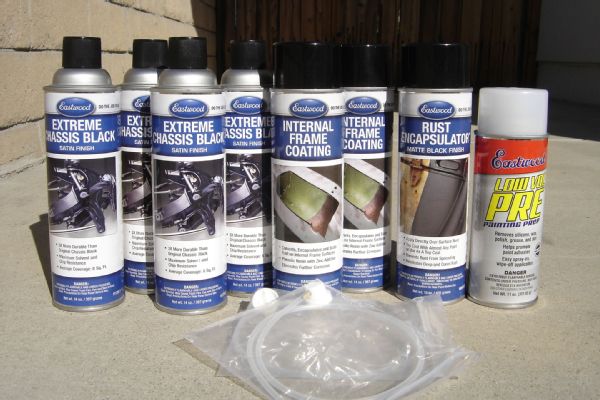 For this frame restoration, we used Eastwood’s metal paint-prep, internal frame coating, and rust encapsulator as a primer. Eastwood’s extreme chassis black satin was used for the topcoat.
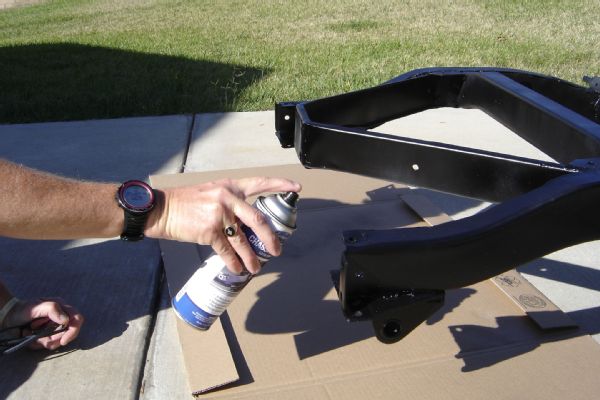
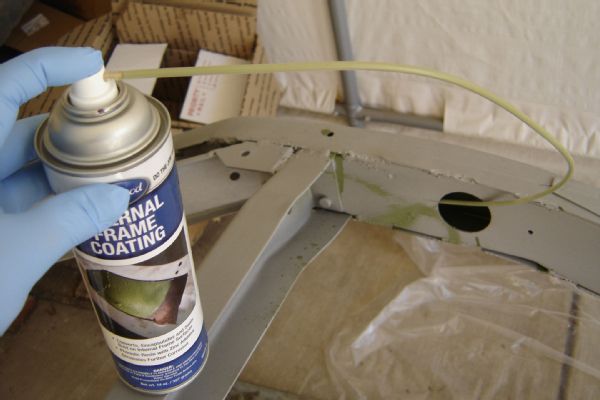 Once we wiped off the frame with Eastwood metal paint-prep, we then used the company’s internal frame coating. Make sure to pull and move the nozzle tube along as you spray to get it evenly distributed inside the frame.
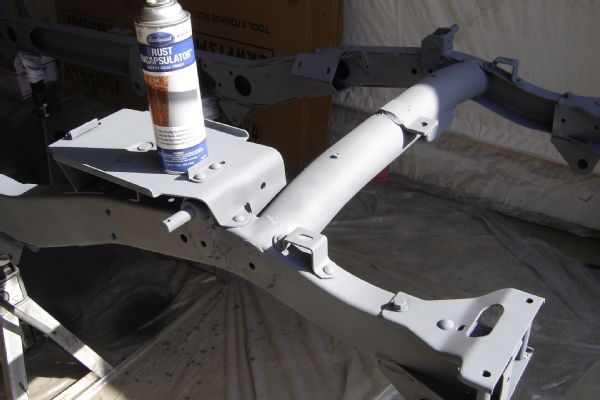 We ended up using the safety-gray color version of Eastwood’s rust encapsulator as a primer. Make sure to move any supporting jackstands after the first coat and get the primer on the raw frame in those spots.
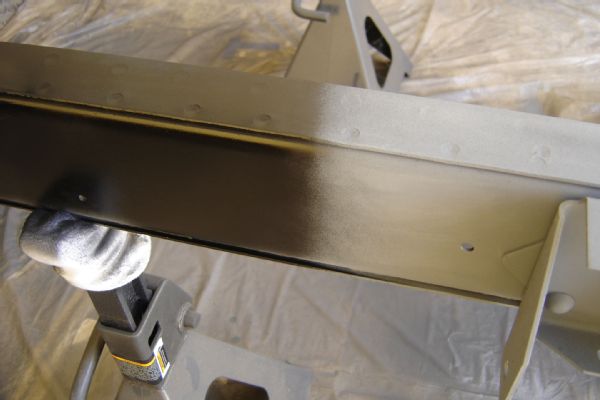 For the topcoats on the frame we used Eastwood’s extreme chassis black with a satin finish. Here you can see why we chose to use the gray primer, as it makes it much easier to see where the topcoat is complete.
 Once the first coat was complete, we decided to take the frame out into the sunlight to help see where the second coat was needed for complete coverage.
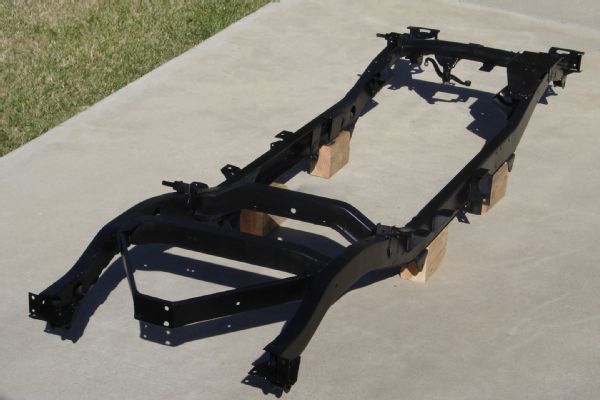 The finished frame came out spectacularly using the Eastwood products and should hold up for many years to come.
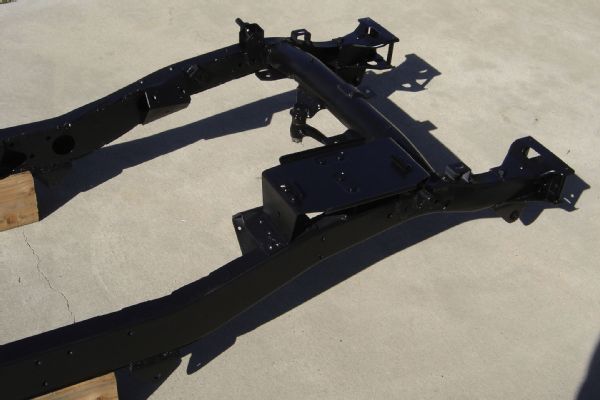 This is a close-up photo to show the great finish that the extreme chassis black satin gave the frame. The benefit to using spray paint is that if something gets dragged underneath or scratched badly, it’s a simple touch up to keep the rust away and also matches easily.