 Jerrod Jones
Former Editor, Off Road
Jerrod Jones
Former Editor, Off Road
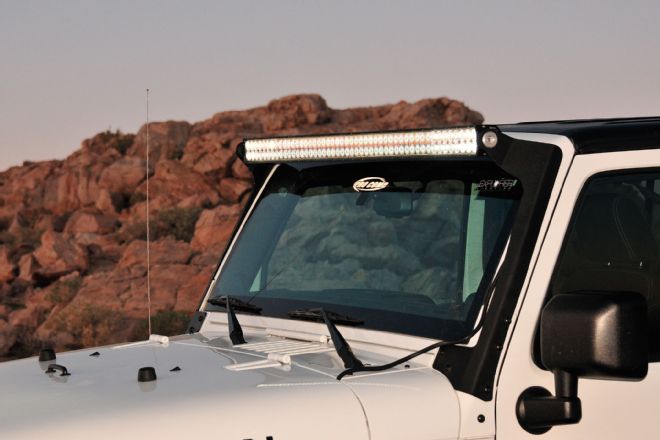
Wind resistance be damned. For the absolute best visibility, only a roof-mounted light will do. When traversing uneven terrain late at night, it’s difficult to see over rolling obstacles, and the higher a light source is, the better the light can get over whatever is shadowing the terrain ahead. While bumper-mounted lights offer less wind resistance and often mount more easily, a bumper-mounted light is limited by its height from the ground, and your eyes are probably 2-3 feet above that when sitting in your Jeep. Having an overhead light source will give you the best visibility when exploring at night.
Explorer Pro Comp has come up with an easy, bolt-on solution to the mounting problem with their new JK windshield mounts that allow a roof-mounted LED lightbar to fit on top without interfering with the removable hard top or soft top.
Naturally, Pro Comp tailored the mounts around their own DR48 lightbar (dual-row 48-inch bar with 96 LEDs), but we’re guessing these windshield frame brackets will fit some other lights, too. We’re hoping to see some TJ (maybe even YJ and CJ?) mounts later down the road, but for now, Explorer Pro Comp is focusing on newer vehicle applications.
Is the light as impressive as anything we’ve ever lit up? Actually, it is. Having more money in overhead LED lighting than we had into our entire first Jeep really does make a difference. In fact, this Pro Comp 48-inch LED lightbar is going to cost us our “didn’t see it” excuses that we like to use when wheeling late at night.
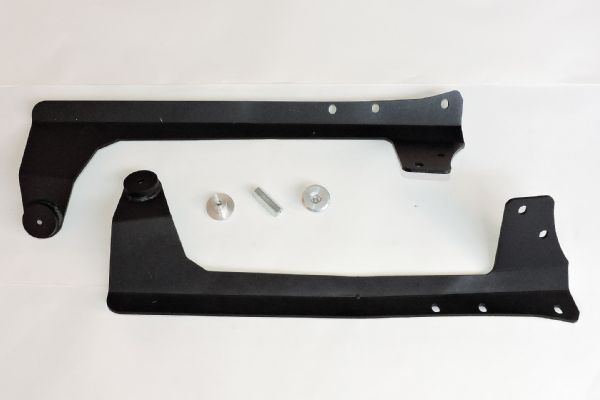 Explorer Pro Comp’s windshield mount kit (PN EXP75300) is only made for one Jeep right now: the ’07-’14 JK Wrangler. The brackets are made out of thick, 1/4-inch steel and powdercoated black for corrosion resistance. The unique round end-nuts require the supplied adapter (or a really big Allen wrench) to tighten or loosen them and provide some security to the light.
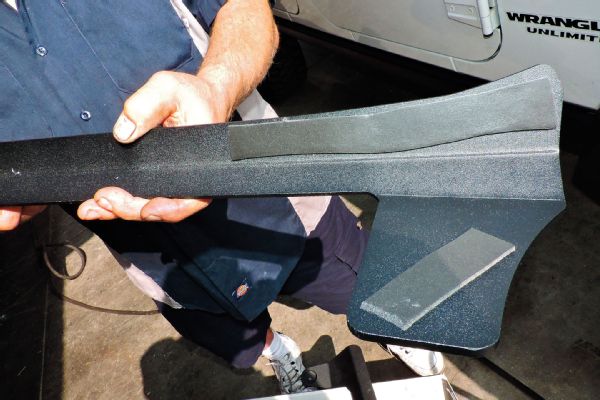 The windshield brackets go directly against the painted windshield frame, so we added some foam tape to provide a little protection to the paint.
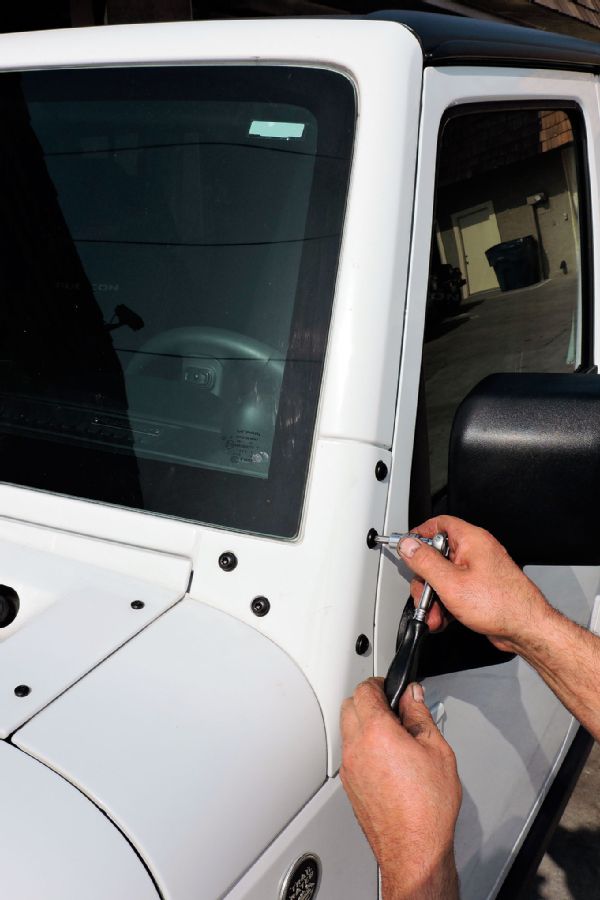 The EPC (Explorer Pro Comp) brackets bolt directly into the lower five bolts (per side) that are on the windshield frame.
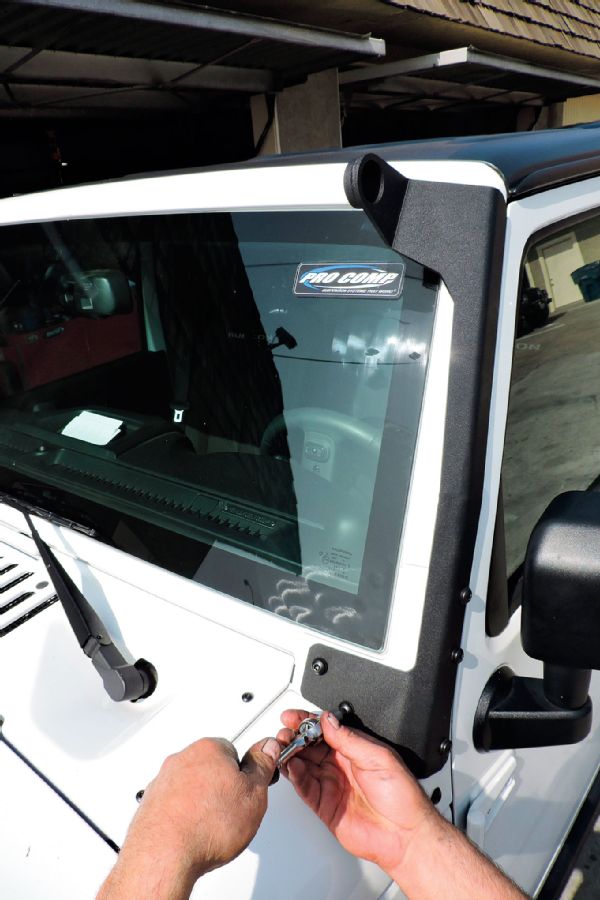 After placing the EPC LED lightbar mount and getting each bolt to thread, leave them loosely in place, as the brackets will squeeze onto the mounting studs on each side of the EPC DR48 lightbar.
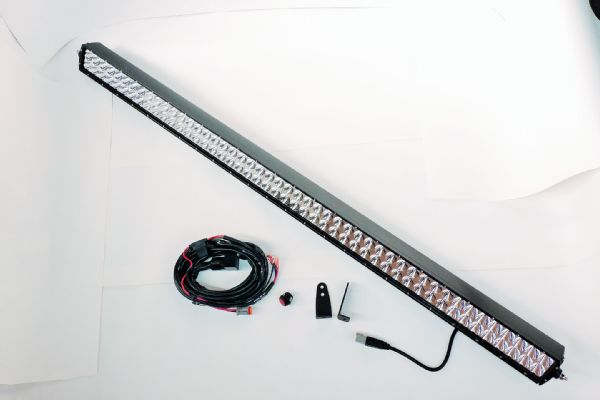 Explorer Pro Comp’s DR48 dual-row lightbar is packed with 96 Cree LEDs that require 240 watts. The bar measures out to be 49.75 inches long, 2.75 inches tall, and 2.875 inches deep. It has an IP68 certification and is rated to put out 19,200 raw lumens. The anodized polyester powdercoat finish on the extruded aluminum housing is said to provide protection in any environment. That’s a good thing too, since the LEDs have more than 50,000 hours of life. Your Jeep may get sold before your LED lights die.
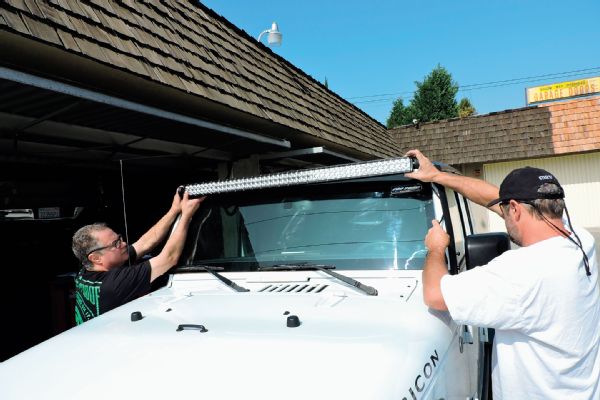 This is where a friend comes in handy. The LED lightbar needs to be placed in the brackets and held while the five factory windshield bolts are tightened up, squeezing the brackets onto the lightbar.
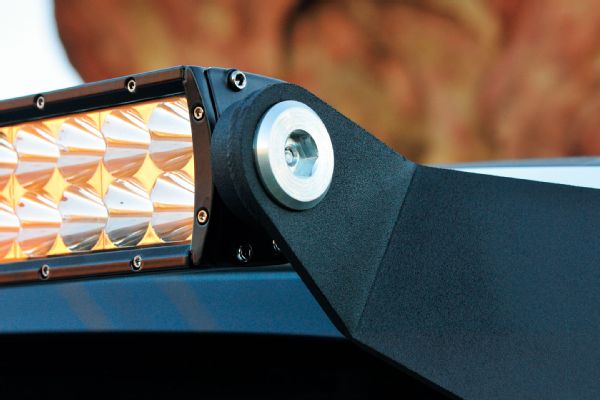
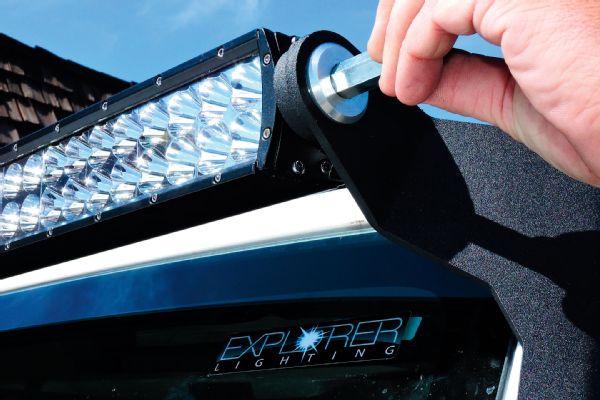 The special round end-nuts tighten the DR48 light bar into place using the supplied adapter tool. This is one of those “Dangit, where did I put that?!” tools like a splined lug nut adapter that you will lose in that black hole you call a center console. A large Allen wrench will also work perfectly.
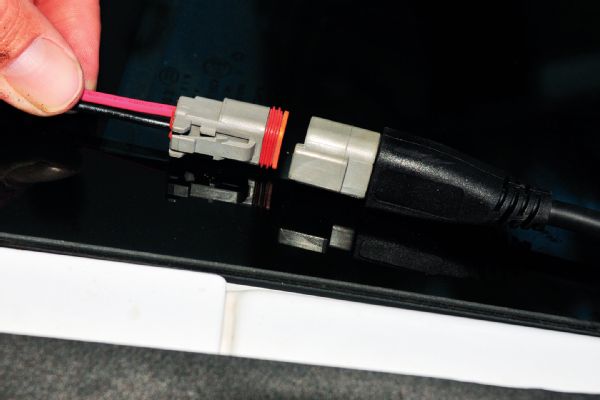 Plugging in the light is a simple one-connector hookup. Of course, you’ll have to put a red and black wire on the positive and negative battery terminals and run a wired switch through the firewall, but that’s for the wiring harness install. We’ll have that install story in an upcoming issue—wait for it.
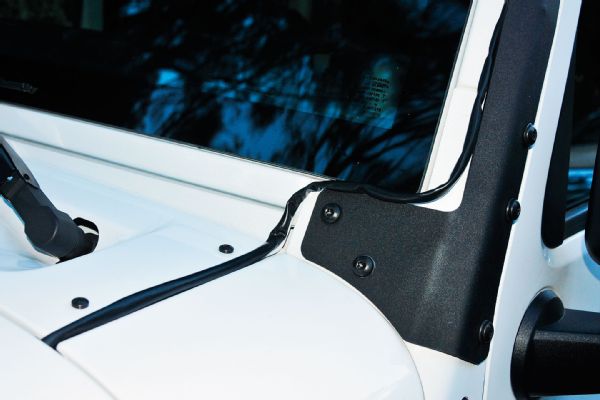 Here’s where things get sloppy. There is really no solution given for running the wires to the lightbar. You could pinch them in the hardtop or the door frame (not a good plan) and run them inside and back out again; you could drill holes in your windshield frame and tub; or you could just do like we did and run them down the body seam and under the hood where a rubber seal pinches them. It’s not ideal, but this will work until we get out a drill and get really tricky.
 Between the security nut and the fact that you’d have to remove all five windshield bolts to get a bracket loose, it would take some time for a thief to get this light. We’re not saying to park in a bad area and test the theory, but someone would need to have the right tools and some time to steal this LED lightbar from EPC’s windshield mount brackets.
 While the light performance is outstanding, it doesn’t take long for you to figure out that your four-figure investment can leave you with a ringing in your ears over 40 mph.
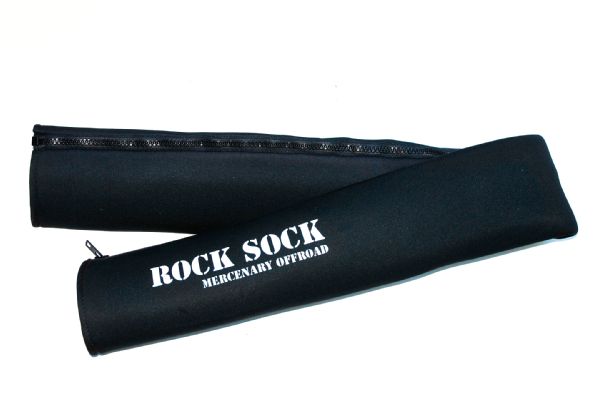
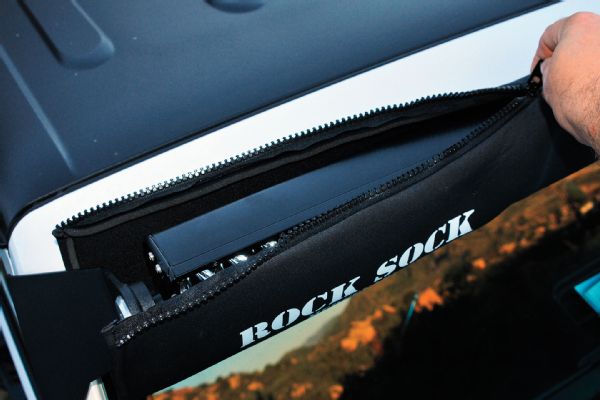
While that could put a damper on things, we had no worries thanks to a Rocksock from Mercenary Offroad. The stretchable neoprene (wetsuit-like) material has a large zipper that makes the Rocksock pretty easy to install with one person.
While the light performance is outstanding, it doesn’t take long for you to figure out that your four-figure investment can leave you with a ringing in your ears over 40 mph.
While that could put a damper on things, we had no worries thanks to a Rocksock from Mercenary Offroad. The stretchable neoprene (wetsuit-like) material has a large zipper that makes the Rocksock pretty easy to install with one person.
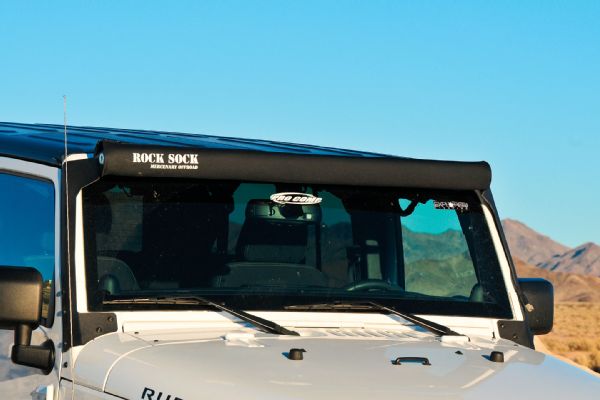 With a 20-second Rocksock install, we were able to stop any whistling attributed to the overhead lightbar.
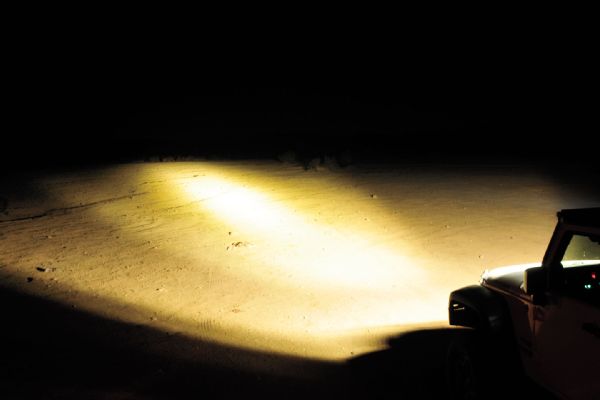
The DR48 LED lightbar gives usable light to a distance of 1,525 meters, with a 60-meter spread (30 meters per side) in front of your Jeep.
With a 20-second Rocksock install, we were able to stop any whistling attributed to the overhead lightbar.
The DR48 LED lightbar gives usable light to a distance of 1,525 meters, with a 60-meter spread (30 meters per side) in front of your Jeep.