It seems that everywhere you look people are swapping the Ford 8.8 rear axle under other vehicles. You can't log on to any forum on the Internet without seeing at least three topics on the front page asking about this stout little axle. It is becoming an increasingly popular swap, especially for Jeep guys and gals looking to replace their stock Dana 35s with stouter equipment. The 8.8 is a great solution because of its comparable width and similar bolt pattern to the Dana 35 found in Jeeps.
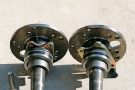
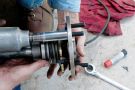
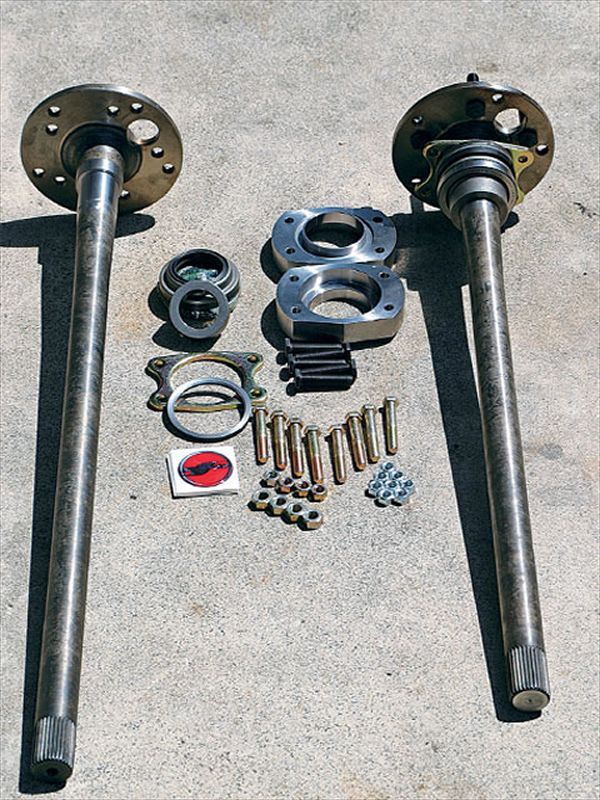 This kit comes complete with everything you will need to do the installation. The kit contains the new shafts, the C-clip housing end adapters, new bearings and retainers, and all the hardware you will need to bolt up the kit. The bearings included in the kit are commonly used by custom axle manufacturers on Dana 60s and other 35-spline axle applications.
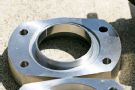
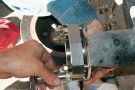
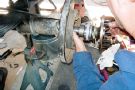
However, the stock 8.8 axle found in most Ford Explorers does have a few downfalls. Things like C-clip axle retention and a narrow 59.5-inch width measurement are oft-cited weaknesses. Even with these problems, many people are scouring the junkyards for derelict Explorers to swipe these axles from and transplant them into their own rigs. That's why Superior Axle & Gear decided it was high time somebody addressed these axles' weaknesses. After a few months of research, the folks at Superior developed an axle upgrade kit that fixes the 8.8's shortcomings and converts it into one stout axle that should easily cope with 37s and a heavy right foot. This kit eliminates the C-clip axle retention, works with any locker currently available for the 8.8, and adds over an inch and a half to the width of the axle! This alone sounds like a great idea, but the guys at Superior took it one step further and produced a kit that can be installed in your driveway with no more than some basic wrenches, a hacksaw, and a file in just about an hour. When we first got wind of this Super 88 kit we knew we had to try it out for ourselves. The axleshafts that come in the kit are a one-piece forging made in the U.S.A. from American steel. The 31-spline, 4340 chromoly shafts are CNC-machined, rolled-splined, and induction-hardened for added durability. Also, the larger, thicker flanges will not bend like the stock pieces do. The wheel-stud holes are drilled and tapped for 1/2-inch thread in wheel studs in both the stock 5-on-4.5 and 5-on-5 bolt patterns.
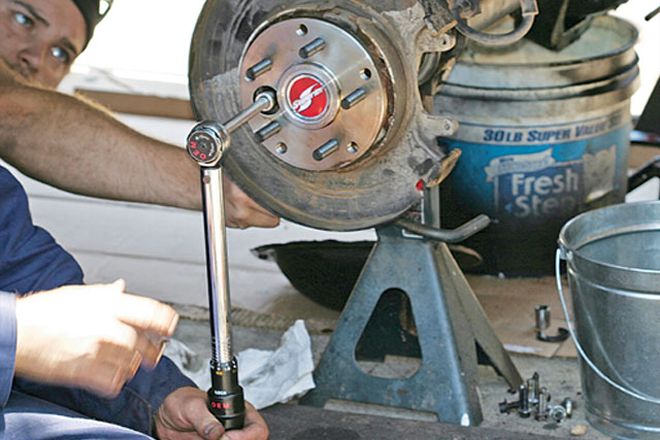
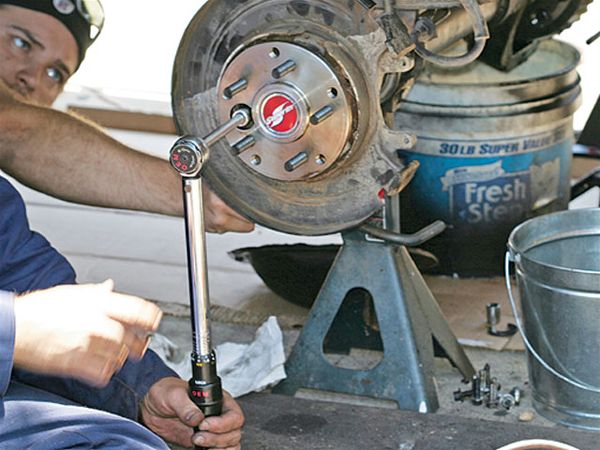
To prove that this is indeed a driveway-installable kit, we installed one on our own front pad. The Super 88 kit will be available from Superior Axle & Gear and its distributors by the time you read this with an MSRP of about $540.