 Fred Williams
Brand Manager, Petersen’s 4Wheel & Off Road
Fred Williams
Brand Manager, Petersen’s 4Wheel & Off Road
Mounting beadlock wheels is easy. It doesn’t require any high-dollar tools (other than an air compressor), and it doesn’t take long. In fact, we were able to mount one Method beadlock wheel in our living room in under 30 minutes. You could do it faster if you used power tools, but mounting them by hand isn’t too bad, and since you want to be careful not to overtorque the beadlock ring bolts it’s probably safer to take your time and do it by hand.
Don’t tell your mom we said it was OK to mount your tires in the living room. We’ll deny ever condoning such ridiculous behavior.
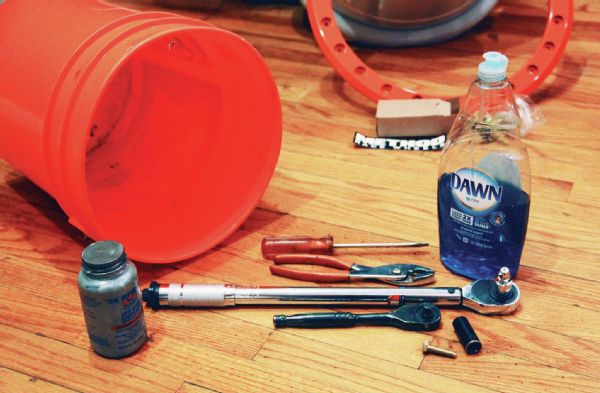
These are all the tools you will need to mount the tire on the beadlock: pliers to install the valvestem; dish soap to lube up the tire before you install the wheel; a screwdriver to align the tire on the rim; a bucket to set the rim on; a socket and ratchet to install the beadlock bolts; and a torque wrench to tighten them to spec.
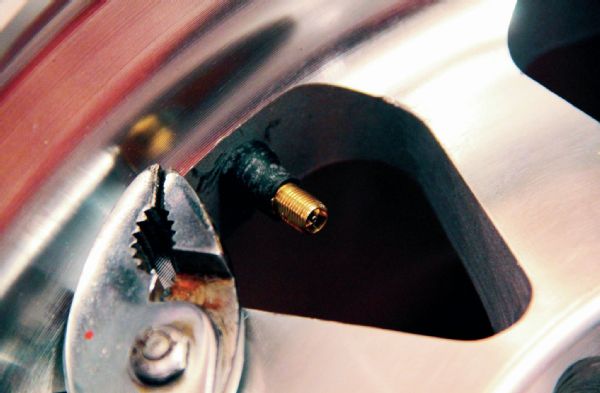
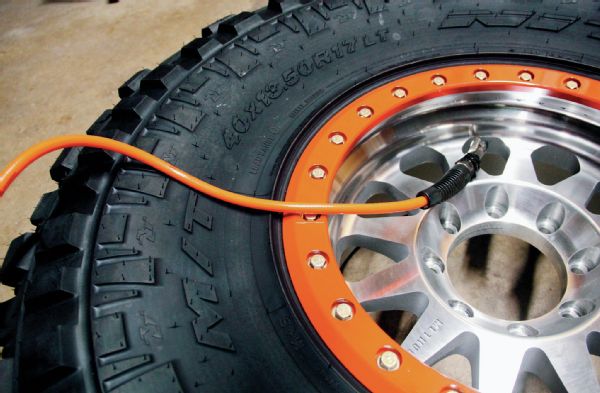
The first step is to install the valve stem. You’ll invent new four-letter words if you forget and get the tire mounted without the valve stem and have to tear it all apart. Ask us how we know.
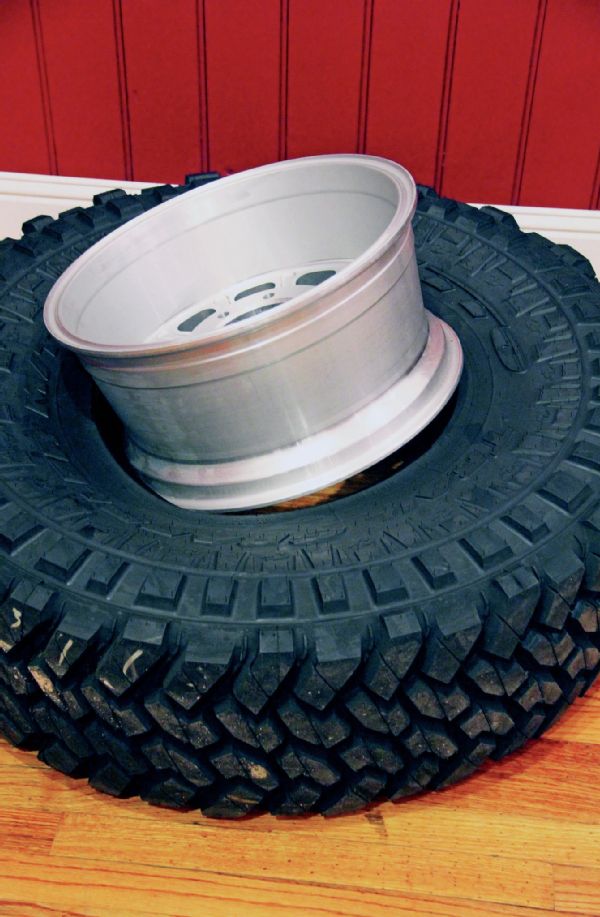
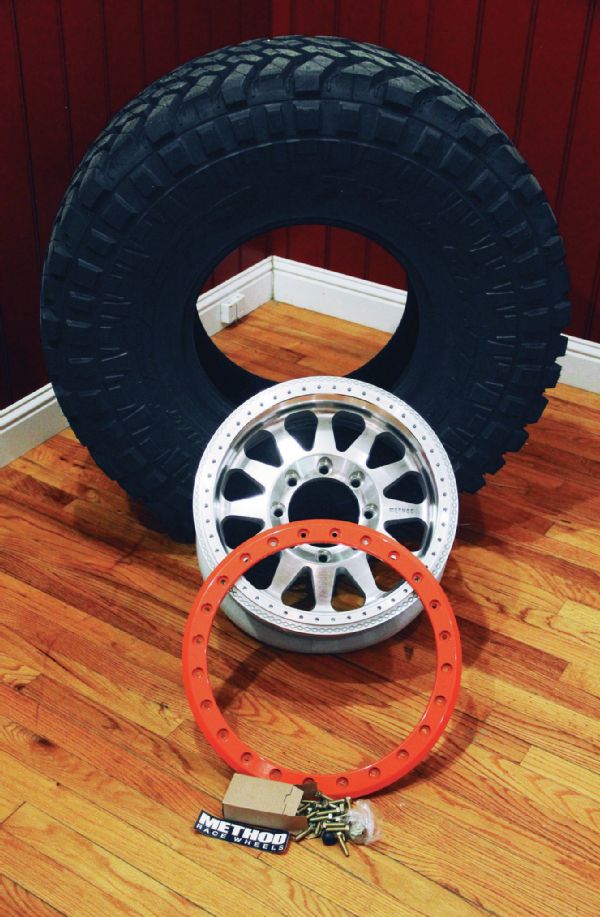
The second step is to lube the back bead of the tire and force the front of the beadlock rim through it. In some cases you may need some tire spoons to get the tire on the rim, but our 40-inch Nitto Trail Grappler dropped on without much of a fight.
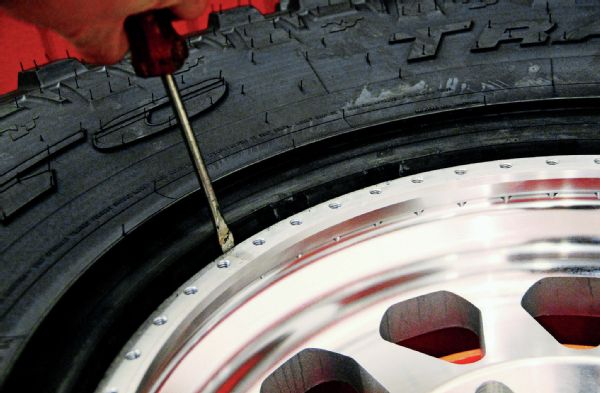
Next you need to set the wheel and tire combo on the bucket. This droops the tire off the front face of the rim to help you prep for the beadlock ring. Use the flathead screwdriver to be sure the rubber is centered on the rim evenly and no rubber flashing is sticking up.

Put a small dab of antiseize in each bolt hole to help assembly. Antiseize is messy stuff. Don’t get it on the couch, carpet, dog, or your hands. As soon as it gets on your hands your nose will itch.
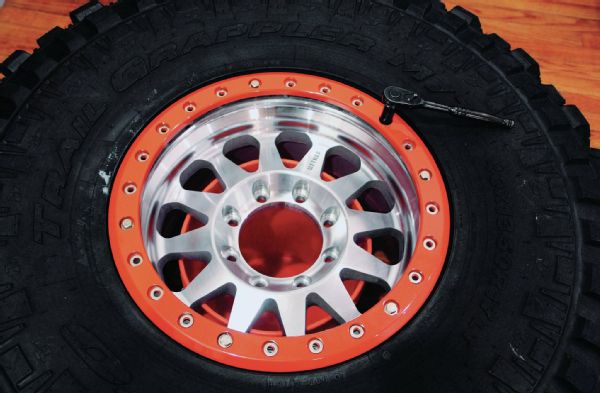
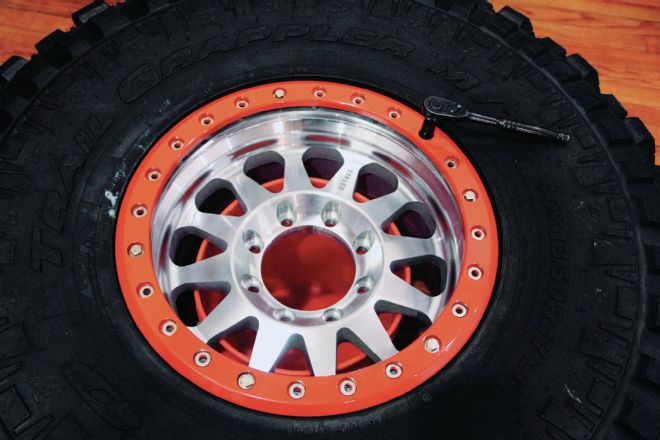
Install the bolts. On this Method beadlock the outer ring is held on with 5/16-inch bolts. Get them all started first, and then tighten them in a crisscross (star) pattern. Our Method 101 machined beadlock wheels have had the rings painted to match our Ultimate Adventure Tug-Truck, but Method does offer black beadlock wheels.
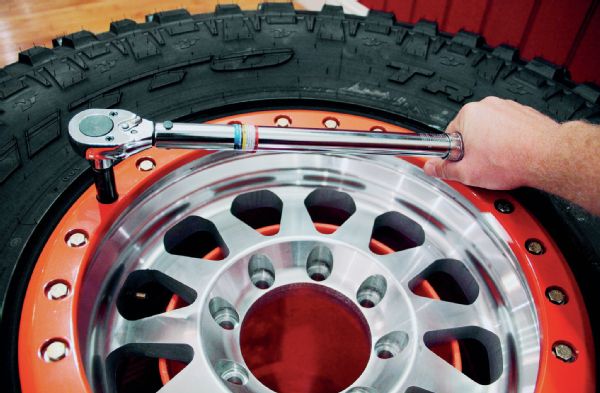
Tighten down the bolt gradually and then torque them to 20-25 lb-ft. We found a torque wrench that goes this low at our local Harbor Freight Supply store. You will want to retorque the bolts every 200 miles.
Finally, just air up the tire until the rear bead seats and then set them to your desired wheeling pressure. Bolt them to your vehicle and go have fun. Running beadlock wheels will allow you to run extremely low tire pressure with less chance of debeading the tire.