Every step of an automotive build will bring up decision points, along with various ways to approach an aspect of the project. The spectrum here runs from the trailered show car, all the way to the full custom Pro Touring machine. From the start, our ’71 Challenger was to be built for real street driving, but with a definite nod toward the OEM restored look. For all practical purposes, the upper crust of authentically restored cars is not practical for actual driving. For our build, however, we are after the restored or even over-restored look of a show car, but are willing to alter the true nature of "original," using more durable finishes or improved or aftermarket parts to achieve our street-bound goals. We call it "stock-resembling," making easily reversible modifications where practicality or performance can be improved.
"We call it 'stock-resembling,' making easily reversible modifications where practicality or performance can be improved."
Factory Parts Swapping
In building the front suspension we took a step in that direction with a change in spindles to the taller late-model B-, F-, M-, J-, and R-Body spindles. These spindles are slightly taller, mildly altering the front geometry, and use the late-style larger inner wheel bearing to accept the more readily available later-style rotors. For those looking to use the later-style rotors while retaining OEM geometry, the ’73-and-later A- and E-Body spindles are the ticket. The unicast (one-piece hub and rotor) late rotors, used in most Mopar rear-wheel-drive passenger cars from 1973-1989, were produced in both 11- and 12-inch versions. This gives the option to step up the front brakes from the 11-inch dimension used on muscle-era Mopars. The larger rotor size was found on factory B- and R-Body applications, including police and heavy duty, and parts are still readily available new from the replacement aftermarket.
These later factory disc setups came in two caliper configurations, a pin-mounted arrangement very similar to the setup that was original equipment on our Challenger and B-Body cars of that era, or the sliding caliper arrangement. The sliding caliper is definitely the more bulletproof of the two, with the caliper sliding on machined ways on the caliper mounting bracket. This design is as reliable as an anvil, with quicker and easier service as a bonus. Swapping parts here simply requires that the caliper type matches the adapter type, pin or slider, and that the adapter also matches the rotor diameter, 11 or 12 inches. For our front brakes, the 12-inch slider arrangement was the obvious choice. Although it isn’t OEM original for our Challenger, it retains the OEM look that is lost with racing-style aftermarket brakes, while offering all the capacity we could ask for in a street machine. For the purist, we have saved our OEM brake components, including the spindles, rotor and hub assemblies, calipers and mount, hardware, and dust shields, so the car can be brought back to pure stock if we’d like. New rotors, bearings, seals, calipers, pads, and hardware are available virtually anywhere replacement parts are sold. We asked for a ’80 Dodge St. Regis application. The caliper adapters and spindles were scalped from a Cordoba, and we were done.
"…the 12-inch slider arrangement was the obvious choice. Although it isn’t OEM original for our Challenger, it retains the OEM look…"
Renewing The Rear
The rear brakes are burdened with a far lower share of the braking load, and our Challenger, like most factory front disc-brake¬–equipped Mopars, was equipped with 10-inch rear drums. The easy and quick bolt-on upgrade here is the factory 11-inch drums, found on C-Body cars, trucks, most heavy-duty four-wheel drum cars, among a variety of factory Mopar applications. The only downside is the extra weight and the need to replace the parking brake cables to match. Although the 11-inch drums have been found to be a good match when upgrading to 12-inch front discs, we elected to retain the original 10-inch drums in the rear. If we find the stock 10-inch brakes lacking when the Challenger hits the road, upgrading to the 11-inch drums would be a simple bolt-on swap.
Either of these two braking systems is readily serviced from the aftermarket, with parts available from the usual replacement parts sources. We replaced virtually every service part with new, including a spring and hardware kit, new self-adjuster kits, shoes, and wheel cylinders. Our original drums were serviceable with machining, but we elected to save the factory stockers and replace them with new aftermarket units for street duty.
Our braking system may not be pure concourse-stock, but was selected for many trouble-free miles of better-than-stock performance. At a casual glance, the system looks factory original in a way that dimpled, slotted, lettered, billet aftermarket brakes simply do not. For this build, that is just the way we wanted it.
"Our braking system may not be pure concourse-stock, but was selected for many trouble-free miles of better-than-stock performance."
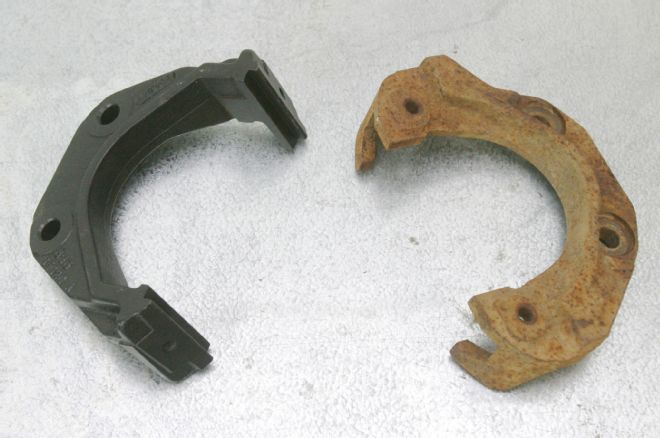
Mopar single-piston front discs brake systems such as the OEM setup on our ’71 Challenger used an 11-inch rotor with pin-mounted calipers. We swapped to later B-Body spindles to accept later rotors in either 11- or 12-inch diameters. Caliper adapters are available as OEM for either rotor diameter, in the original pin-style (right), or the improved sliding style (left).
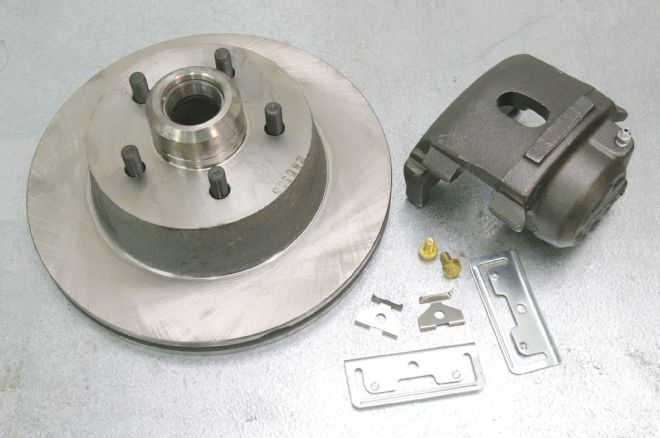
Introduced in A-, B-, and E-Body applications in 1973, the unicast rotors feature a one-piece hub and rotor using a larger inner wheel bearing than earlier hubs, thus requiring spindles of the same spec. Service parts are readily available at a moderate cost. We went with new 12-inch rotors, and sliding calipers and hardware.
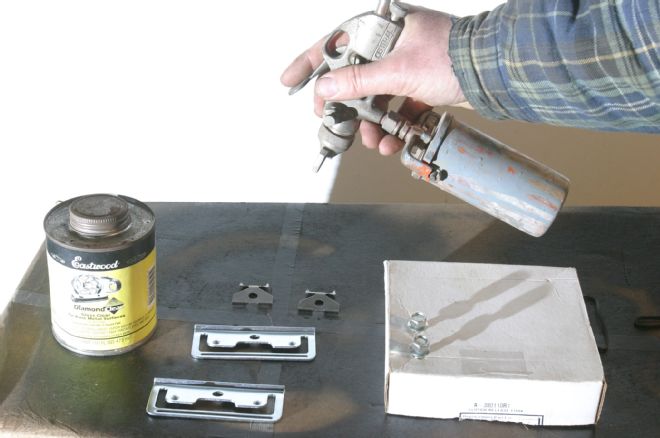
Eastwood’s Diamond clear coat is virtually invisible once dry, and adds a protective finish for a long-lasting natural look on bare metal or plated chassis components. Unprotected, these new parts would soon rust and corrode in any normal street use.
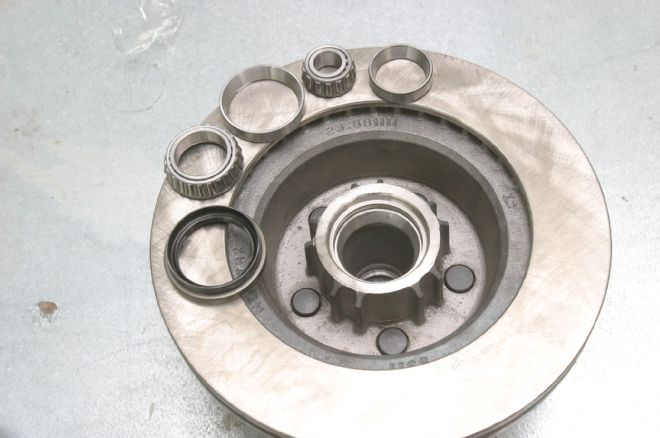
New replacement rotors typically come with new races installed, though new bearings and seals are a must. Note the ribs around the inner hub. This was originally a feature on stock Mopar heavy-duty or police unicast rotors, though most aftermarket replacements are also ribbed.
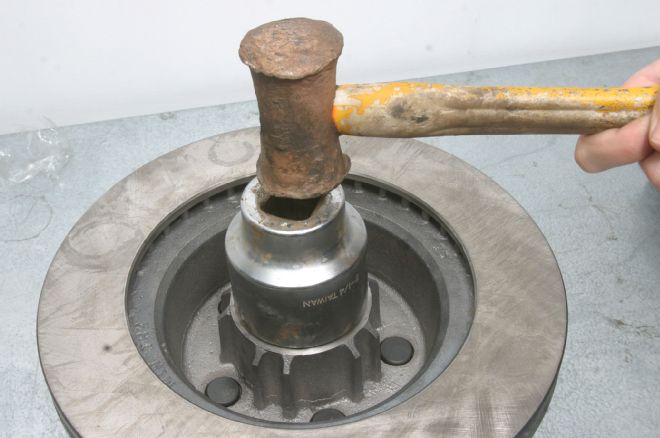
Make sure the bearings are thoroughly packed with disc brake wheel bearing grease and then insert the inner bearing and drive in the seal. The seal will capture the inner bearing once installed. We used a large socket to drive the seal squarely in place.
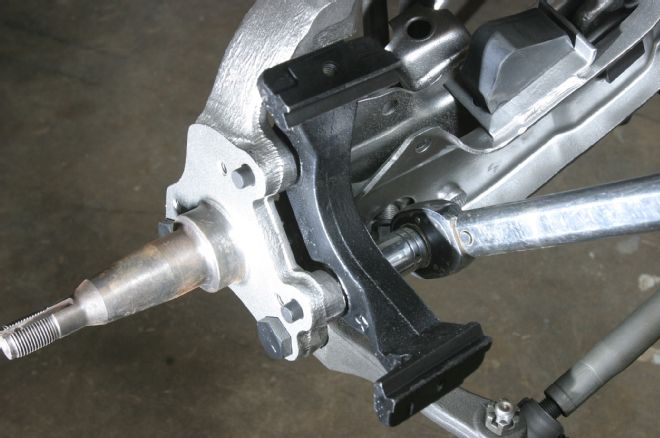
The correct caliper bracket is required to match the 12-inch rotors and sliding calipers. The adapters interchange on the ’73-up A- and B-Body, and the F-, M-, J-, and R-Body spindles, depending upon the OEM brake application.
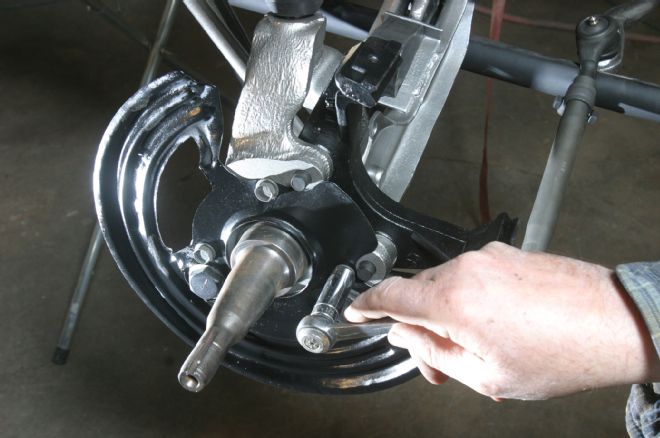
The splash shield mounts to the spindle with a foam seal behind it. This corrugated type of shield is used with the later unicast rotors, and is usually galvanized steel. The OEM shields for our Challenger are non-corrugated and painted black. For our install, the later shields were painted black to more closely resemble the stockers.
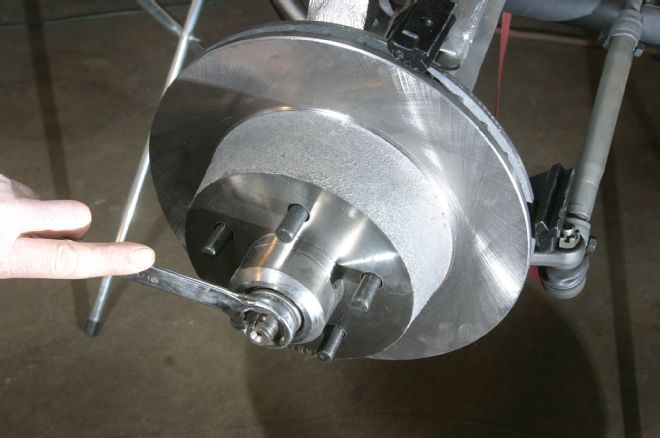
The rotor slides into place, just be careful not to score the seal. Next, the outer bearing, tabbed washer, and nut are installed. Torque the nut to 15-20 ft-lb while turning the rotor by hand, then back it off and return the nut to just seated. Finish by installing the retainer, cotter pin, and dust cap.
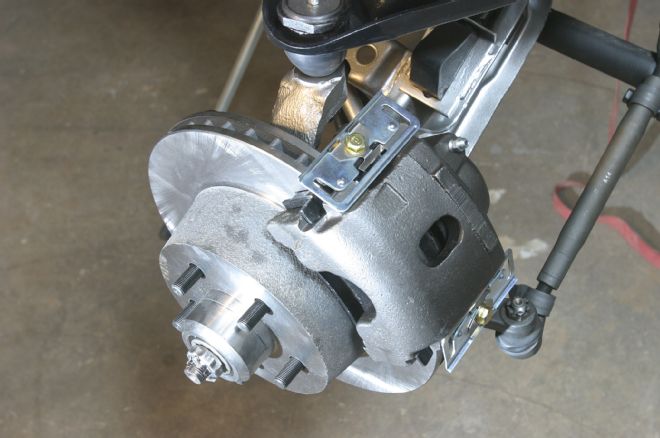
With the new calipers installed, we had the front half of our braking system completed. The sliding caliper system is very easy to service, with the caliper simply dropping into the adapter’s ways from the top, and fastened with readily accessible spring clips and bolts at each end.
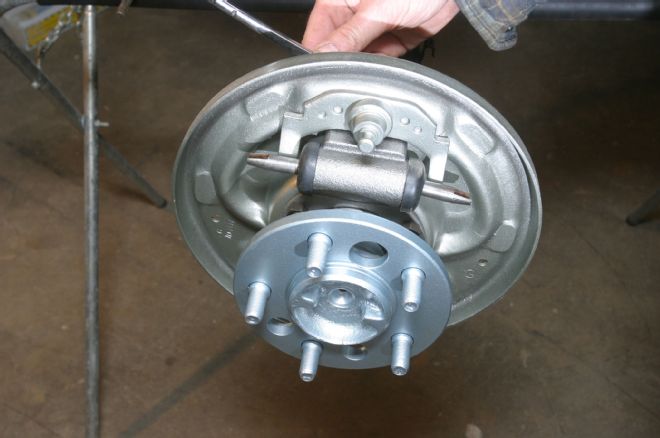
At the rear we began with the bare factory backing plates installed when we rebuilt our original 8 ¾ rear. Step one was to install new wheel cylinders. Foam gaskets are used between the wheel cylinder and backing plate, and the cylinder is retained with special OEM flanged bolts.
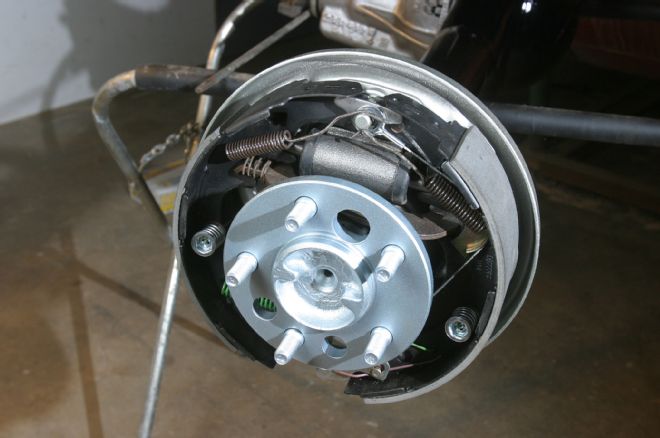
Loading the brake hardware and shoes is just a basic service procedure, as detailed in the service manual. Along with new shoes, new springs, hardware, and self-adjusters, ensure a clean and reliable installation.
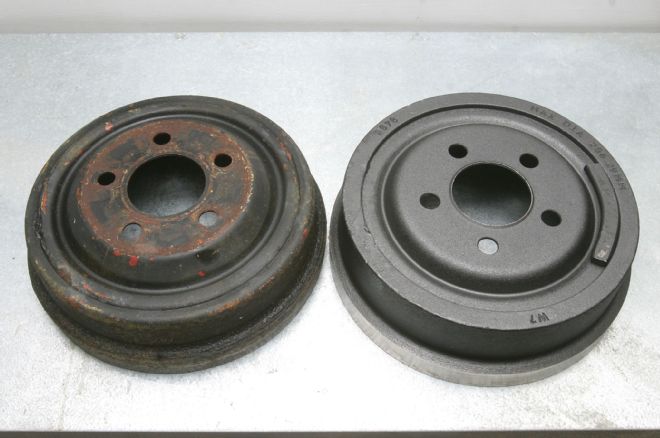
We had probably one more cut left in our factory drums. These jewels were shelved in favor of new aftermarket service replacements for street duty. Note the variation between the stocker (left), and the replacement (right).
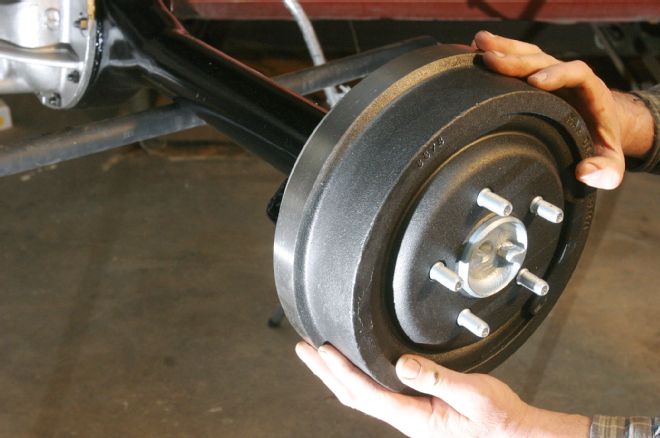
It almost seemed like a shame to cover the nicely rebuilt rear brakes with the new drums, but this system will provide years of reliable street service on our Challenger.