Much of the time, car modifi- cations are drastic and in your face: top chops, mean rakes, wild paint, ridiculous motors. And then there are times when we get the crazy idea to make changes that only a handful of people will notice, but that subtly can make or break the look of a car. This is one of the latter.
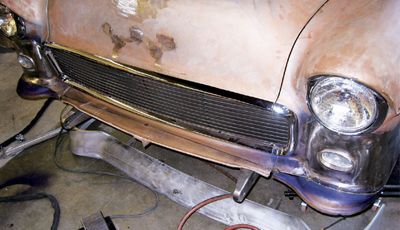
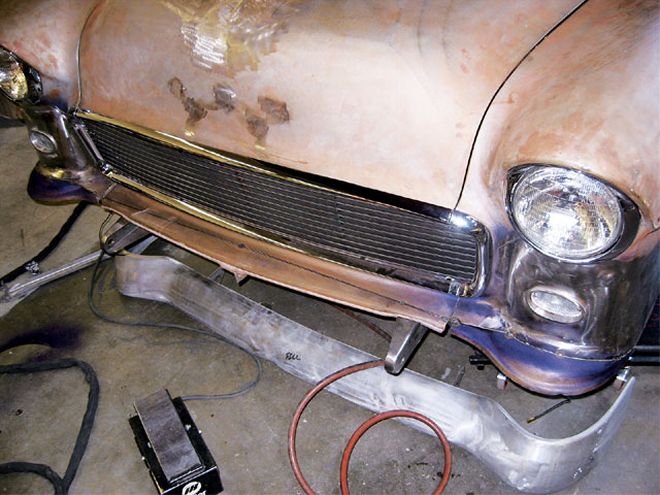
Car designers of the '50s were encouraging the "longer is better" ethos, and while custom car builders then and today might agree in some respects, there are times when this philosophy backfires. Take a look at the cow catcher on the front of a '55 Chevy, for instance.
Remedying this problem is a big job for what some might call a small reward. Personally (and personal taste is what hot rodding is all about, right?), I think it would have ruined the look of this car to have left the front bumper stock; it would have been worthwhile to shorten it at twice the time and money invested. You be the judge.
 Roy wanted subtle custom mods all along, so we decided to move the bumper in 1 1/2 inches. Any farther and the front end starts to look stubby. We needed to section the apron and shorten the brackets and framehorns so we made a simple sheetmetal template 1 1/2 inches wide by 3 feet long.
If you decide to take on a job like this, there are a few things to keep in mind initially. First, make sure all of the sheetmetal on your car is aligned properly. Shim and gap your fenders and hood, fit your grille, and shim the radiator support. When you tuck in a bumper, clearances get very small and a slight change in the alignment of the front sheetmetal can be a big headache during final fit.
Second, too much is usually worse than none at all. Just because you're going through all the work to move your bumper a matter of inches, you don't need to move it a lot just for good measure. Try it on in a few locations, stand back, and take a good look at it. Come back in the morning and look at it again. If an inch looks best, weld it up.
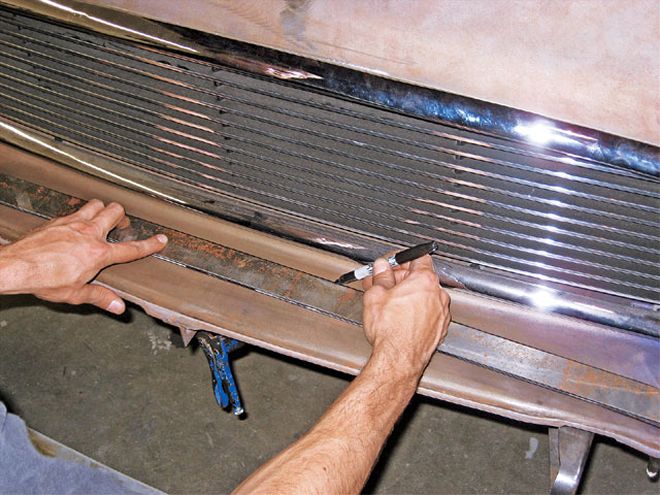
Lastly, make sure your bumper is straight. We sent this bumper out to get straightened and prepped for chrome before we began so we could be sure we were starting with a straight piece and that it would be the same shape once it was chromed. You'll have to shorten the ends of the "wraparounds" on your bumper, so re-chroming will be necessary unless you're OK with a little bit of silver paint.
Most cars from the '50s have sheetmetal aprons covering the bumper brackets. You need to be proficient at welding sheetmetal if this is the case. You'll need a welder, a set of body hammers and dollies, an assortment of vice grips, and a die-grinder equipped with a cutoff wheel. And a lot of patience.