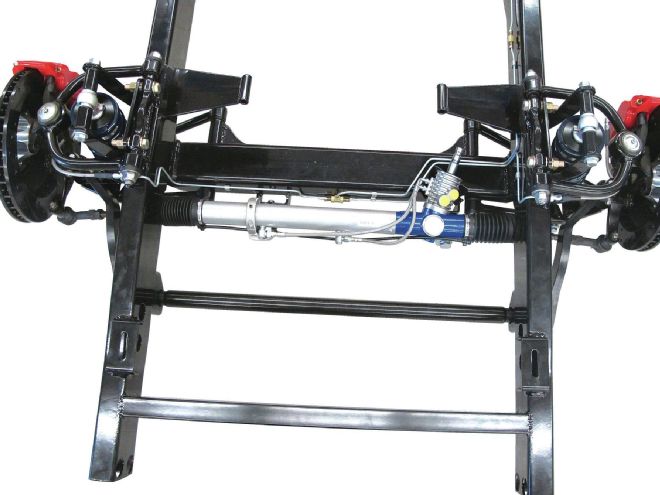
There was a time when pickups like Jason Scudellari's '56 Chevy were utilitarian vehicles used to haul pretty much anything that would fit in the bed. But today, the truck has a new purpose: haulin' butt. Jason's goal is to have a truck that has the handling capabilities to compete in autocross and track day events while still being compliant enough to be driven on the street.
We've been following the construction of the truck in the Source Interlink Tech Center where Jason's latest additions to the Chevy's Fatman Fabrications chassis were front and rear antiroll bars. Also referred to as sway bars or stabilizer bars, the term antiroll bars is a more accurate description of what they do, which is to reduce body roll in corners.
Antiroll bars are basically torsion bars that connect the left and right wheels. When both the left and right wheels hit a bump simultaneously both ends of the antiroll bar move up and down and the bar simply rotates in its mounting bushings. However, when the wheels don't move in unison the antiroll bar comes into play. During cornering when the chassis tries to lean the bar has to twist, which provides the resistance—or roll stiffness—that keeps the vehicle flatter in the corners.
Another function of antiroll bars can be to adjust the balance between understeer and oversteer. Increasing front roll stiffness increases understeer, or the tendency for the front tires to slip in turns, increasing rear roll stiffness increases oversteer, or the tendency for the back to slip to the outside of the turn.
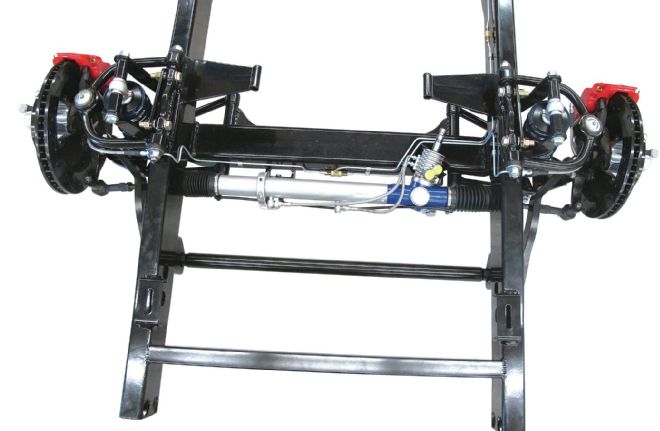
Because of the components used in the construction of this particular chassis and his specific requirements, Jason utilized components from some of the best in the chassis business. Up front, an antiroll bar, arms, and links designed for Chevelles from Detroit Speed was found to fit perfectly. Detroit Speed, under the guidance of Kyle and Stacy Tucker are the folks that turn average GM and Ford cars into corner carving g-machines. In the rear, the antiroll bar and attendant hardware came from a well-known source for aftermarket street rod and truck chassis and parts: Total Cost Involved Engineering.
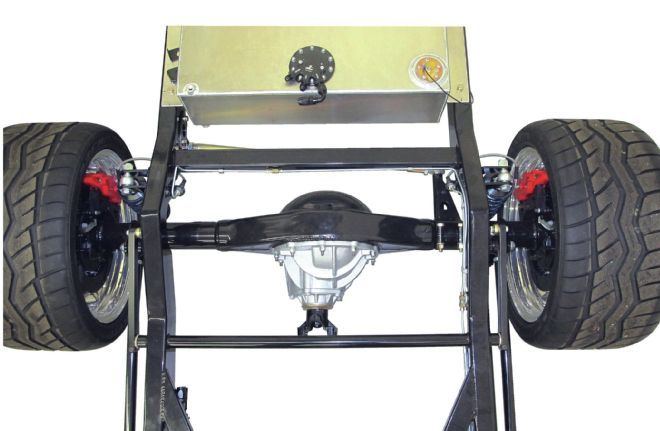
With antiroll bars front and rear, coilovers all around, sticky tires, four-wheel Wilwood disc brakes, and lots of horsepower, all mated to the flawless Fatman foundation, Jason is well on his way to reaching his goal of a Custom Classic Truck that looks cool and will definitely haul butt.
1. The chassis under Jason Scudellari's '56 Chevy pickup has been built to handle. The hefty front antiroll bar is from Detroit Speed.
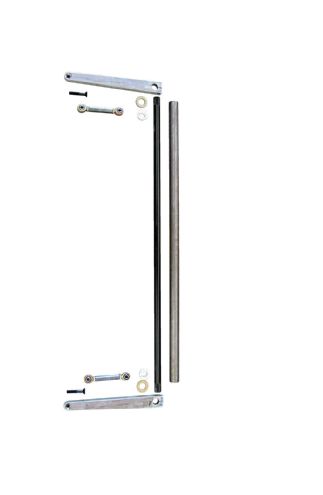
2. Intended for '64-'67 Chevelles, the Detroit Speed antiroll bar comes with bushed mounting brackets, a splined bar, splined arms, and attachment links.
3. Shouldered bushings are used in the mounting brackets; they are kept in place by a set collar. Note the splined ends on the bar.
4. Detroit Speed manufactures these simple but stout link connectors that attach to the lower A-arms.
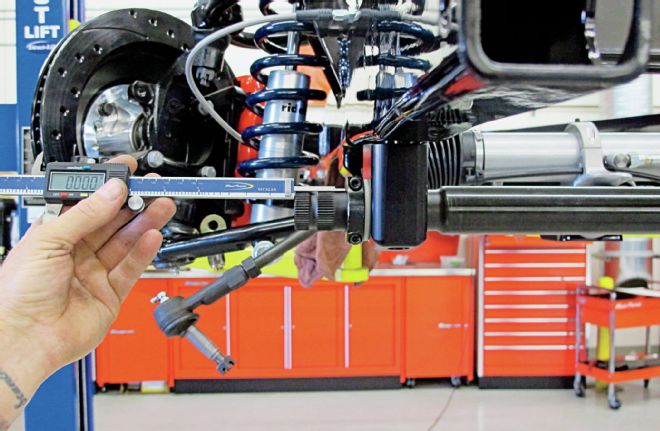
5. During the mock-up stage Jason made sure the attachment links were vertical.
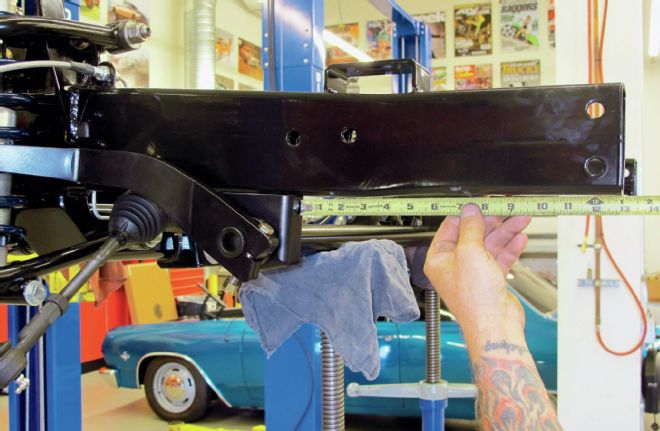
6. With the links positioned properly the mounting brackets for the bar were positioned. Measurements were taken to ensure both sides were equidistant from the end of the framerails.
7. The mounting brackets were centered on the bottom flange of the framerails.
8. With the assembly held up against the frame with a jack, a transfer punch was used to locate the holes for the mounting brackets.
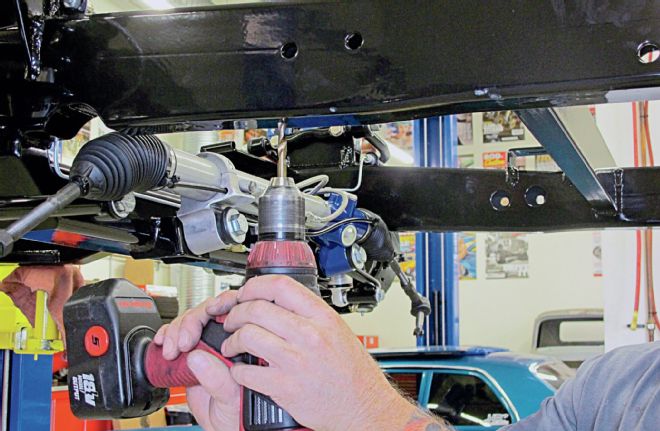
9. The bar assembly was removed then mounting holes for the brackets were drilled in the bottom flanges of the framerails.
10. As the 'rails were made from heavy-wall tubing the holes could be threaded.
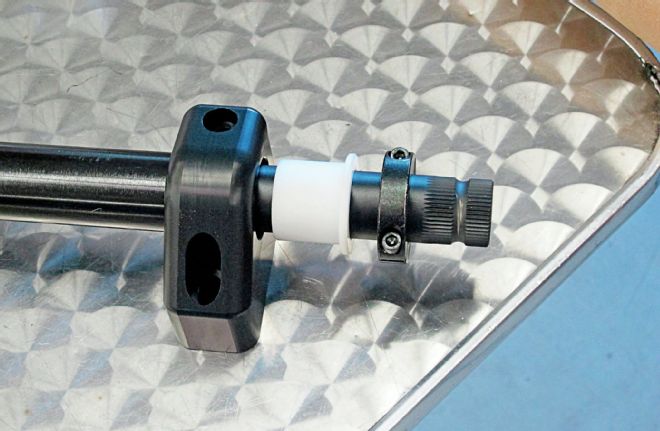
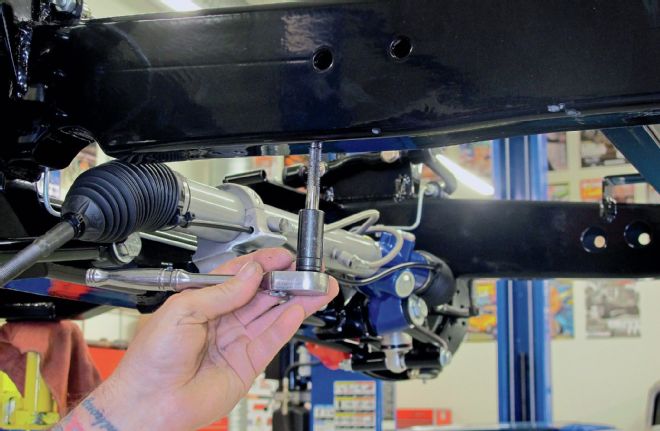
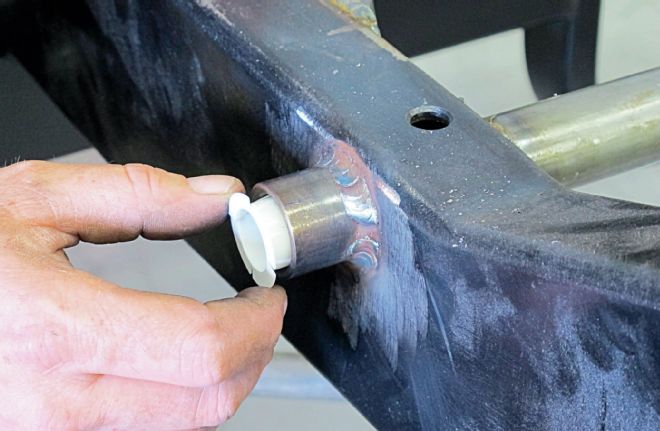
11. After the mounting brackets are put in place the bushings were installed. Note the mounting screws have not been completely tightened.
12. A set collar on each side keeps the bushing in place and locates the bar side to side.
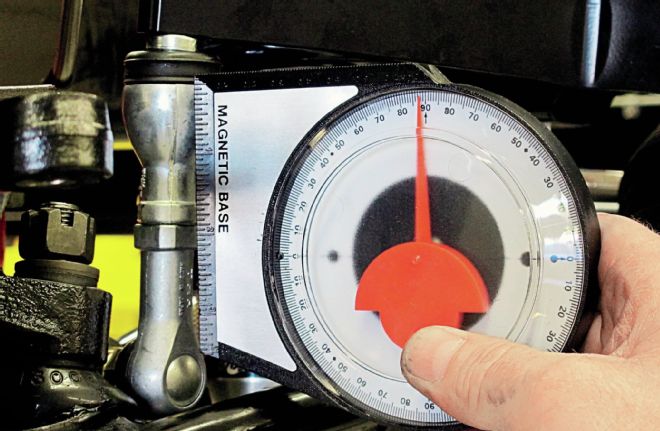
13. To ensure the bar was centered, its protrusion was measured on each side. Adjustments are made by moving the set collars in or out, as required.
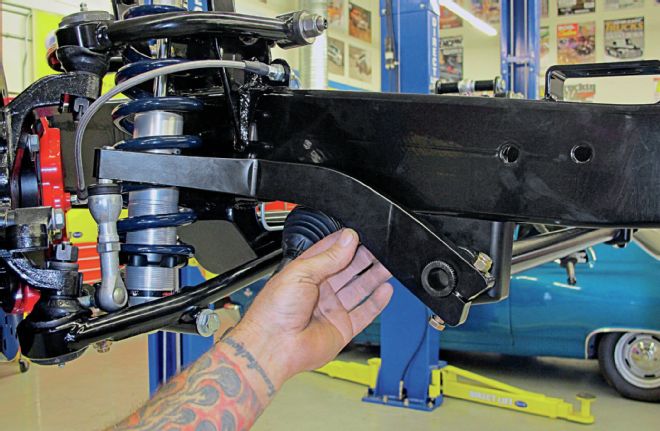
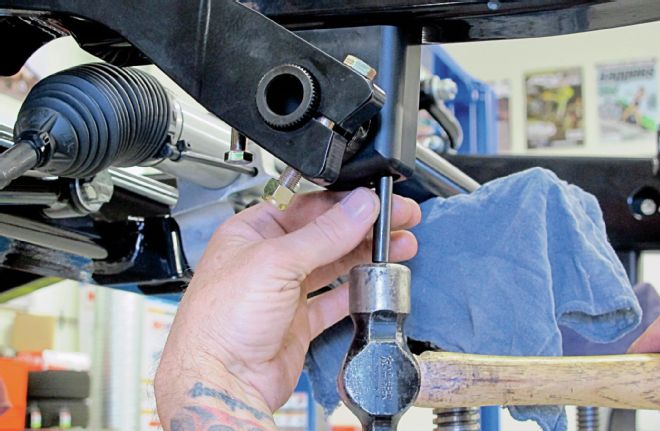
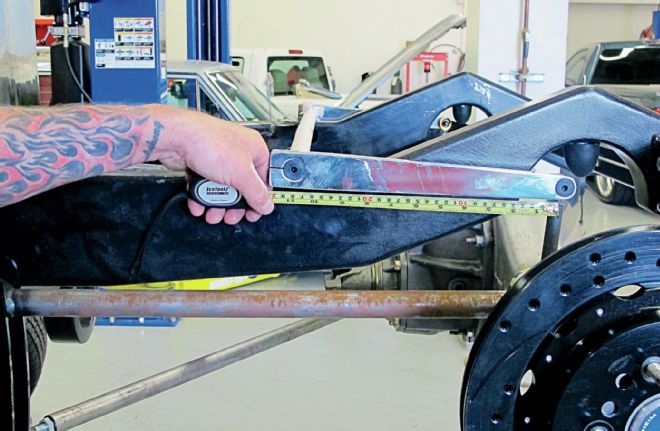
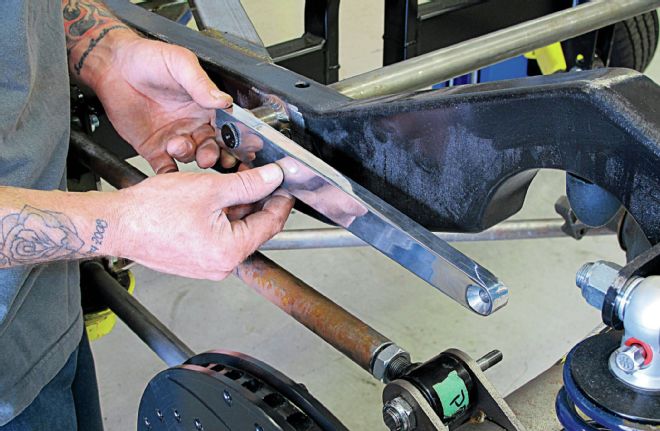
14. Super stout arms have splined holes to attach to the bar on one end and adjustable links on the other to connect to the lower control arm.
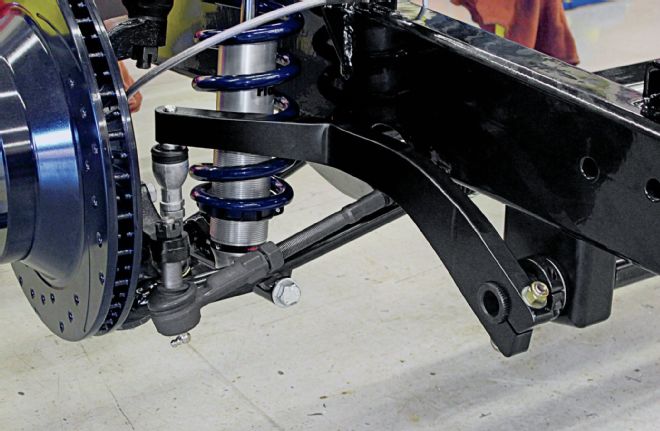
15. The Chevelle antiroll bar and arms fit the chassis perfectly. Note the pinch bolt in the splined end of the arm that secures it to the shaft.
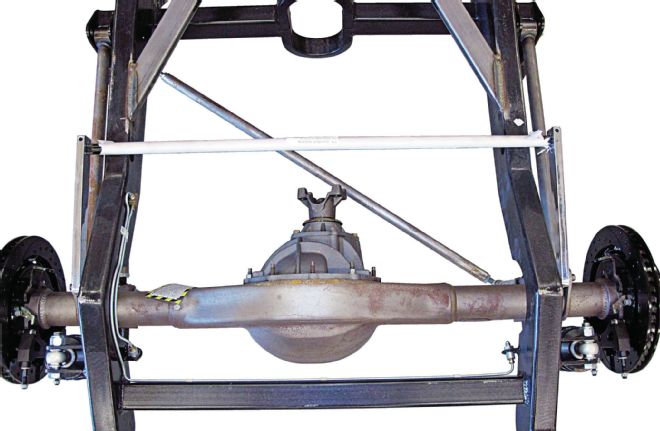
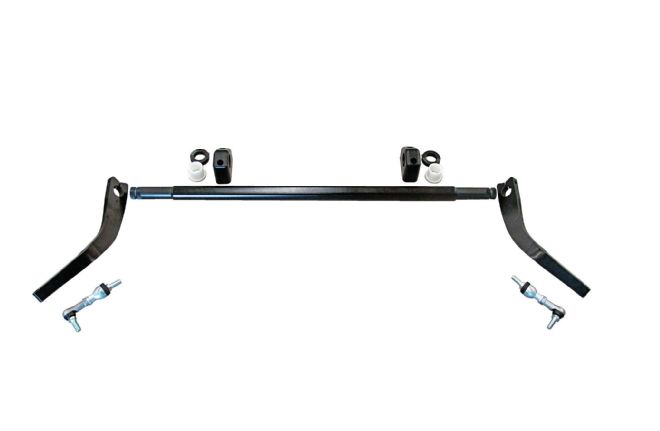
16. In the rear an antiroll bar assembly from Total Cost Involved was used as it was the ideal width.
17. The entire assembly was set in place to determine where the bar would be mounted.
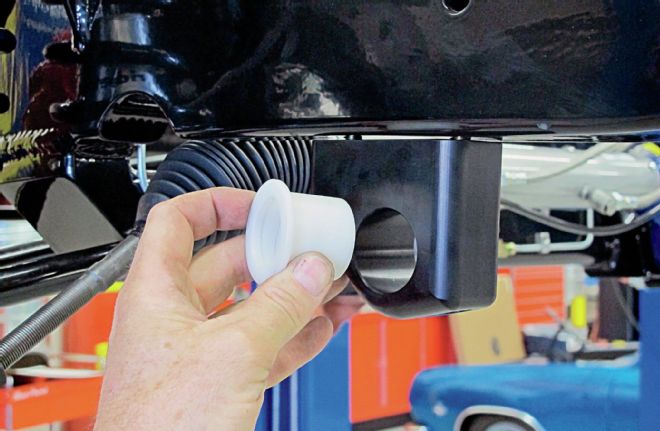
18. The Total Cost Involved bar fits inside a tube that runs the width of the truck. Bushings and thrust washers are used at each end of the tube.
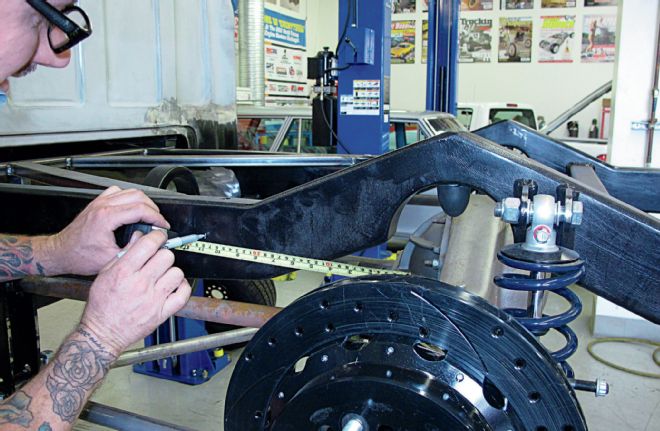
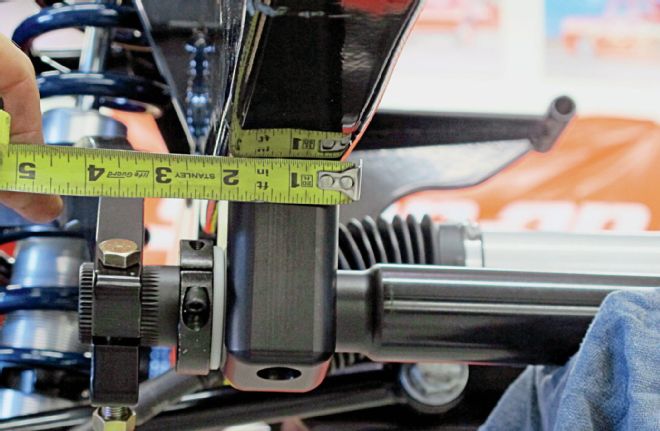
19. Measuring forward the length of arm from the axle attachment point gave Jason the position of the bar.
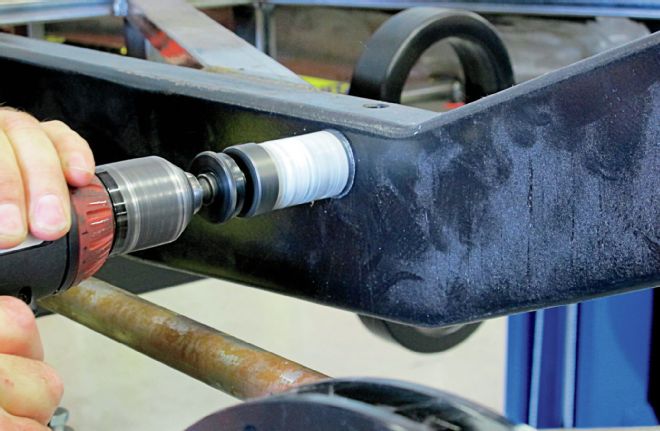
20. A hole saw was used to make the openings in the framerails for the installation of the mounting tube.
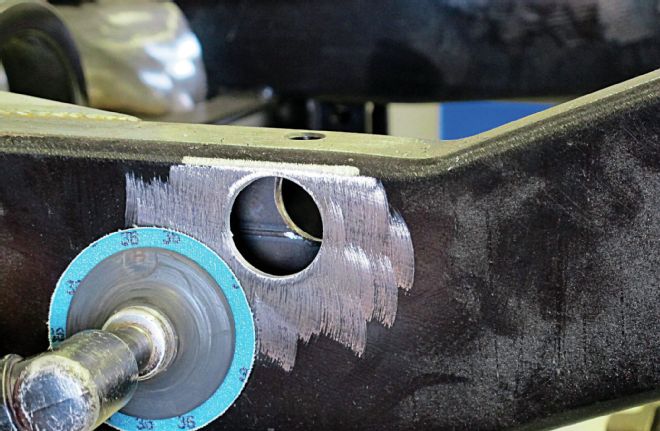
21. To prepare for welding the area around the holes were cleaned up with a 36-grit grinding disc.
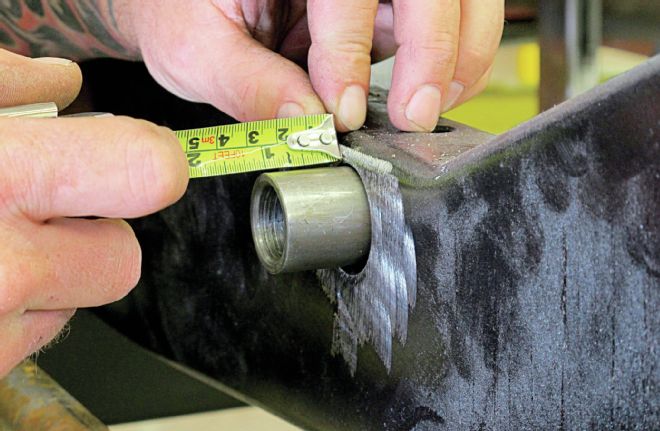
22. The mounting tube was put in place then measured to ensure it was centered.
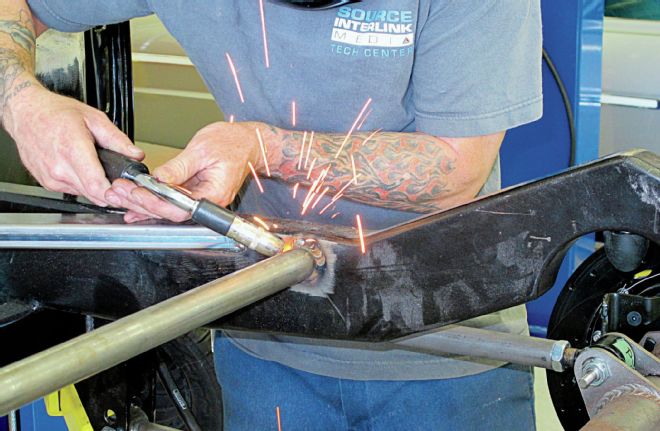
23. Satisfied with its position the mounting bar was welded to the frame.
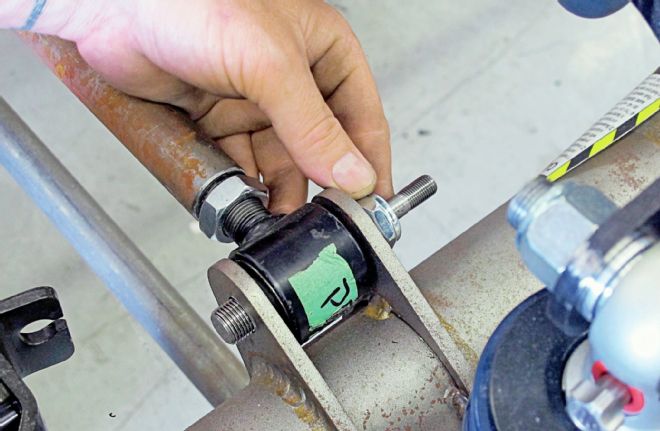
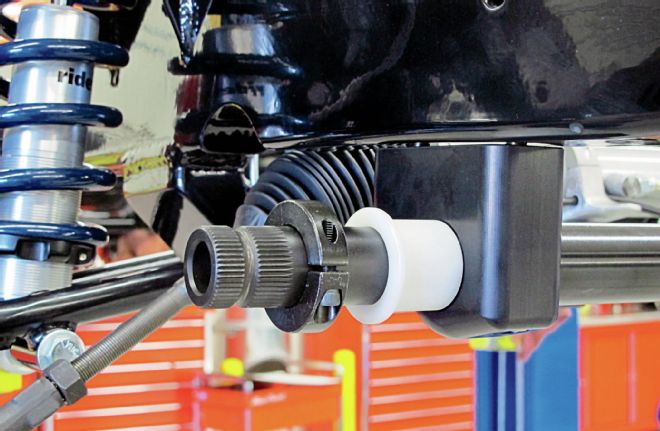
24. Total Cost Involved supplies these special four-bar bolts that have a stud to accept the link from the antiroll bar.
25. Bushings in the tube prevent metal-to-metal contact when the bar is installed.
26. The supplied arm is splined to fit the bar, its retained with a pinch bolt.
27. With the arms and connector links in place installation of the rear bar is complete.