As you may or may not know, Riz and I are in the process of making a square-body C10 road worthy. The square body is in rough shape, but we plan on building it with a budget in mind. Well, as you are about to find out just like we did, sometimes budget is not always the best way of doing things. We started off by looking at the front suspension, and more specifically, what needed to be replaced. We also wanted to lower the truck to give it that cool look on the road, but didn't want to break the bank. So we turned to Classic Performance Products in Anaheim, California, for some frontend parts.
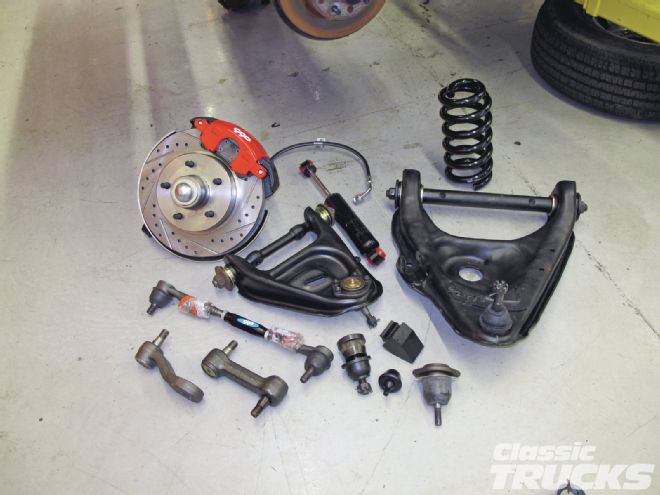
Following plan A, we chose to rebuild the front control arms with a CPP's control arm bushing kit, replace the inner and outer tie-rod ends, pitman arm, and idler arm along with the upper and lower ball joints. If this sounds like a lot of work to you then I would have to agree with you. We also replaced the stock spindle with a CPP drop spindle that helped lower the truck 2 inches. We also wanted to replace the old springs with new 2-inch CPP drop springs that would give us a total drop of 4 inches. The square body had been sitting for a long time and the front brake calipers were locked up so they were replaced with new CPP drilled and slotted rotors along with new red CPP calipers.
Here is something to think about in the terms of trying to save money on rebuilding versus new CPP tubular control arms. We spent a lot of time cleaning the old control arms when we first removed them, and in fact we went the extra step to sandblast and paint them so they looked good. We did this in our shop where we have the tools to do so, like a rack, sandblaster, press, air tools etc., but what if you don't have the tools that are needed to perform the control arm rebuild? Then you have to pay someone else to perform the work and that may become quite costly, not including the rebuild kit we got from CPP.
Now if you can't rebuild the control arms yourself, then for a few extra bucks CPP has tubular control arms that have some major advantages over the rebuilt stock arms. For one they are built so that you have extra ground clearance on the lower control arm. The next big thing is the alignment specs of new control arms are much better because they give you 5 degrees of caster without having to add tons of upper alignment shims. The increased caster will make the truck drive more like a modern vehicle. The CPP cross-shafts are made from billet 4140-alloy steel and improve stability over the stock and much smaller cross-shafts. CPP also states that the control arm bushings are made from self-lubricating non-squeak patented plastic that will outlast any rubber or urethane.
In this tech feature we are going to show you what we did to rebuild the control arms, but also show you why we ended up using the tubular control arms instead of the stock versions.
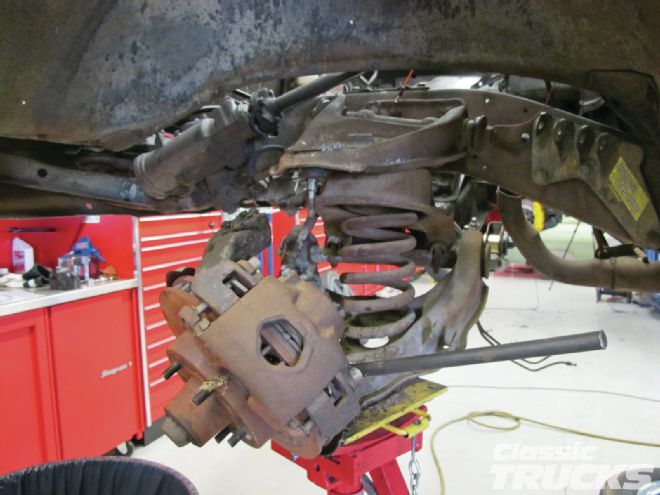
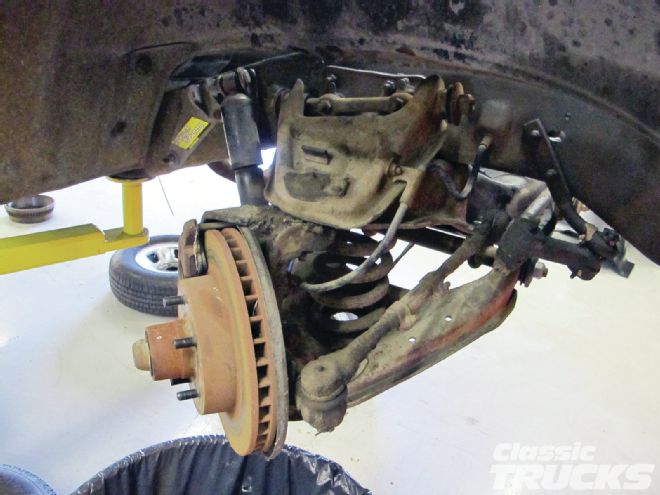 01. Without going into too much detail this what the suspension looked like before we removed it. Dirty!
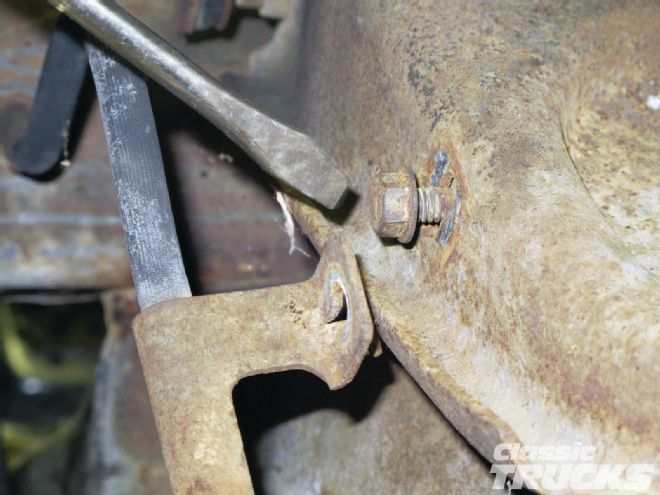
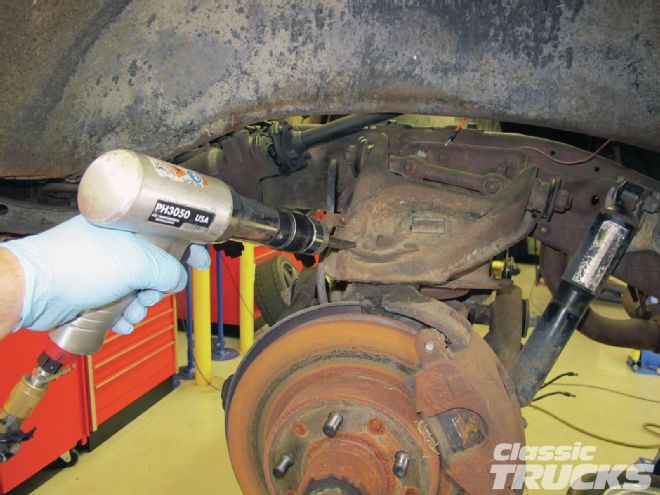 02. A large air hammer and a sharp chiseled bit are a quick way to remove the rivets on the upper control arms. Note: I supported the bottom control arm before removing the rivets. I also loosened the upper ball joint to spindle nut to free the tapered ball joint shaft to the spindle. You can also grind the rivets, but it will take slightly longer to do.
 03. A large pickle fork works great for removing the tie-rod ends. Especially when you don't want to hammer on the end of a brand-new spindle. It is also easier to remove the tie rods now rather than when the ball joints and spindle are loose.
 04. The brake lines were junk on our truck so we cut them out to make it easy to remove the upper arms. We opted to replace the brake lines with new ones from CPP to go along with our new brakes.
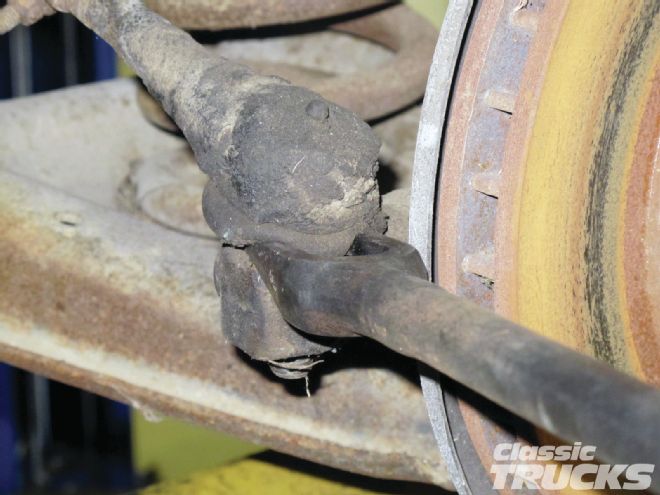
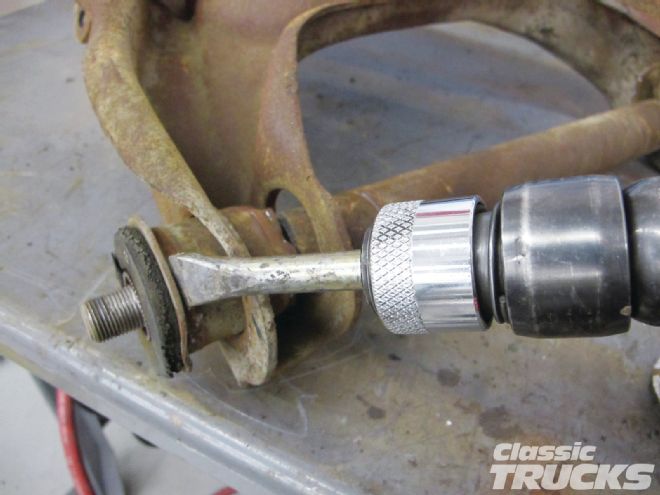
 05. One of the hardest parts to remove is the upper and lower control arm tapered joint. They become frozen/rusted in the spindle and have to be shocked out with a hammer. Make sure to hit the spindle side and not the control arm.
 06. I used a large pickle fork to separate the ball joint from the lower control arm.
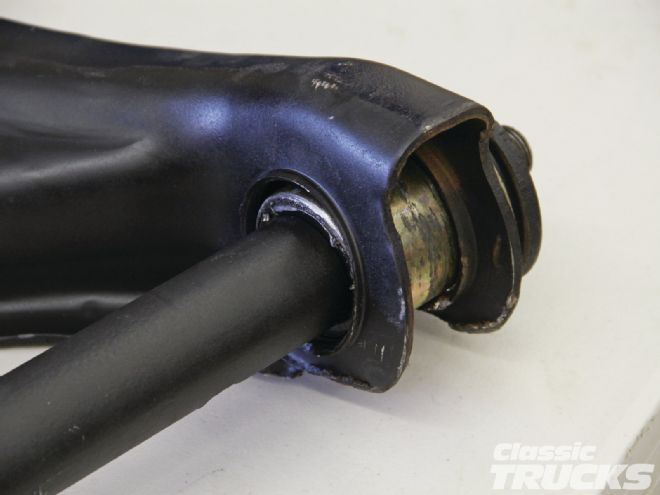
 07. The upper control arm bushings were shot so we decided to show you how to rebuild them.
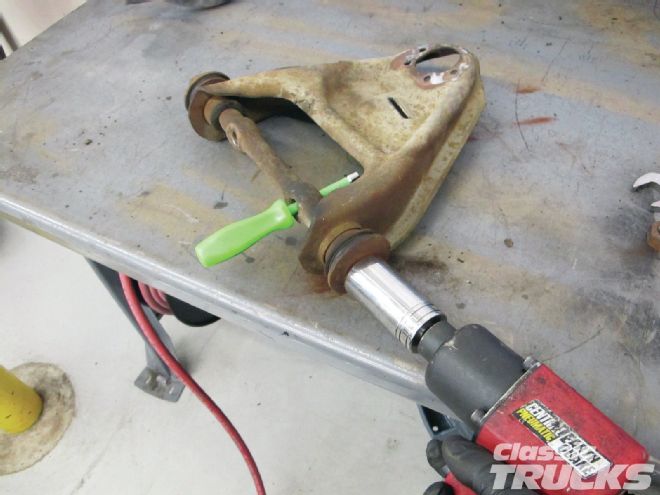
 08. I used an air hammer to remove the upper and lower control arm bushings
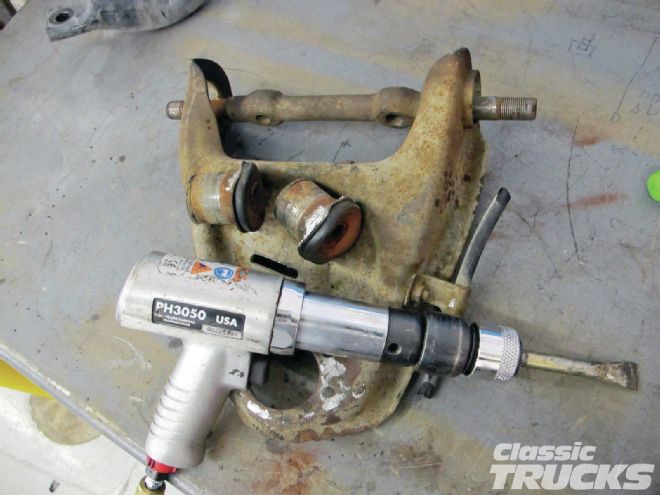
 09. We also air hammered the bushings and the outer sleeve out here.
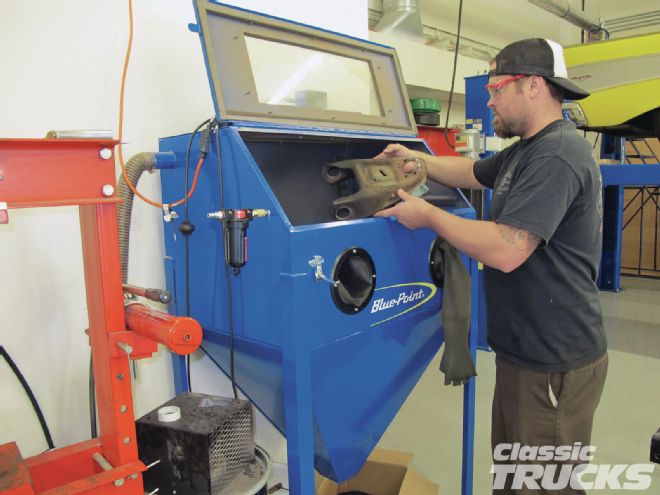 10. Now if you are like us then rebuilding the control arms needed a little more love than new bushings and ball joints. So we sandblasted the arms.
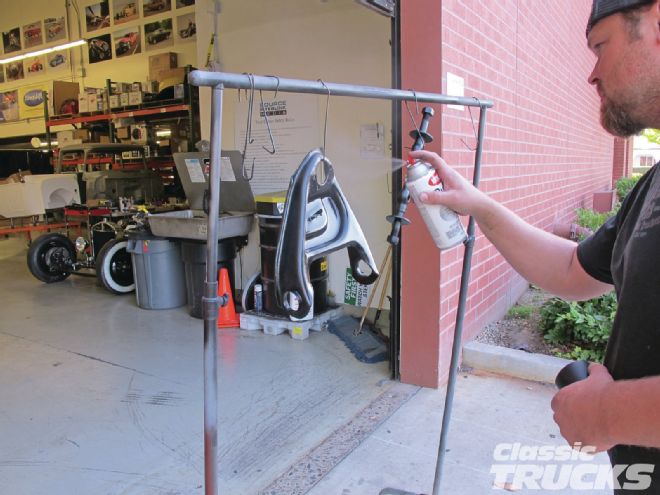 11. We also repainted the arms semi-gloss black. Let me tell you it was a lot of work to make the stock arms look stock.
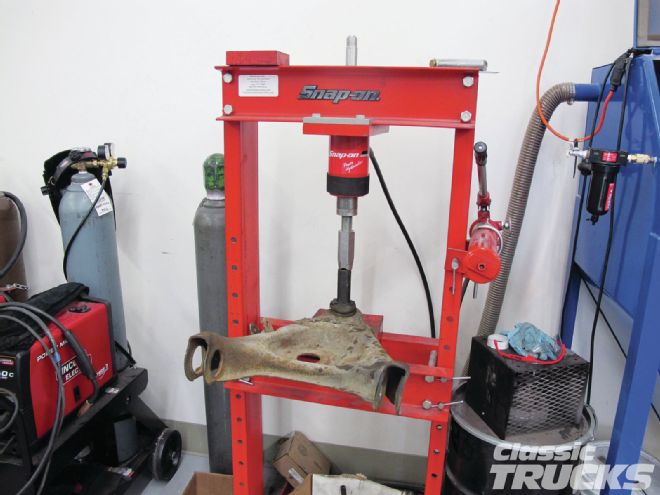 12. Since the passenger side suspension paint was drying I removed the driver side control arms. The lower control arm needs either a ball joint press or a large press to remove the ball joint. I used a socket larger than the taper of the ball joint to press the ball joint out of the arm.
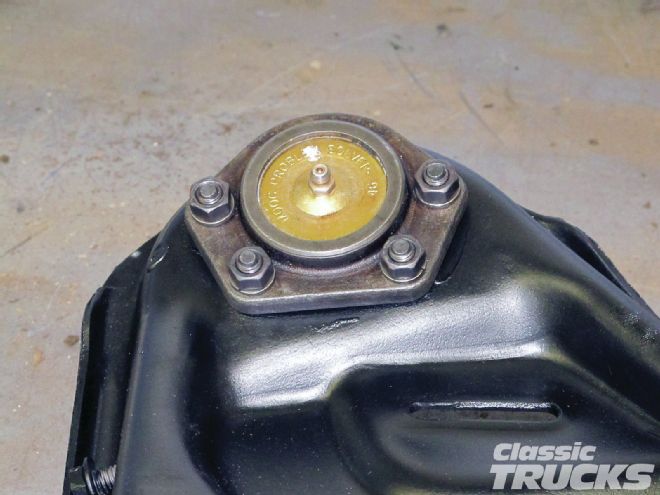 13. The upper ball joints just bolt right in.
 14. The upper control arm bushings were then pushed on by hand. Then using a 1⁄2-gun the control arm bushing nuts were tightened to drive in the bushings.
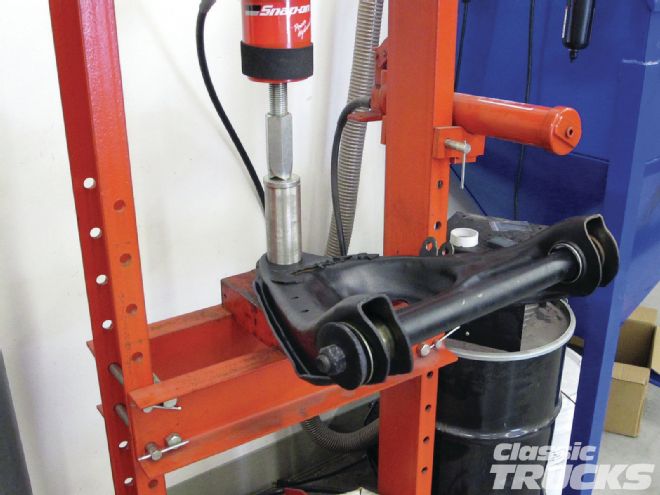 15. The lower ball joint was then pressed on with a press and a homemade tool. The tool was a piece of tubing that was slightly larger than the ball joint.
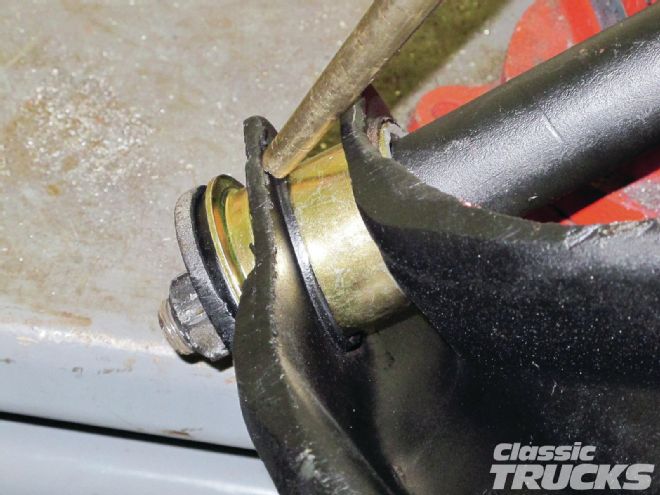
 16. Lower control arm bushings are where you need to spend some time pressing them in.
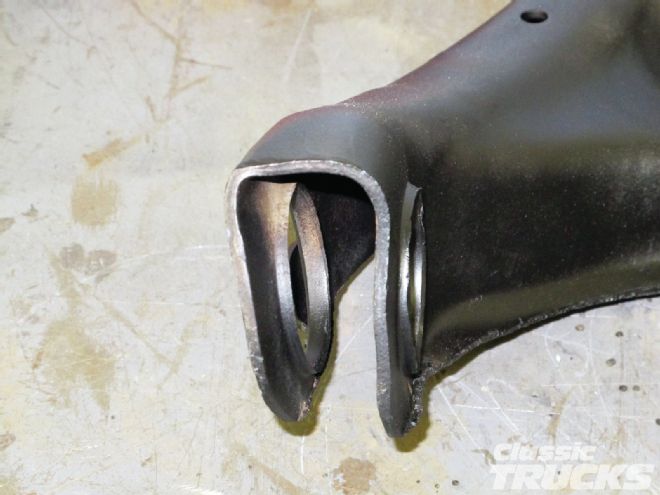
 17. The control arms on our test truck have seen better days, the lower arms had been contacting the ground and damaged the arm. Notice the arm is ground away from contact with the ground.
 18. The bent arms became a major issue with overall safety because the bushings would not press into the lower arms. We thought about replacing the lower arms with used ones from a junkyard, but then we would be in the same situation when it came to ground clearance.
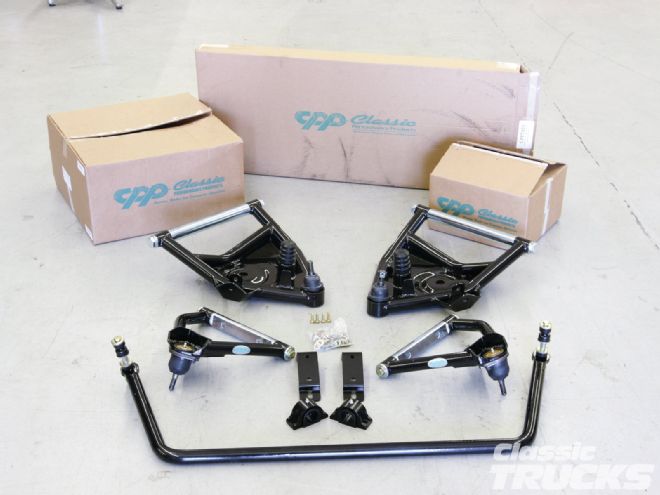 19. So after all that work cleaning and sandblasting Riz decided that it would be best to replace the control arms with CPP tubular control arms. At that same time we realized that the truck didn't have a sway bar, so we picked one up from CPP as well.
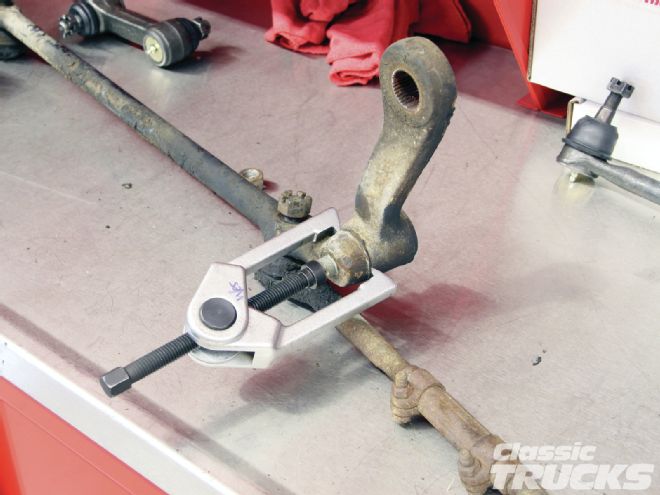
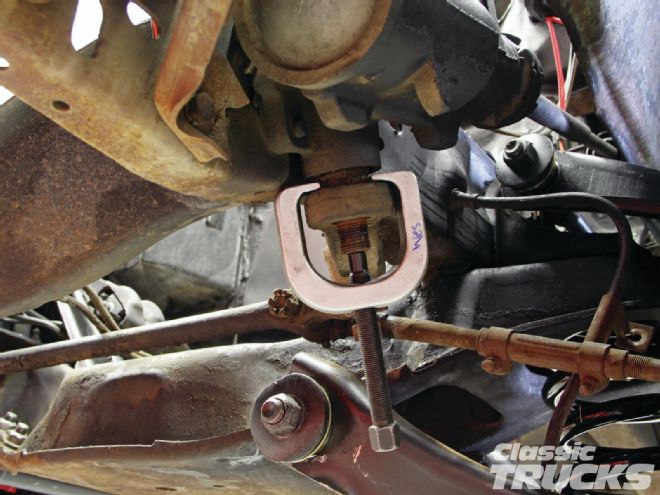 20. The pitman arm, idler arm, and both inner and outer tie-rod ends were in need of replacement. Here I use a pitman arm puller to remove the old pitman arm.
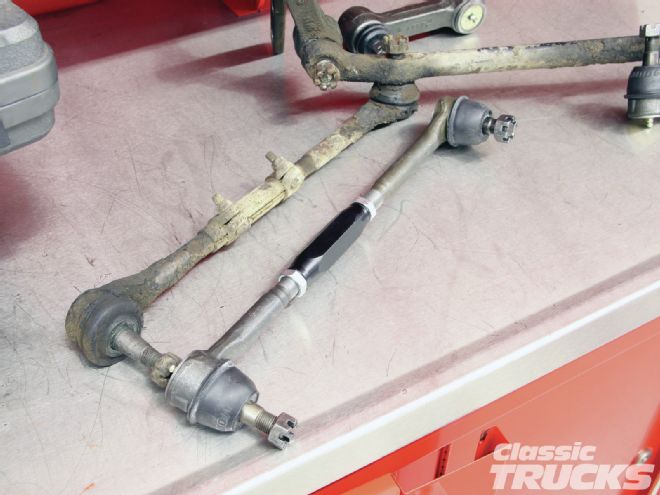 21. The drag link was along with the inner and outer tie-rod ends were removed off the truck in one assembly. This way I could remove the bad parts on a bench and make it easy to install the new CPP parts.
 22. I used a tie rod puller to remove the rest of the old parts. This puller makes removing stiff/rusty joints an easy job.
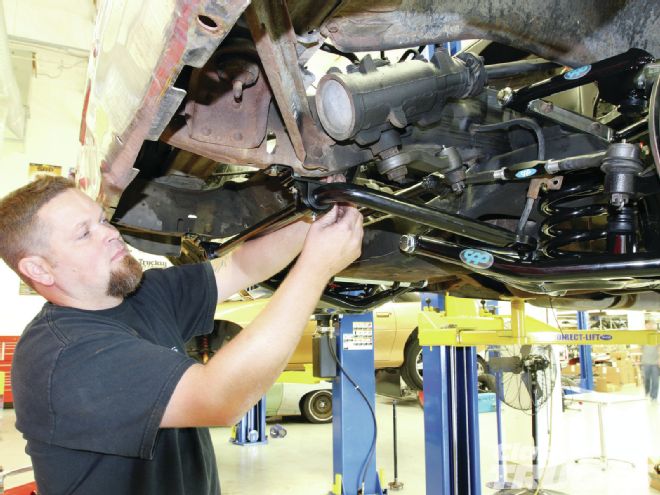
 23. We are using the CPP upper and lower control arms that bolt on the same way as the stock control arms. Make sure to align the holes with the new cross-shaft before tightening the U-bolts.
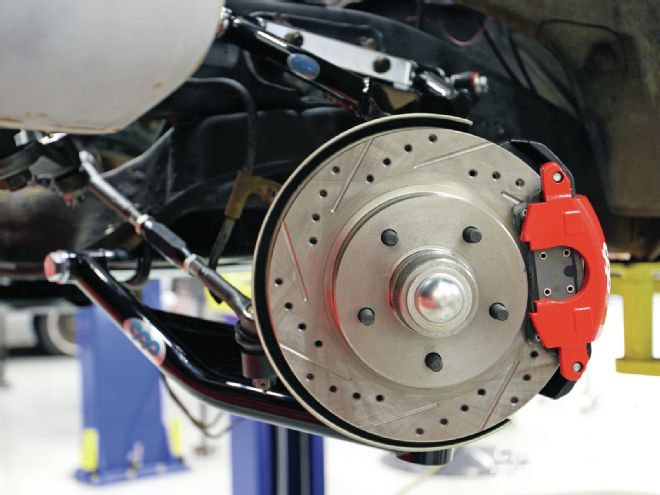 24. CPP drilled and slotted rotors were used along with CPP's 2-inch drop spindle. This helped clean up the look of the brakes and definitely improve stopping.
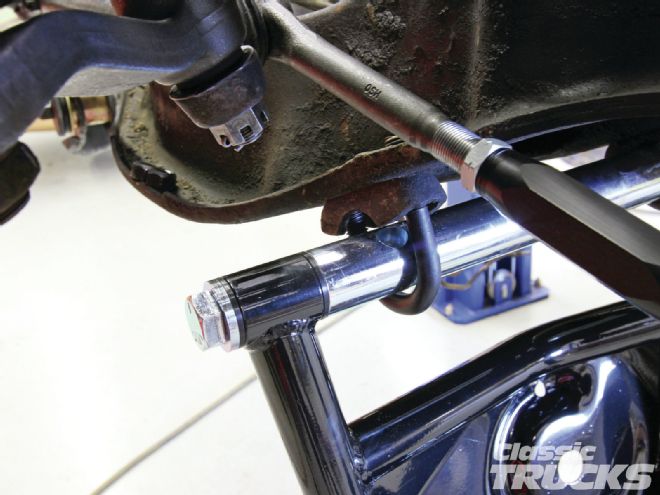
 25. After the upper and lower control arms were bolted in place we installed the CPP sway bar.
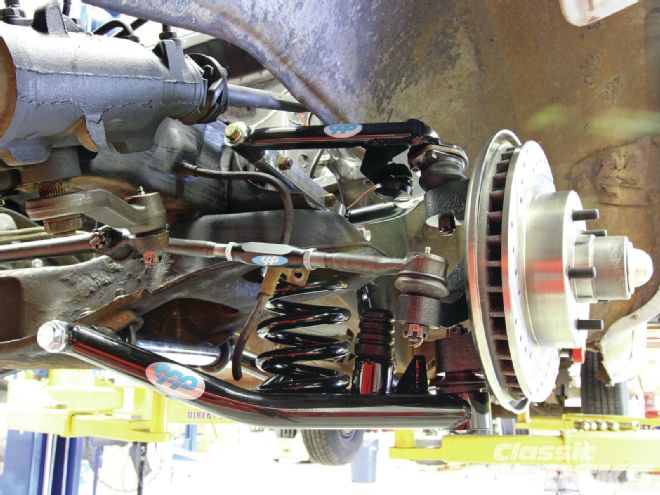 26. Here is the finished installation of the front suspension.
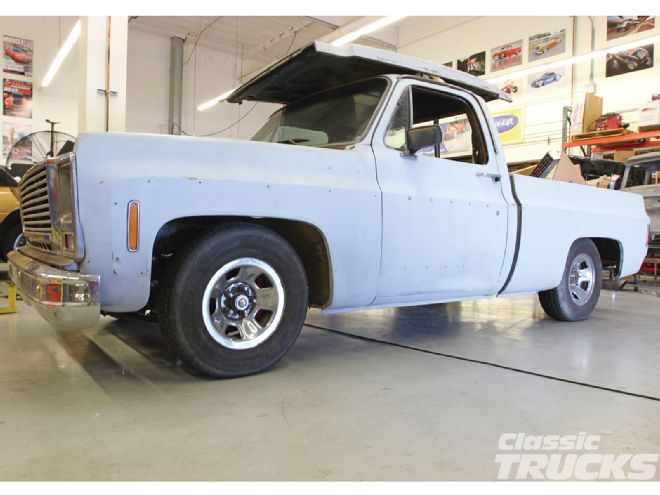 27. Now keep in mind that we don't have the engine and transmission installed so the truck will sit a little bit lower than it is shown. Also, the next time you see the truck we are going to install a CPP trailing arm conversion on the rear suspension along with some other goodies...stay tuned.